Artemis Development with Arduino
Introduction
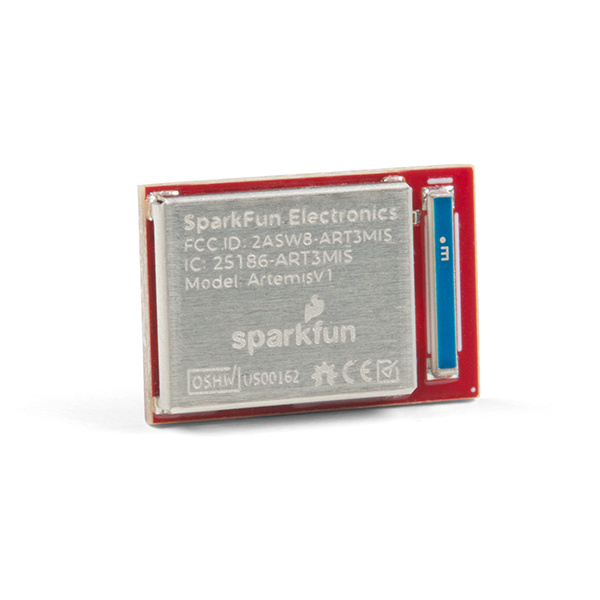
The SparkFun Artemis is an amazing module. So much functionality packed into a tiny 10x15mm footprint! But what really makes it powerful is the ability to quickly write sketches and build projects using only Arduino code. Whether you are using one of our boards that has the Artemis module pre-integrated or have your own, this tutorial will show you how to install SparkFun's Apollo3 Arduino core and get you up and blinking in less than 5 minutes!
Required Materials
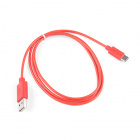
To follow along with this tutorial, you'll need one of the following Artemis carrier boards such as the RedBoard, RedBoard Nano, or RedBoard ATP and a USB C cable.
USB 2.0 Cable A to C - 3 Foot
CAB-15092Suggested Reading
If you aren’t familiar with the following concepts, we recommend checking out these tutorials before continuing.
Installing an Arduino Library
Installing Arduino IDE
Designing with the SparkFun Artemis
Arduino Installation
With the Arduino Board Manager, installing new board support within your Arduino IDE is a breeze!
Installing the Arduino Core for Apollo3
We've built the Arduino core for Apollo3 from scratch, making it as lightweight and easy to use as possible.
To install the SparkFun Apollo3 Arduino Core:
- Open the Arduino IDE (must be v1.6.12 or later)
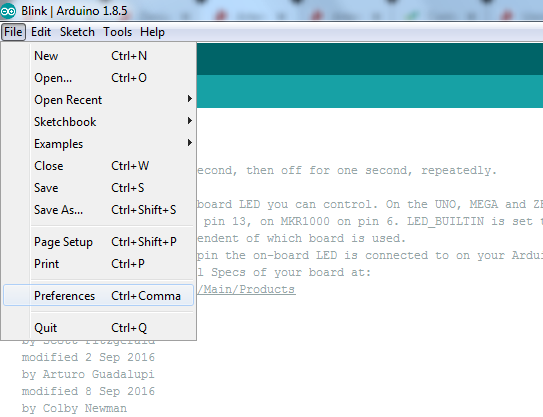
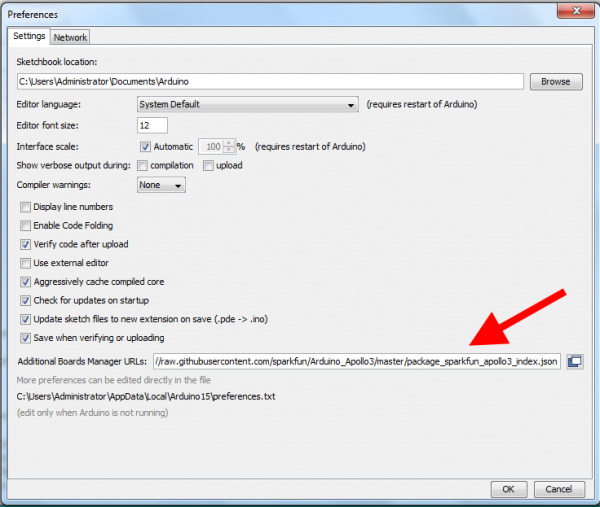
- Navigate to Preferences
In the "Additional Board Manager URL" box, add
language:c
https://raw.githubusercontent.com/sparkfun/Arduino_Apollo3/main/package_sparkfun_apollo3_index.json
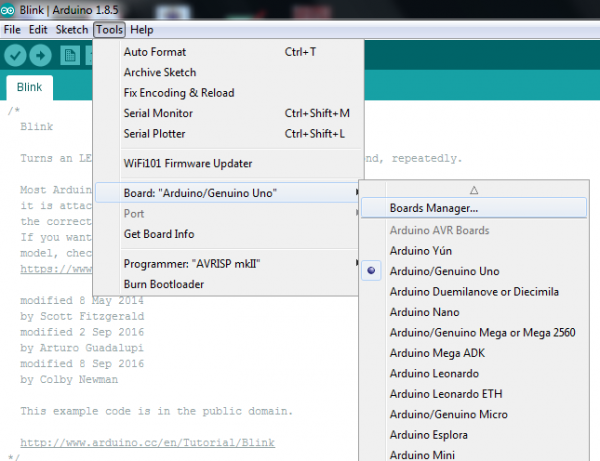
- Go to Tools > Board and select the Boards Manager
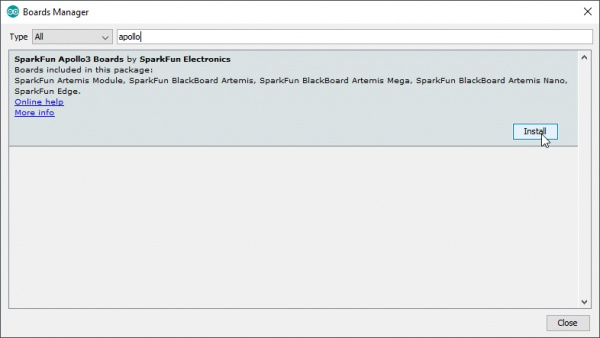
- Search for "Apollo", and you should find the SparkFun Apollo3 board package.
- Make sure the latest version is selected and click Install
Installation may take a few minutes -- included in the install are all necessary source files for the Arduino core and Apollo3 libraries, plus all of the compiler and software-upload tools you'll need to use the Artemis with Arduino.
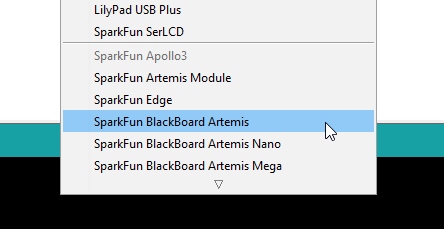
Once the board definitions have been installed, you should see a new set of Artemis boards under your Tools > Board menu.
Example: Blink It Up!
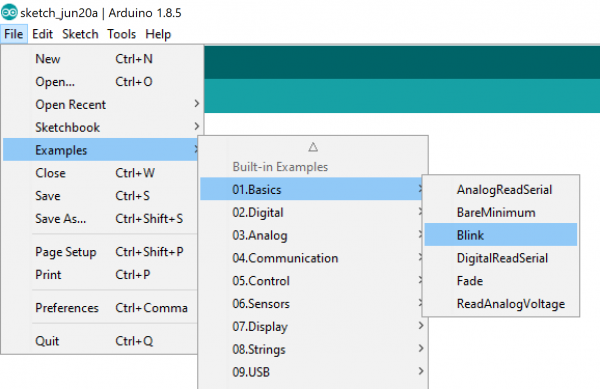
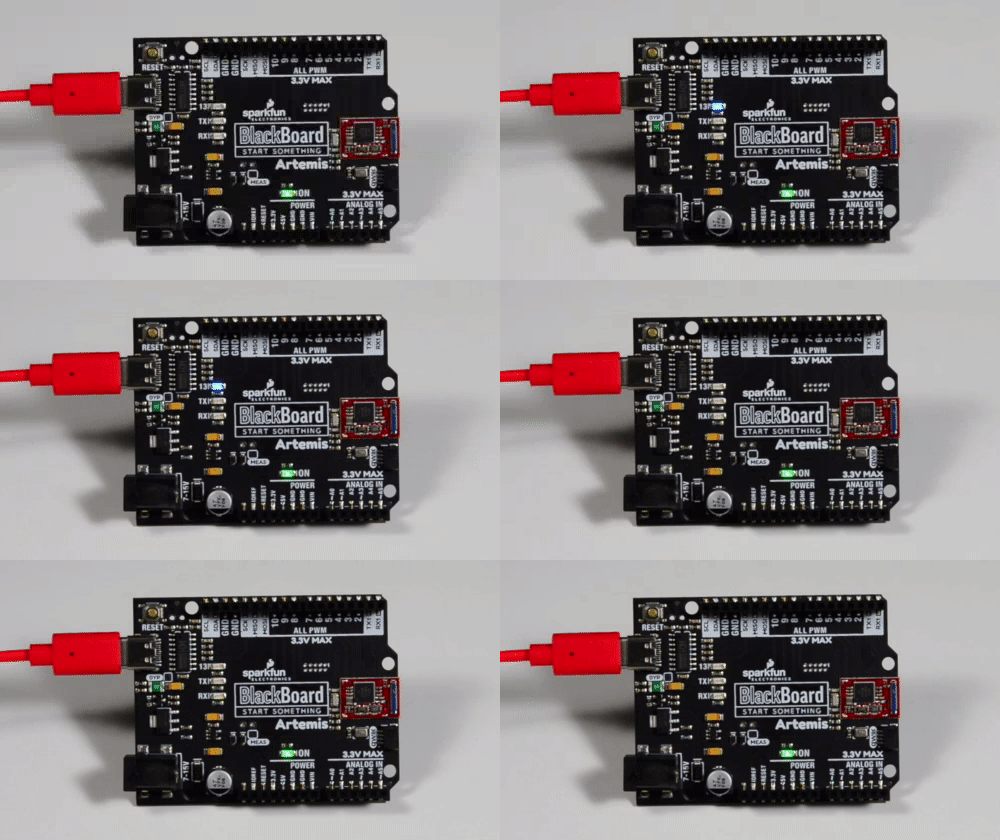
The Blink example is about as basic as it gets. But it is also a good benchmark to make sure you've got your core installed correctly and you can upload code to your module. To run this example, select your board from the Board Managers pulldown and choose the correct USB port. You can load the blink example by clicking on File->Examples->01.Basics->Blink.
Hit the upload button and enjoy the blinky goodness!
Example: All the Features
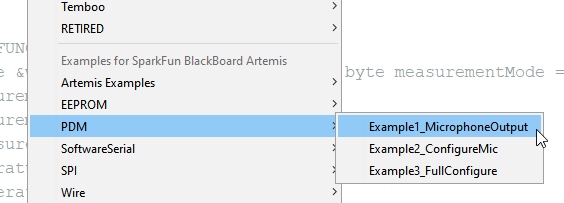
We've built the Arduino core for Artemis from the ground up. Be sure to checkout the large number of built-in examples. You'll find them under File->Examples->'Examples for Artemis'.
We've got examples for setting up multiple I2C ports (it's amazingly easy), writing to EEPROM, using SoftwareSerial (all 48 pins can be serial!), using the the onboard microphone, and using servos (up to 32!). We're adding more all the time so be sure to keep your core up to date.
Bootloader Options
Each Artemis comes preloaded with two bootloaders. The SparkFun Variable Bootloader (SVL) will allow you reliably and conveniently load new code at data rates up to 921600bps. In addition to the SVL, we also enable the Ambiq factory bootloader for secure boot applications. Almost all users should use the SparkFun Variable Bootloader and forget about the Ambiq factory bootloader. For more information checkout the programming section of the Designing with the Artemis Module tutorial. Don't worry - you cannot damage or brick your Artemis using the incorrect bootloader.
Beyond Arduino
The SparkFun Apollo3 core supports all the standard Arduino functions. This means you can program digitalWrite I/O, analogRead ADC pins, Serial print to the Serial monitor, interact with hardware serial using Serial1, and even perform more complex I2C or SPI writes with the Wire and SPI libraries. The basics are there, so let's dive in to some more advanced capabilities of the Artemis!
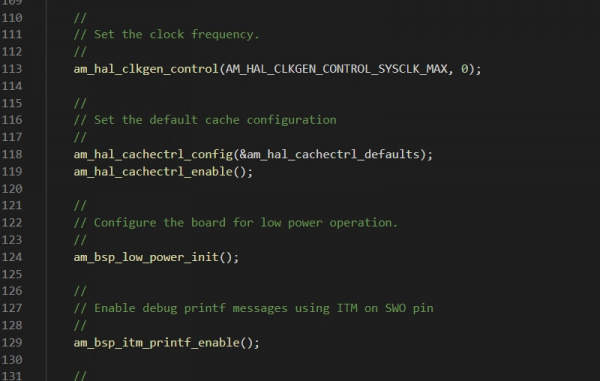
Ambiq has created a software development kit to fully flex the Apollo3. The Ambiq SDK contains a large number of examples and demonstrates all sorts of incredible aspects of the Apollo3. Each example uses various functions that look like this:
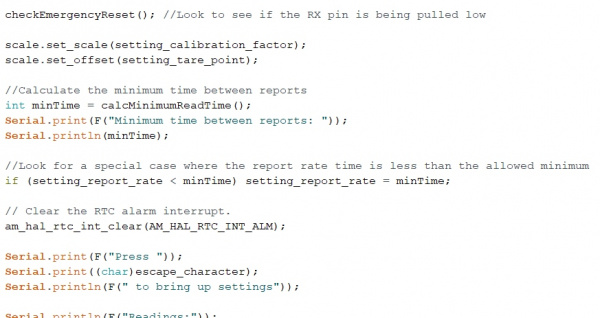
These long-named-functions are part of what's called a HAL or hardware abstraction layer. We aren't going to go into the specifics of setting up or using the SDK right now, but just know that the the SparkFun Arduino Apollo3 core is built upon this HAL which means you can call HAL functions directly inside the Arduino environment.
language:c
// Clear the RTC alarm interrupt.
am_hal_rtc_int_clear(AM_HAL_RTC_INT_ALM);
This is a powerful tool for advanced users; you can use the built in Arduino functions such as Serial.begin(9600) and delay(100) while integrating more advanced HAL functions for controlling things like interrupts.
If you do decide to dig into the SDK, head on over to our Using SparkFun Edge Board with Ambiq Apollo3 SDK tutorial for more information!
Using SparkFun Edge Board with Ambiq Apollo3 SDK
Troubleshooting
If your product is not working as you expected or you need technical assistance or information, head on over to the SparkFun Technical Assistance page for some initial troubleshooting.
If you don't find what you need there, the SparkFun Forums are a great place to find and ask for help. If this is your first visit, you'll need to create a Forum Account to search product forums and post questions.
SparkFun Artemis Forums
Resources and Going Further
- Want to implement the Artemis module into your own design? Checkout the tutorial Designing with the Artemis Module as well as the Artemis Integration Guide.
- Are you more comfortable with a make file and an IDE? Checkout the tutorial on how to setup the Ambiq Apollo3 SDK.
And lastly, Artemis has been designed and proven to work with our entire range of 50+ Qwiic boards. Be sure to checkout and get inspired by what's possible by just plugging in the sensors and outputs you need to build something amazing!
