ARM Programming
 M-Short, Ell C
Hardware Hookup
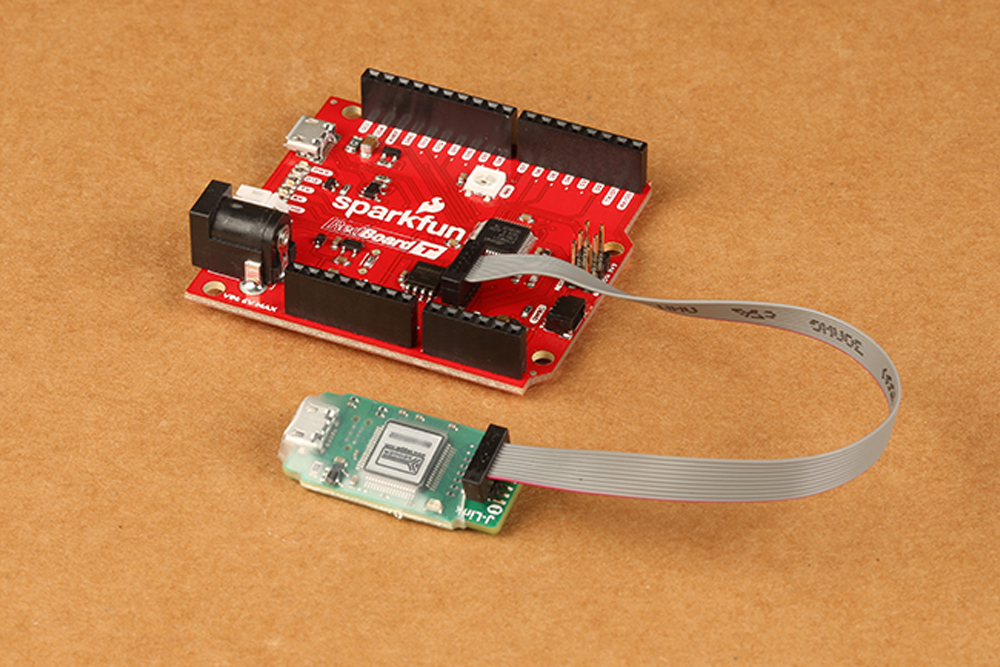
Now it's time to hook things up. We will need to make sure that SWCLK and SWDIO are both connected to the microcontroller. On some of our larger boards, like the SAMD21 Dev board and the RedBoard Turbo, we managed to get the full 10 pin header. Our footprint shows a small dash where pin 1 goes. If you check the pinout above you'll notice that the notch goes on the same side as pin 1. You will probably want a 2x5 header to connect the cable to the board (you can either solder it on, or hold it on securely while programming).
| 10 Pin Headers on Various SparkFun Boards | ||
|---|---|---|
 |
 |
 |
| SAMD21 Mini | RedBoard Turbo | SAMD21 Dev |
On other boards such as the ProRF or the SAMD51 Thing Plus you may have to dig into the schematic or board files to find the test points. There is at least one test point on all our boards since we program the boards after they are assembled and need access to them. Programming these might be a bit trickier without a jig, but I recommend holding a pair of jumper wires against the pads while uploading. It should only take a few seconds to program, but might be tricky and require an extra pair of hands.
| Test Pads on the SparkFun SAMD51 Thing Plus Board | |
|---|---|
 |
 |
| SAMD51 Board with SWDIO above MISO and SWDCLK below MIOS | Back of SAMD51 board showing the 2 testpads |
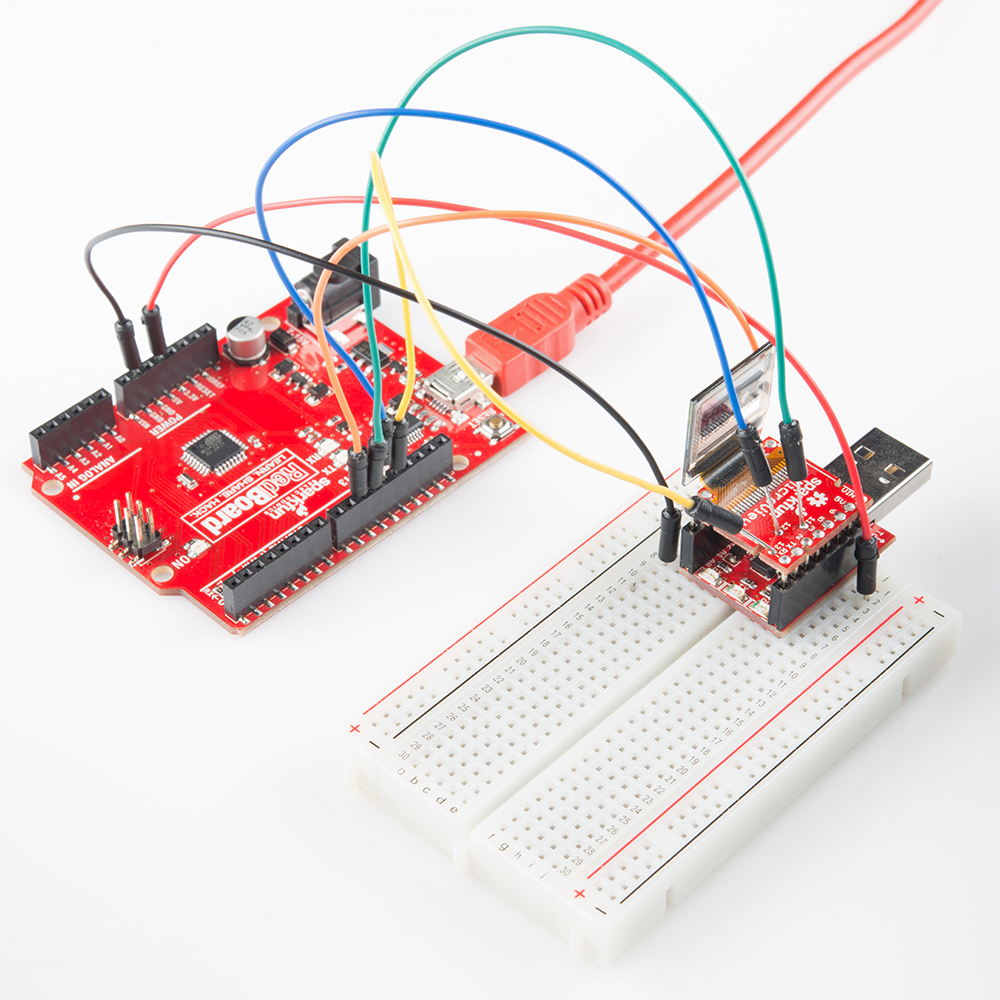
Jumper Wires Used to Help Program an AVR Chip via Test Pads
With the 2x5 header soldered into the 10 pin headers, connecting to the RedBoard Turbo is fairly straightforward: