Contributors:
 QCPete
,
 bboyho
 Introduction
Note: This tutorial covers the SparkFun Analog MEMS Microphone - VM2020 (
BOB-21537). While this tutorial was based on the previous MEMS microphone tutorials, this version of the MEMS microphone is a differential microphone and was designed for noisy environments. For specific details regarding the microphone ICs, refer to the Documents tab on their product pages or the previous release of this Hookup Guide:
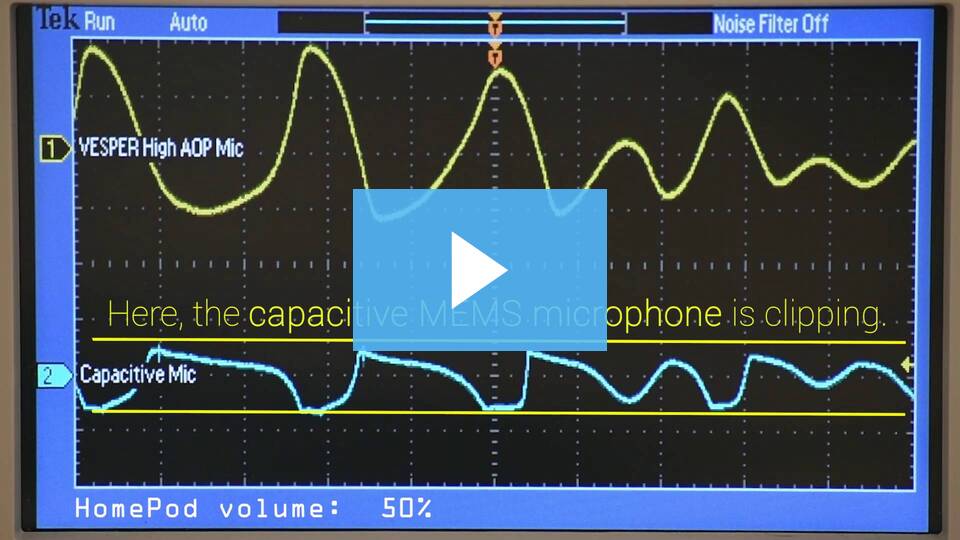
The SparkFun Analog MEMS Microphone Breakout makes it easy to work with the Vesper VM2020 analog microphone. The VM2020 is an ultra-high Acoustic Overload Point (AOP), high dynamic range, differential analog output piezoelectric MEMS microphone. What separates this from other analog MEMS microphones is that it was designed to be used in loud environments.
BOB-21537
The SparkFun Analog MEMS Microphone Breakout makes it easy to work with the Vesper VM2020 analog microphone.
Retired
Read this guide to get an overview of the breakout board and how to use it, including its technical specifications, how to hook it up to a microcontroller, and example code to get started!
Required Materials
To follow along with this tutorial, you will need the following materials at a minimum. You may not need everything though depending on what you have. Add it to your cart, read through the guide, and adjust the cart as necessary.
Arduino Microcontroller
You'll want a microcontroller to power the microphone. We will be using the ESP32 WROOM.
WRL-20168
The USB-C variant of ESP32 Thing Plus is a development board with WiFi, SPP, BLE, Qwiic connector, 21 I/O pins, RGB status LE…
WRL-15663
The SparkFun ESP32 Thing Plus is the next step to get started with Espressif IoT ideations while still enjoying all the ameni…
WRL-19177
The IoT RedBoard is an ESP32 WROOM-equipped development board that has everything you need in an Arduino Uno with extra perks…
Amplifier and Differential ADC Converter
Since the analog pins on an Arduino microcontroller are usually single-ended, you will need a way to amplify the signal to a reasonable level. You will also need an differential ADC converter. We recommend using the audio codec breakout WM8960. The audio codec can amplify the signal to a reasonable level and already has input pins for a differential microphone.
BOB-21250
The SparkFun WM8960 Audio Codec Breakout is a low-power, high-quality stereo codec with 1W Stereo Class D speaker drivers and…
Retired
Tools
Building a circuit using this breakout requires some assembly and soldering. You may already have a few of these items but if not, the tools and hardware below help with that assembly.
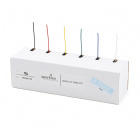
PRT-11375
There is nothing quite as essential as a neatly organized assortment of colored wire on your workbench. This pack of Hook-Up …
TOL-14681
This assortment of tools is great for those of you who need a solid set of tools to start your workbench on the right foot!
Retired
Prototyping Accessories
Depending on your setup, you may want to use IC hooks for a temporary connection. However, you will want to solder header pins to connect devices to the plated through holes for a secure connection. Depending on your application, you could use straight headers or right angle headers. Of course, you could also solder wire as well.
PRT-12002
This is your tried and true white solderless breadboard. It has 2 power buses, 10 columns, and 30 rows - a total of 400 tie i…
PRT-00116
A row of headers - break to fit. 40 pins that can be cut to any size. Used with custom PCBs or general custom headers.
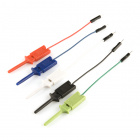
CAB-09741
When you are trying to analyze the tiny legs of a surface-mount component, standard alligator clips just won't cut it. These …
PRT-08431
This is a SparkFun exclusive! These are 155mm long, 26 AWG jumpers with male connectors on both ends. Use these to jumper fro…
PRT-00553
A row of right angle male headers - break to fit. 40 pins that can be cut to any size. Used with custom PCBs or general custo…
Recommended Reading
To successfully use the SparkFun MEMS microphone breakout board, you'll need to be familiar with Arduino microcontrollers, analog (aka ADC) input, and sound waves. For folks new to these topics, check out the following resources to get a feel for the concepts and verbiage used throughout this tutorial.
Installing Arduino IDE
A step-by-step guide to installing and testing the Arduino software on Windows, Mac, and Linux.
Analog vs. Digital
This tutorial covers the concept of analog and digital signals, as they relate to electronics.
Audio Codec Breakout - WM8960 Hookup Guide
The SparkFun Audio Codec Breakout - WM8960 is a low power, high quality stereo codec chock full of features. In this tutorial, some of these features by using an Arduino microcontroller to configure the audio codec and pass audio to the headphone or speaker channels.


