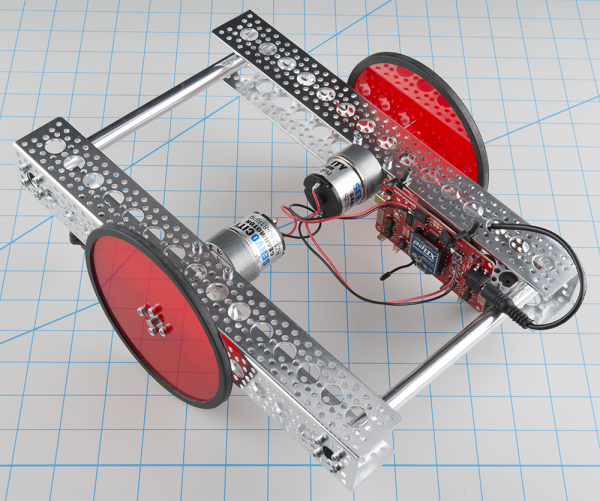
Actobotics Basic Differential Platform
Build Overview
Introduction
The basic differential bot is a seed platform to help you get started making Actobotics-based robots. This tutorial will go over the basics for building this platform out of Actobotics mechanical parts, available at SparkFun. Control electronics will be covered in some detail but are not the primrary focus of this tutorial, The wishlist contains the parts to build an almost-ready-to-drive vehicle. From here, you can add any sensors or mechanisms you like, or customize the layout for your own unique design.
Required Materials
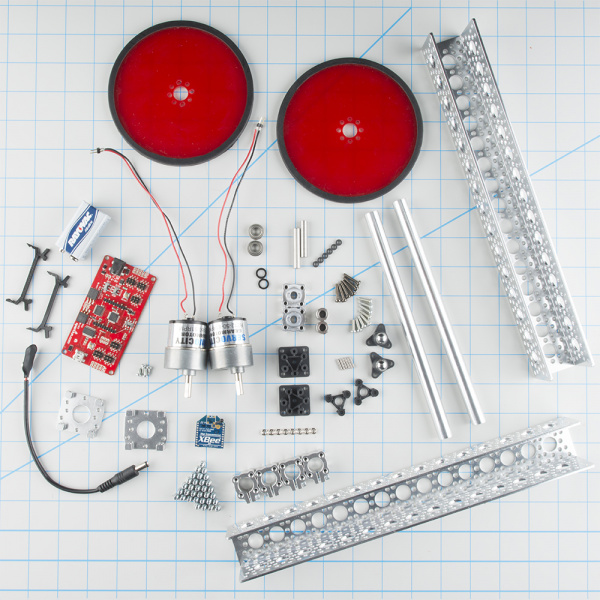
Here is a list of parts used to build this platform. Feel free to mix and match or completely remix this list for your own robot needs.
Required Tools
- 7/64” Hex Key - Use with #6-32 socket head cap screws
- 3/32” Hex Key - Use with set screws in hubs and shaft couplers
- #1 Philips Screwdriver - Use with M3 pan-head screws
- 7/32” or 5.5mm Open-Ended wrench - Use with M3 nuts
- Soldering Iron - Use to attach wires to DC motor leads
- Modeling Knife - Helpful with removing plastic Tamiya parts from the sprue
- Side Cutters - Helpful with removing plastic Tamiya parts from the sprue
- Needle Nose Pliers - Helpful with removing plastic Tamiya parts from the sprue
Additional Supplies
Suggested Reading
This is intended to be an elementary build with no background knowlege required, however, the following links may help you get better acquainted with the concepts in this tutorial.
- What is an Arduino
- Installing the Arduino IDE
- Motors and selecting the right one
- Getting Started with the RedBot
- How To Solder - Through Hole

