9DoF Razor IMU M0 Hookup Guide
 jimblom
Getting Started With the Example Firmware
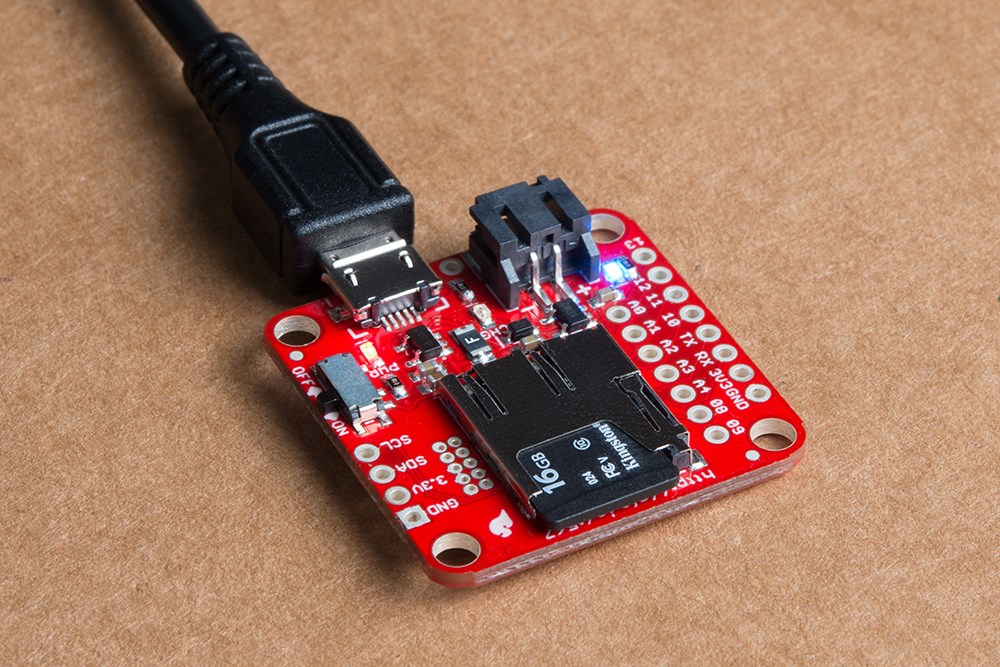
In addition to an Arduino bootloader, we've also loaded the 9DoF Razor IMU M0 with some example firmware -- enough to at least prove that the sensor's motion tracking works, and even do a little logging to a µSD card. To start using the example firmware, simply plug the Razor IMU into a computer.
After plugging the board in, it should show up as a serial port. On Windows, that looks something like COMX and on Mac, it should look like /dev/tty.usbserial-ABCD12.
After locating your board's port, open up a serial terminal and set the baud rate to 115200 bps. The Arduino Serial Monitor works well for this purpose, or you can download one of our recommended terminal programs.
Upon opening the port, your 9DoF Razor IMU should immediately begin spouting out accelerometer, gyroscope, and magnetometer readings.
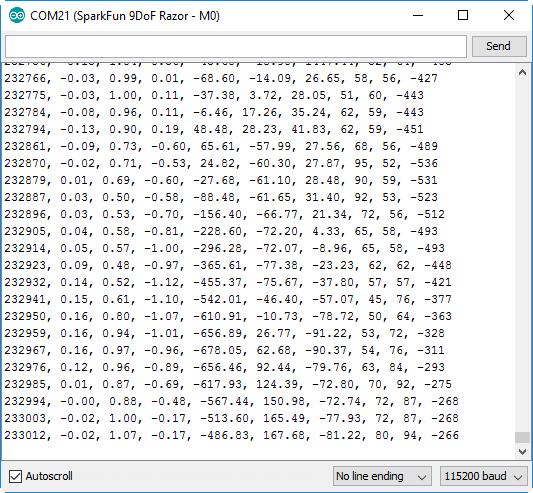
The format of this default string is:
<timeMS>, <accelX>, <accelY>, <accelZ>, <gyroX>, <gyroY>, <gyroZ>, <magX>, <magY>, <magZ> The string can be modified by sending any of the following commands:
(SPACE) -- Pause/resume serial port printingt-- Turn time readings on or offa-- Turn accelerometer readings on or offg-- Turn gyroscope readings on or offm-- Turn magnetometer readings on or offc-- Switch to/from calculated values from/to raw readingsq-- Turn quaternion readings on or off (qw, qx, qy, and qz are printed after mag readings)e-- Turn Euler angle calculations (pitch, roll, yaw) on or off (printed after quaternions)h-- Turn heading readings on or offr-- Adjust log rate in 10Hz increments between 1-100Hz (1, 10, 20, ..., 100)A-- Adjust accelerometer full-scale range. Cycles between ± 2, 4, 8, and 16g.G-- Adjust gyroscope full-scale range. Cycles between ± 250, 500, 1000, 2000 dps.s-- Enable/disable SD card logging
All settings are stored in non-volatile memory, so the next time you boot up your 9DoF Razor, it should output the same data you configured it to previously.
In addition to logging to your serial port, the firmware is also designed to log the data to a µSD card, if it's present. Load one up, and you should end up with IMU log files the next time you plug the SD card into your reader.
The 9DoF Razor IMU's firmware is available in the product's GitHub repository. To upload the firmware, you'll need the SparkFun SAMD21 board definitions and the SparkFun MPU-9250 DMP Arduino library installed on your machine. Which is exactly what we're going to document next...