XBee WiFi Hookup Guide
An Overview
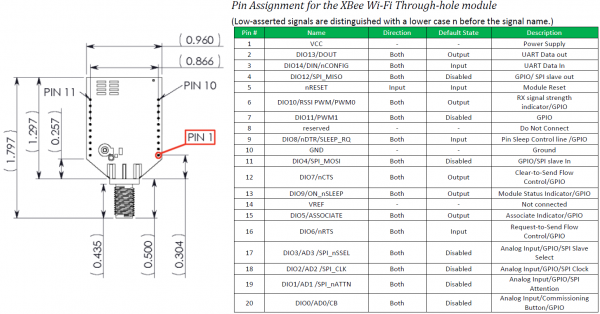
The XBee WiFi modules all share the same footprint and pinout as most "normal" XBees. They've got 20 through-hole pins, each spaced by 2mm. The pin functions range from power input to GPIO to analog input to SPI. Here, from the datasheet, is the table of pins and their function:
XBee WiFi modules can be connected to another microcontroller via their serial port, but what makes them special is they've got a whole host of I/O pins of their own. An XBee alone can toggle LEDs, or motors, or relays, and it can read digital or analog inputs as well. We'll take advantage of the XBee I/O capabilities in the To the Cloud! page, connecting LEDs and buttons directly to the little WiFi module.
Choosing an Antenna
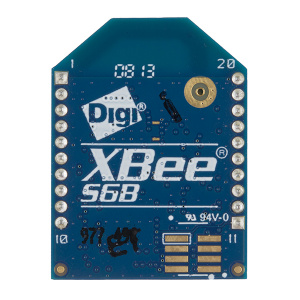
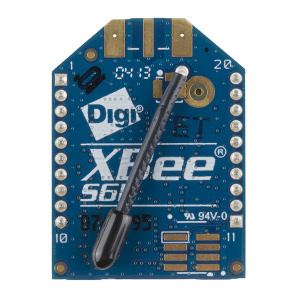
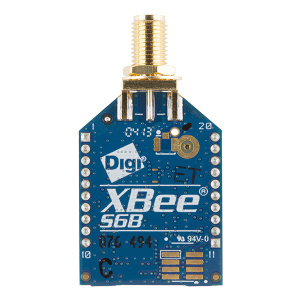
There are a variety of XBee WiFi modules, each with their own antenna termination. Two of the module have integrated antennas: the PCB antenna and wire (whip) antenna. These are the best choice if you're looking for cheap, but they'll also have less range.
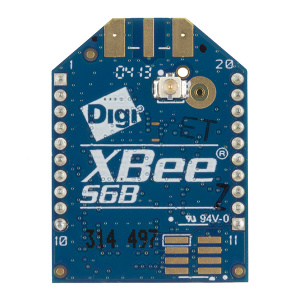
If you need more range, consider going with the modules with a U.FL connector or an RPSMA connector. Either of these will require an compatible external 2.4GHz antenna.
For the U.FL version, the Adhesive 2.4GHz antennas make a nice, low-profile choice. For the SMA version, duck antennas (large and regular) make a nice, stylish choice.
Choosing a Breakout Board
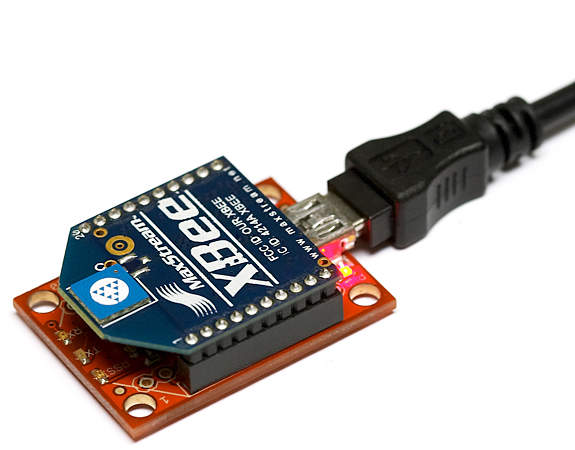
The easiest way to use these modules is to plug them into a mating breakout board. For the next pages of this tutorial, we recommend you get an XBee Explorer, which will let you communicate to the XBee from your computer. The Explorers come in mini-B USB, USB Dongle and RS-232 Serial (if you've got an ancient computer with a serial port) versions. Any of the three will work!
As alternatives to the USB and Serial explorers, there are more simple XBee breakout boards. There's the XBee Breakout Board, which simply breaks out the 2mm-spaced XBee to a more breadboard-friendly 0.1" pitch. Then there's the XBee Explorer Regulated, which breaks out the pins and has onboard voltage regulating to help mesh with the 3.3V XBee. Either of these are great for embedding into a project, but may be a little more difficult to interface with your computer.
On the next few pages we'll show you how to use the XBee WiFi with XCTU and Digi's Cloud Service. This isn't the only way to use these modules, but it's the easiest to get them up-and-running quickly. If you follow along, you can very easily have an XBee communicating with the "cloud".
