XBee Shield Hookup Guide
Introduction
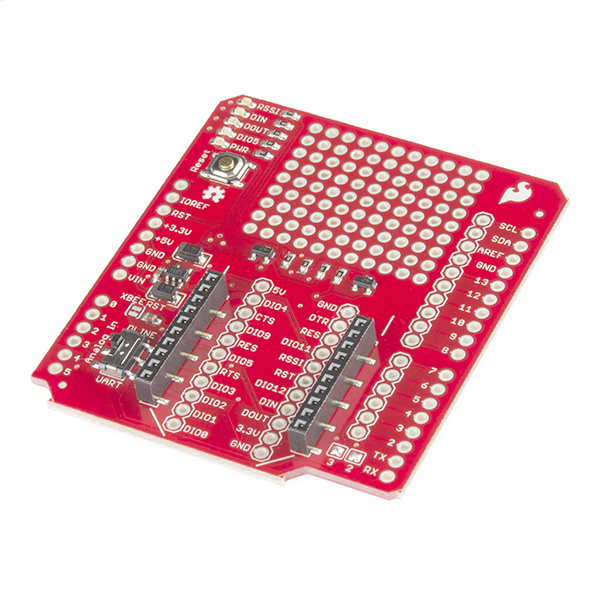
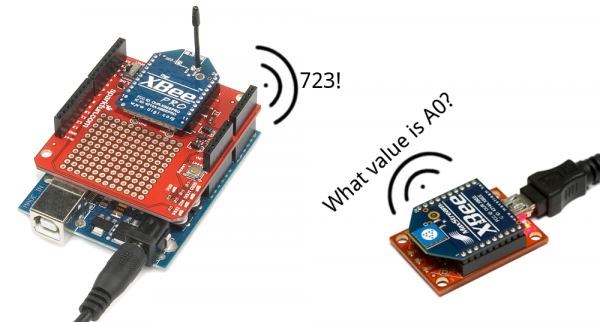
The XBee Shield gives your Arduino a seamless interface to XBee -- one of the most popular wireless platforms around. With XBee, instead of being tied down by a serial cable -- inches away from a paired device -- your Arduino can pass data over the air to another device hundreds of feet away.
Part of what makes XBee so popular is its simplicity. XBees are controlled over a serial UART interface -- in the most basic operation they can be used as a wireless serial cable. Setting up XBee networks and addresses is also simplified with Digi's free software -- XCTU -- which we explain in a separate tutorial.
Covered In This Tutorial
The goal of this tutorial is to set up wireless XBee communication between a computer and an Arduino/XBee Shield combo. Then, using a terminal program, we can remotely send data to an Arduino, or read data off of it.
We'll begin by examining the schematics and hardware of the XBee Shield, then move on to example code. First we'll set up a test program to make sure our XBees are communicating with each other. Then we'll move on to the remote control Arduino sketch.
Required Materials
To follow along with this tutorial, you will need the following materials. You may not need everything though depending on what you have. Add it to your cart, read through the guide, and adjust the cart as necessary.
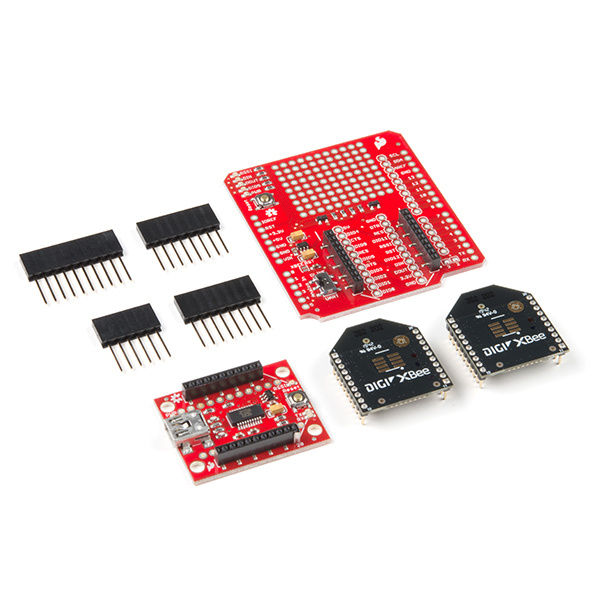
- 1x XBee Shield -- The star of this tutorial.
- You'll also need headers to install into your shield. We recommend stackable headers.
- 1x Arduino -- The XBee Shield should work with any Arduino-compatible board -- Uno, RedBoard, Mega, you name it.
2x XBees -- XBees exist in a variety of series, frequencies, and ranges. If you're just getting started with XBee, we highly recommend going with Series 1 models -- either with a trace antenna, wire antenna or u.fl connector.
- For more help picking an XBee, check out our XBee Buying Guide.
Heads up! While this tutorial was written for XBee Series 1, you can still follow along using XBee Series 3 modules. Just make sure to configure it with the 802.15.4 (Series 1) firmware. For more information, check out the Exploring XBees and XCTU tutorial.- 1x Explorer -- The Explorer board allows you to connect an XBee to your computer. You can use either the Explorer USB, Explorer USB Dongle, or Explorer Serial.
- Depending on which explorer you have, you may also need a matching mini-B USB or serial cables.
- At least one computer with X-CTU installed.
- The latest version of X-CTU is available for both Mac and Windows!
Tools
You will need a soldering iron, solder, and general soldering accessories.
Weller WLC100 Soldering Station
TOL-14228Suggested Reading
Before reading through this tutorial, we highly recommend checking out the Exploring XBees and XCTU tutorial.
Exploring XBees and XCTU
That tutorial will introduce you to XCTU and explain how to configure XBee networks and addresses. In addition to that tutorial, we also recommend checking these guides out:
- Serial Communication -- Serial communication is critical to controlling and managing XBees.
- Arduino Shields -- The basics of Arduino Shields, including how to assemble a shield.
- XBee Buying Guide -- We highly recommend Series 1 XBee's, if this is your first time playing with them. If you're curious about other XBee classes, check out this guide!


