Working with Qwiic on a Jetson Nano through Jupyter Notebooks
 D___Run___
Software Setup and Installation
Once you have everything connected to the pHAT, it is now time to get the Python libraries and Jupyter Notebooks installed.
This tutorial assumes you have already gone through the process of burning an OS image to a microSD card, ran initial setup and have your Nano connected to the internet either through Ethernet or WiFi. If you are just opening the box at this point take a moment to set your board up by going through the following tutorials:
- Jetson Nano Initial Setup - General setup guide from NVIDIA!
- Installing the Edimax WiFi adapter - adding WiFi connectivity using a USB adapter.
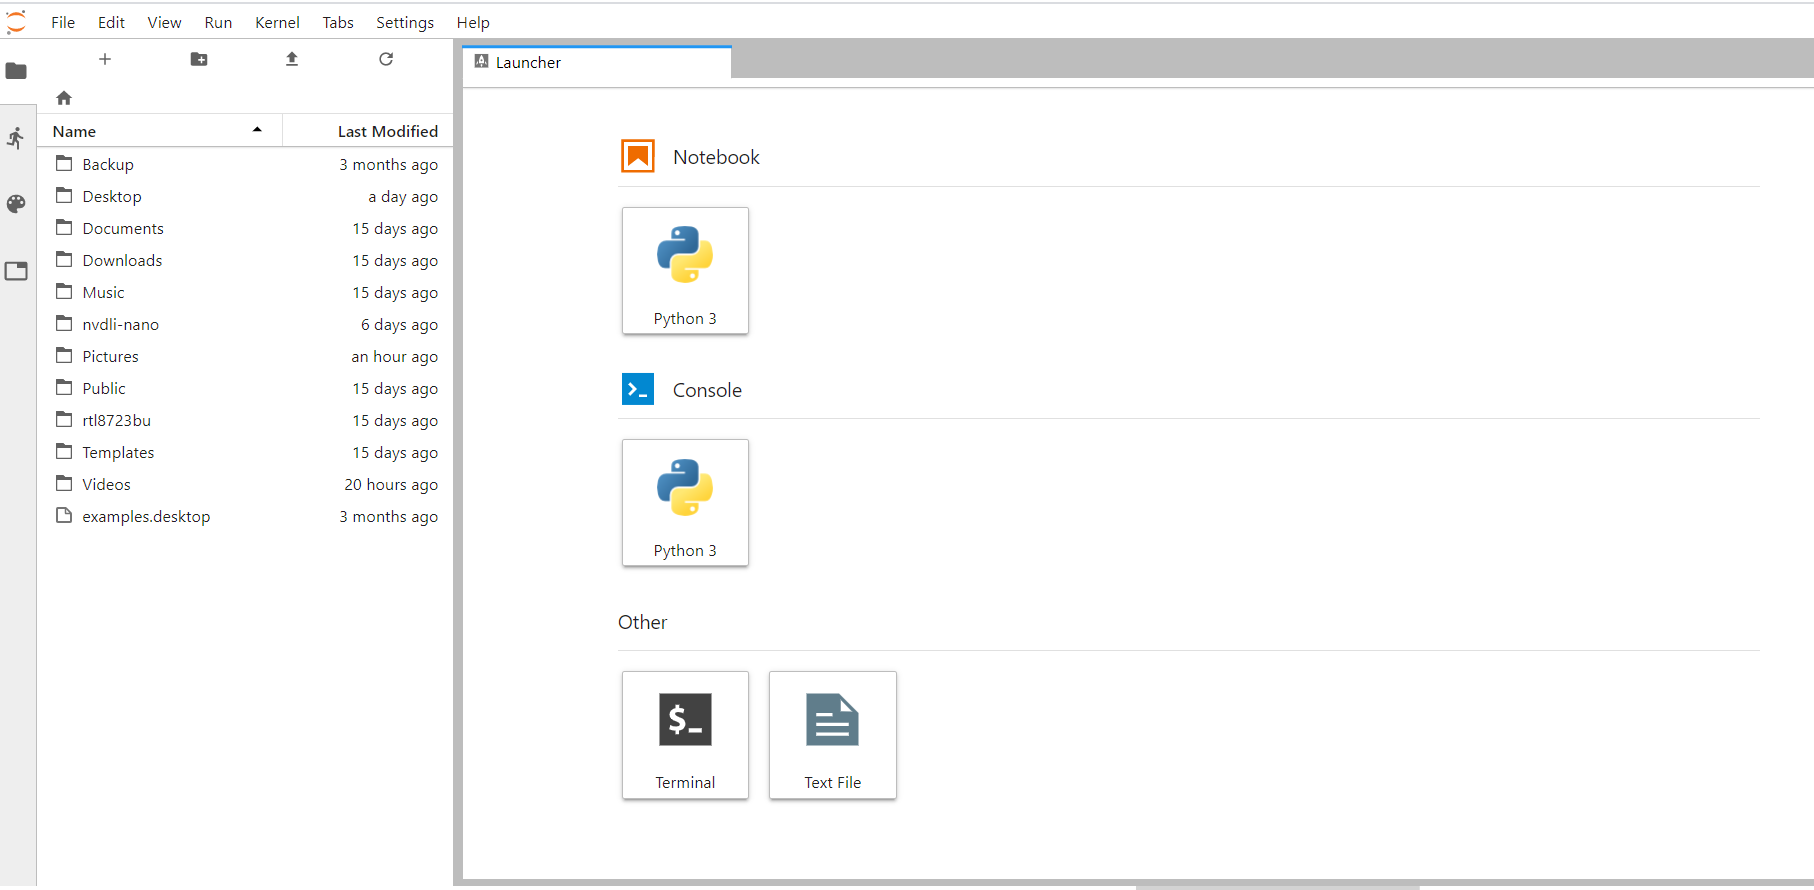
Navigating to Jupyter Notebooks
To access Jupyter Notebooks on your Jetson Nano you will need to know its IP address. There are a number of ways to find it. The most straightforward way is to hook the Jetson Nano up to a monitor and keyboard, open a terminal and type the following:
ifconfig[Enter]
This command will list off all of your network connections and the IP address for that connection. If you have followed the instructions for the WiFi setup tutorial linked above we will assume you know your IP address and have your Jetson Nano connected to your network.
Open a browser window and type the following in the address bar: http://[IP ADDRESS]:8888 with [IP ADDRESS] being your Jetson Nanos IP Address.
The first time you connect it may take a bit of time for Jupyter Notebooks to load, but you should be greeted by a loading page and then a sign-in page asking for a password. The password for the DLI image is dlinano and the password for the Jetbot image is jetbot.
Once you are logged into Jupyter Notebooks you will need to open a new terminal window to download the Jupyter Notebooks for the Qwiic Boards as well as install the Qwiic Python libraries.
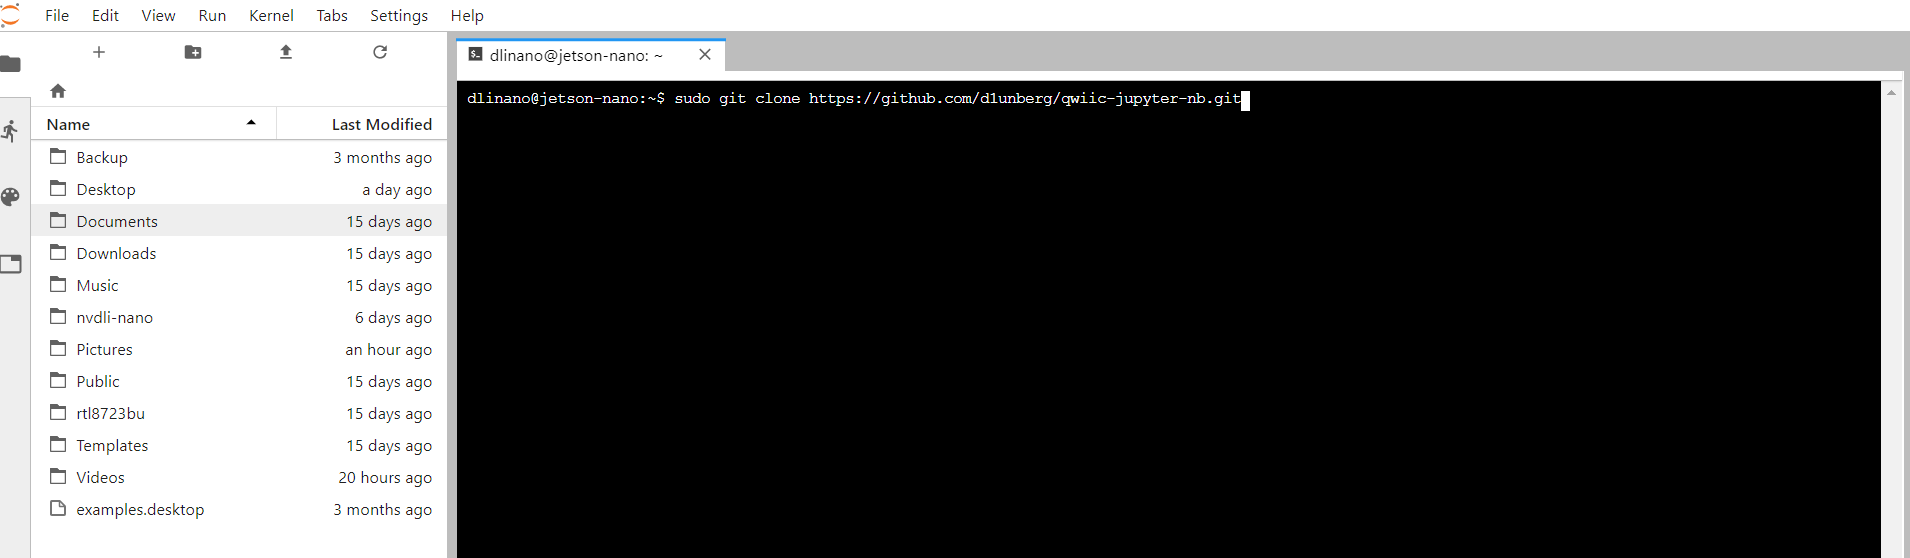
Once you open the terminal window from the Launcher window, navigate to the DLI-Nano Notebooks directory by typing the following command:
cd nvdli-nano[Enter]
You can then download the SparkFun Qwiic Jupyter Notebooks from GitHub with the following command:
sudo git clone https://github.com/d1runberg/qwiic-jupyter-nb.git [Enter]
This command will download a folder with the contents of our Jupyter Notebooks as well as the assets required to display images, etc. You should now be able to see the SparkFun Qwiic Notebooks directory in the directory tree on the left side of Jupyter Notebooks!
Once the SparkFun Qwiic Notebooks downloads you need to install the Qwiic Python libraries before digging in and using them.
Installing Qwiic Libraries
With the terminal window in Jupyter Notebooks still opened you can install the SparkFun Qwiic Python libraries through pip by typing the following command:
sudo pip3 install sparkfun-qwiic[Enter]
This will install the entire Qwiic Py package with libraries for the Qwiic boards that are supported in Python.

Once the installation is complete, you should be good to go and can close the terminal window.