Working with Qwiic on a Jetson Nano through Jupyter Notebooks
 D___Run___
Hardware Overview and Assembly
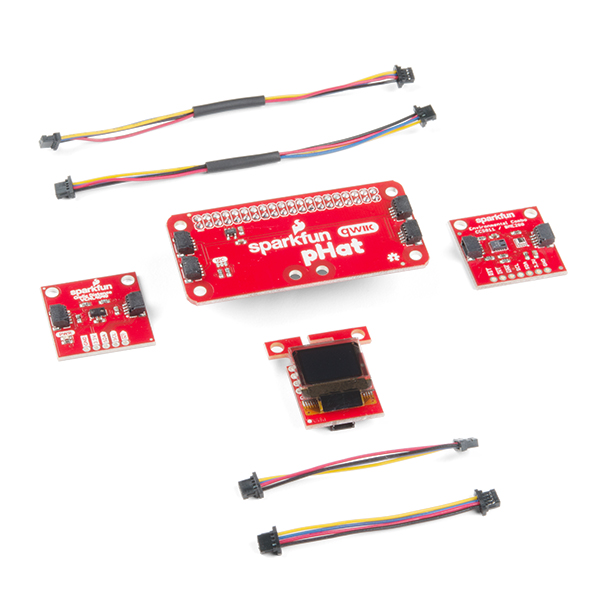
We will obviously need an NVIDIA Jetson Nano (we recommend starting with the DLI Course Kit) as well as some Qwiic hardware. We recommend starting with the SparkFun Qwiic Kit for Raspberry Pi but we have Python packages for many Qwiic boards. The most up to date list of Python-supported Qwiic boards can be found in the Qwiic Py GitHub Repository.
Hooking up your Qwiic kit to the NVIDIA Jetson Nano is straight forward. The kit comes with our Qwiic pHAT which plugs in to the Jetson Nano via the 2x20 GPIO header.

The orientation of the pHAT is very important here. It should hang off the Jetson Nano Developer Kit carrier board and not over the top of the heat sync. Think “spoiler” for your Jetson Nano and you will get it!
Once the pHAT is in place we can now add the distance sensor and environmental combo board as well as the micro OLED display using the Qwiic cables included in the kit.
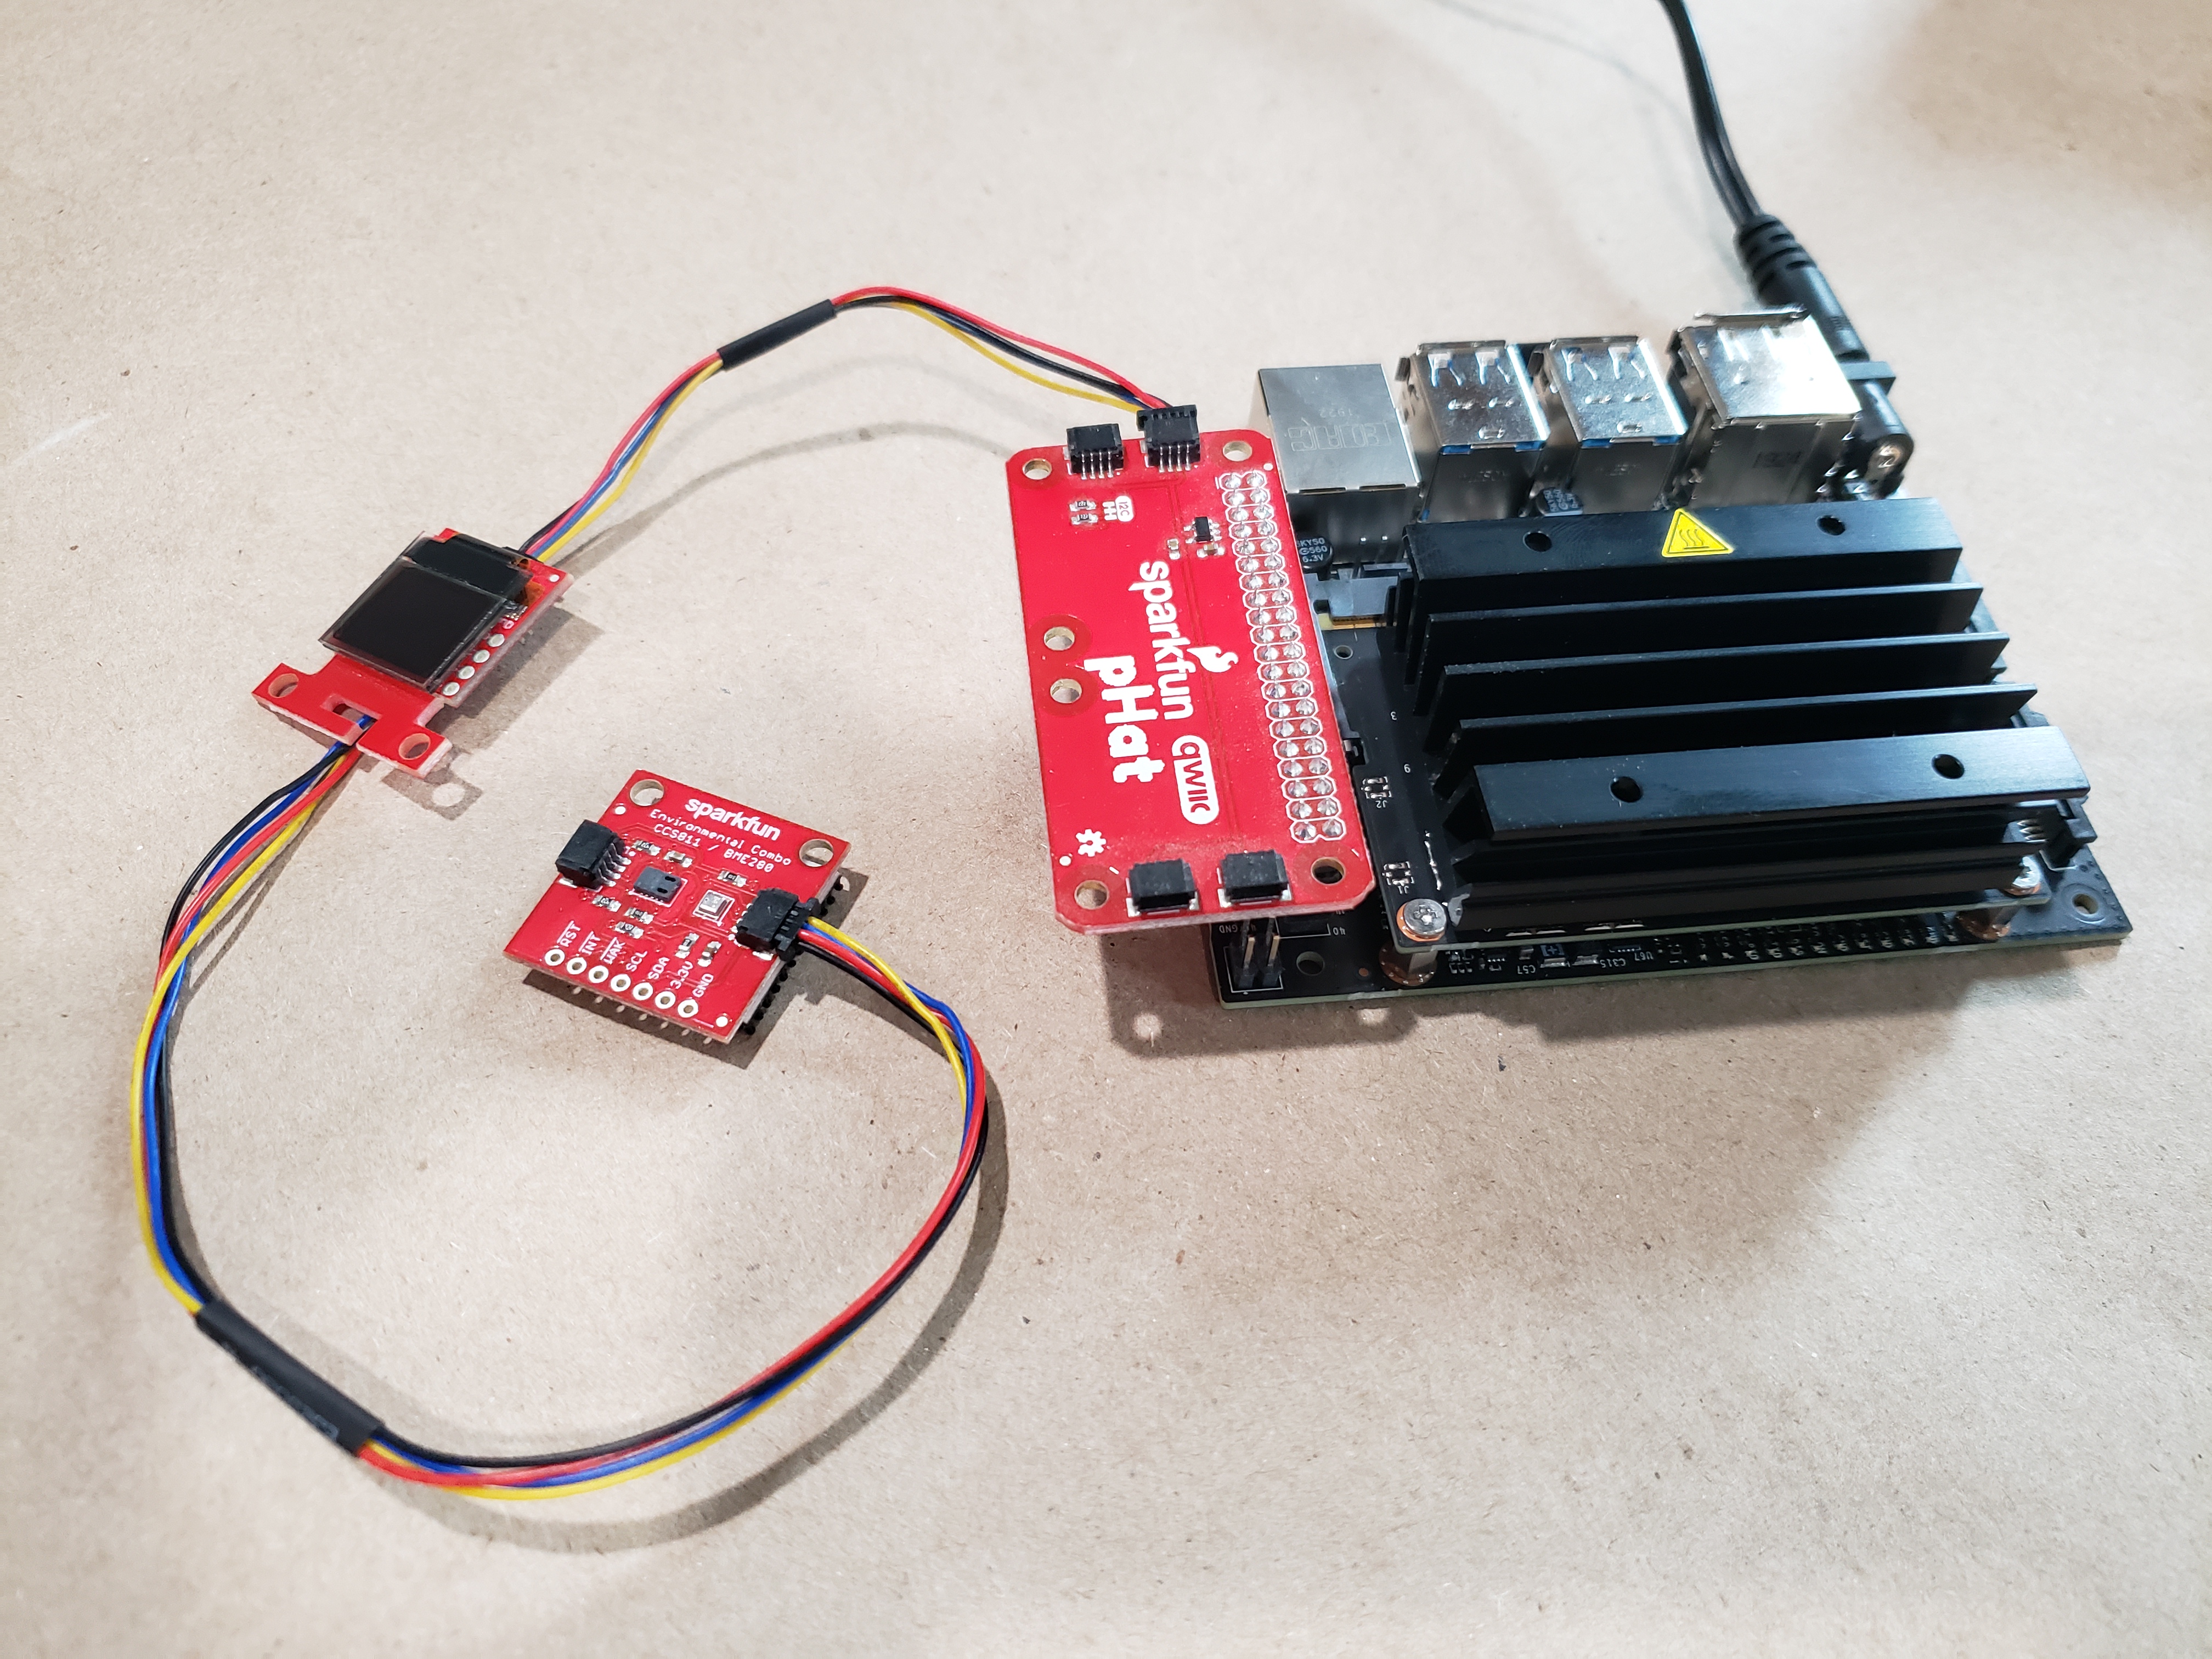
You can configure your hookup of the Qwiic boards in any combination you like as long as you have both boards connected to the pHAT. Personally, I like to daisy chain them together but you can go with the flavor that suits you and your needs.