Working with Qwiic on a Jetson Nano through Jupyter Notebooks
 D___Run___
Running an Example in Jupyter Notebooks
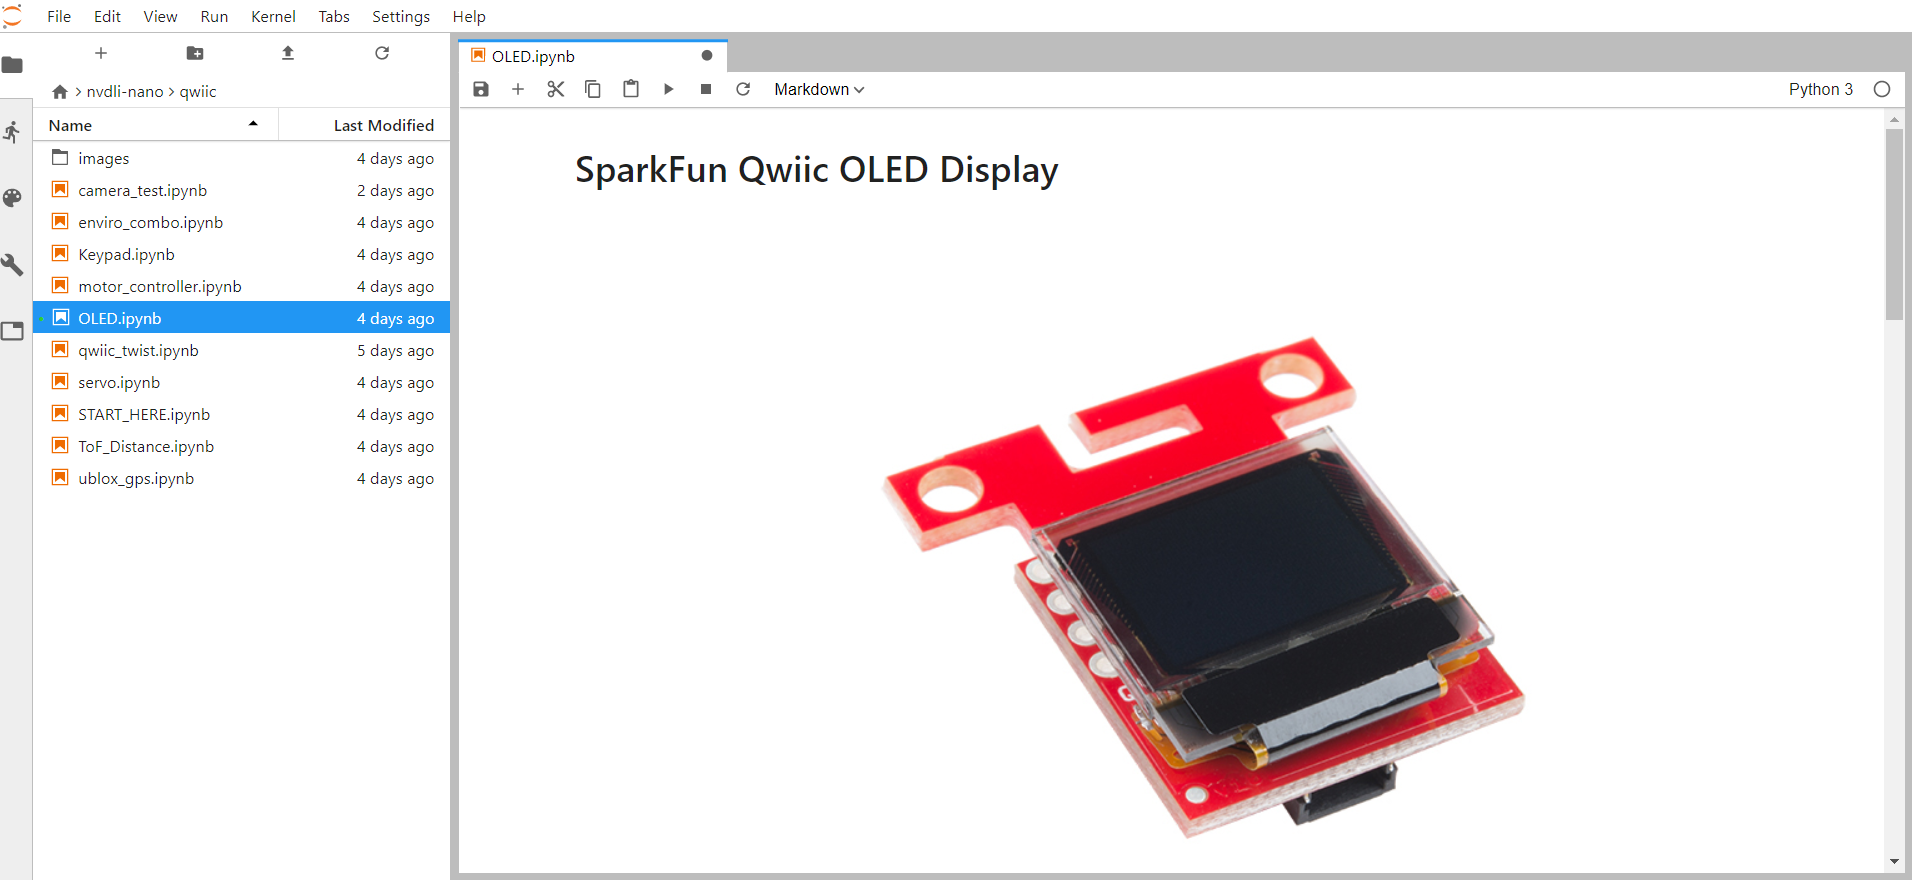
With our Qwiic boards connected to the Jetson Nano we have two different options of Notebooks to choose from! For the sake of simplicity I chose the OLED notebook to walk you through, but once you run the first Notebook the other will be simple enough to run as well. Open the SparkFun Qwiic Notebooks directory by double clicking on it. Find the OLED.ipynb notebook file and open it by double clicking it as well.
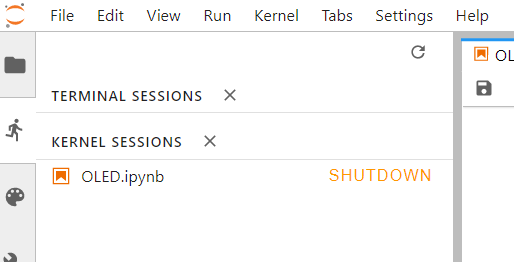
Notebooks work in Jupyter Notebooks by running your code in a kernel which you need to start and stop. It is a good habit to make sure that you are not running other Notebook kernels before starting one. To check if any kernels are running select the small running man icon on the far left toolbar. Any kernels that are running will be listed here and you can click “SHUTDOWN” to close any that are open.
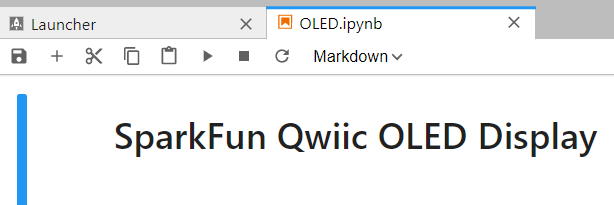
To run the OLED Notebook we need to specify what type of kernel we want to run it as. In the upper right hand corner there is a small text box next to a circle. It should say “Python 3”, but if it says “No Kernel” click on it and select Python 3 from the options provided. We can now run the python code in the Notebook!

Next, interact with the Notebook by clicking on the first cell which is the product description for the OLED and then click the "Play" button in the top menu bar. This play button steps you through each cell (either text or code) and moves you to the next one.
You may notice that each cell has a box next to it. For code cells there will be an ‘*’ in that box while the code is executing and when it completes its execution the asterisk will turn to a number. So, you can follow through the Notebook by clicking the Play button as code executes combined with reading the explanation through the tutorial text.
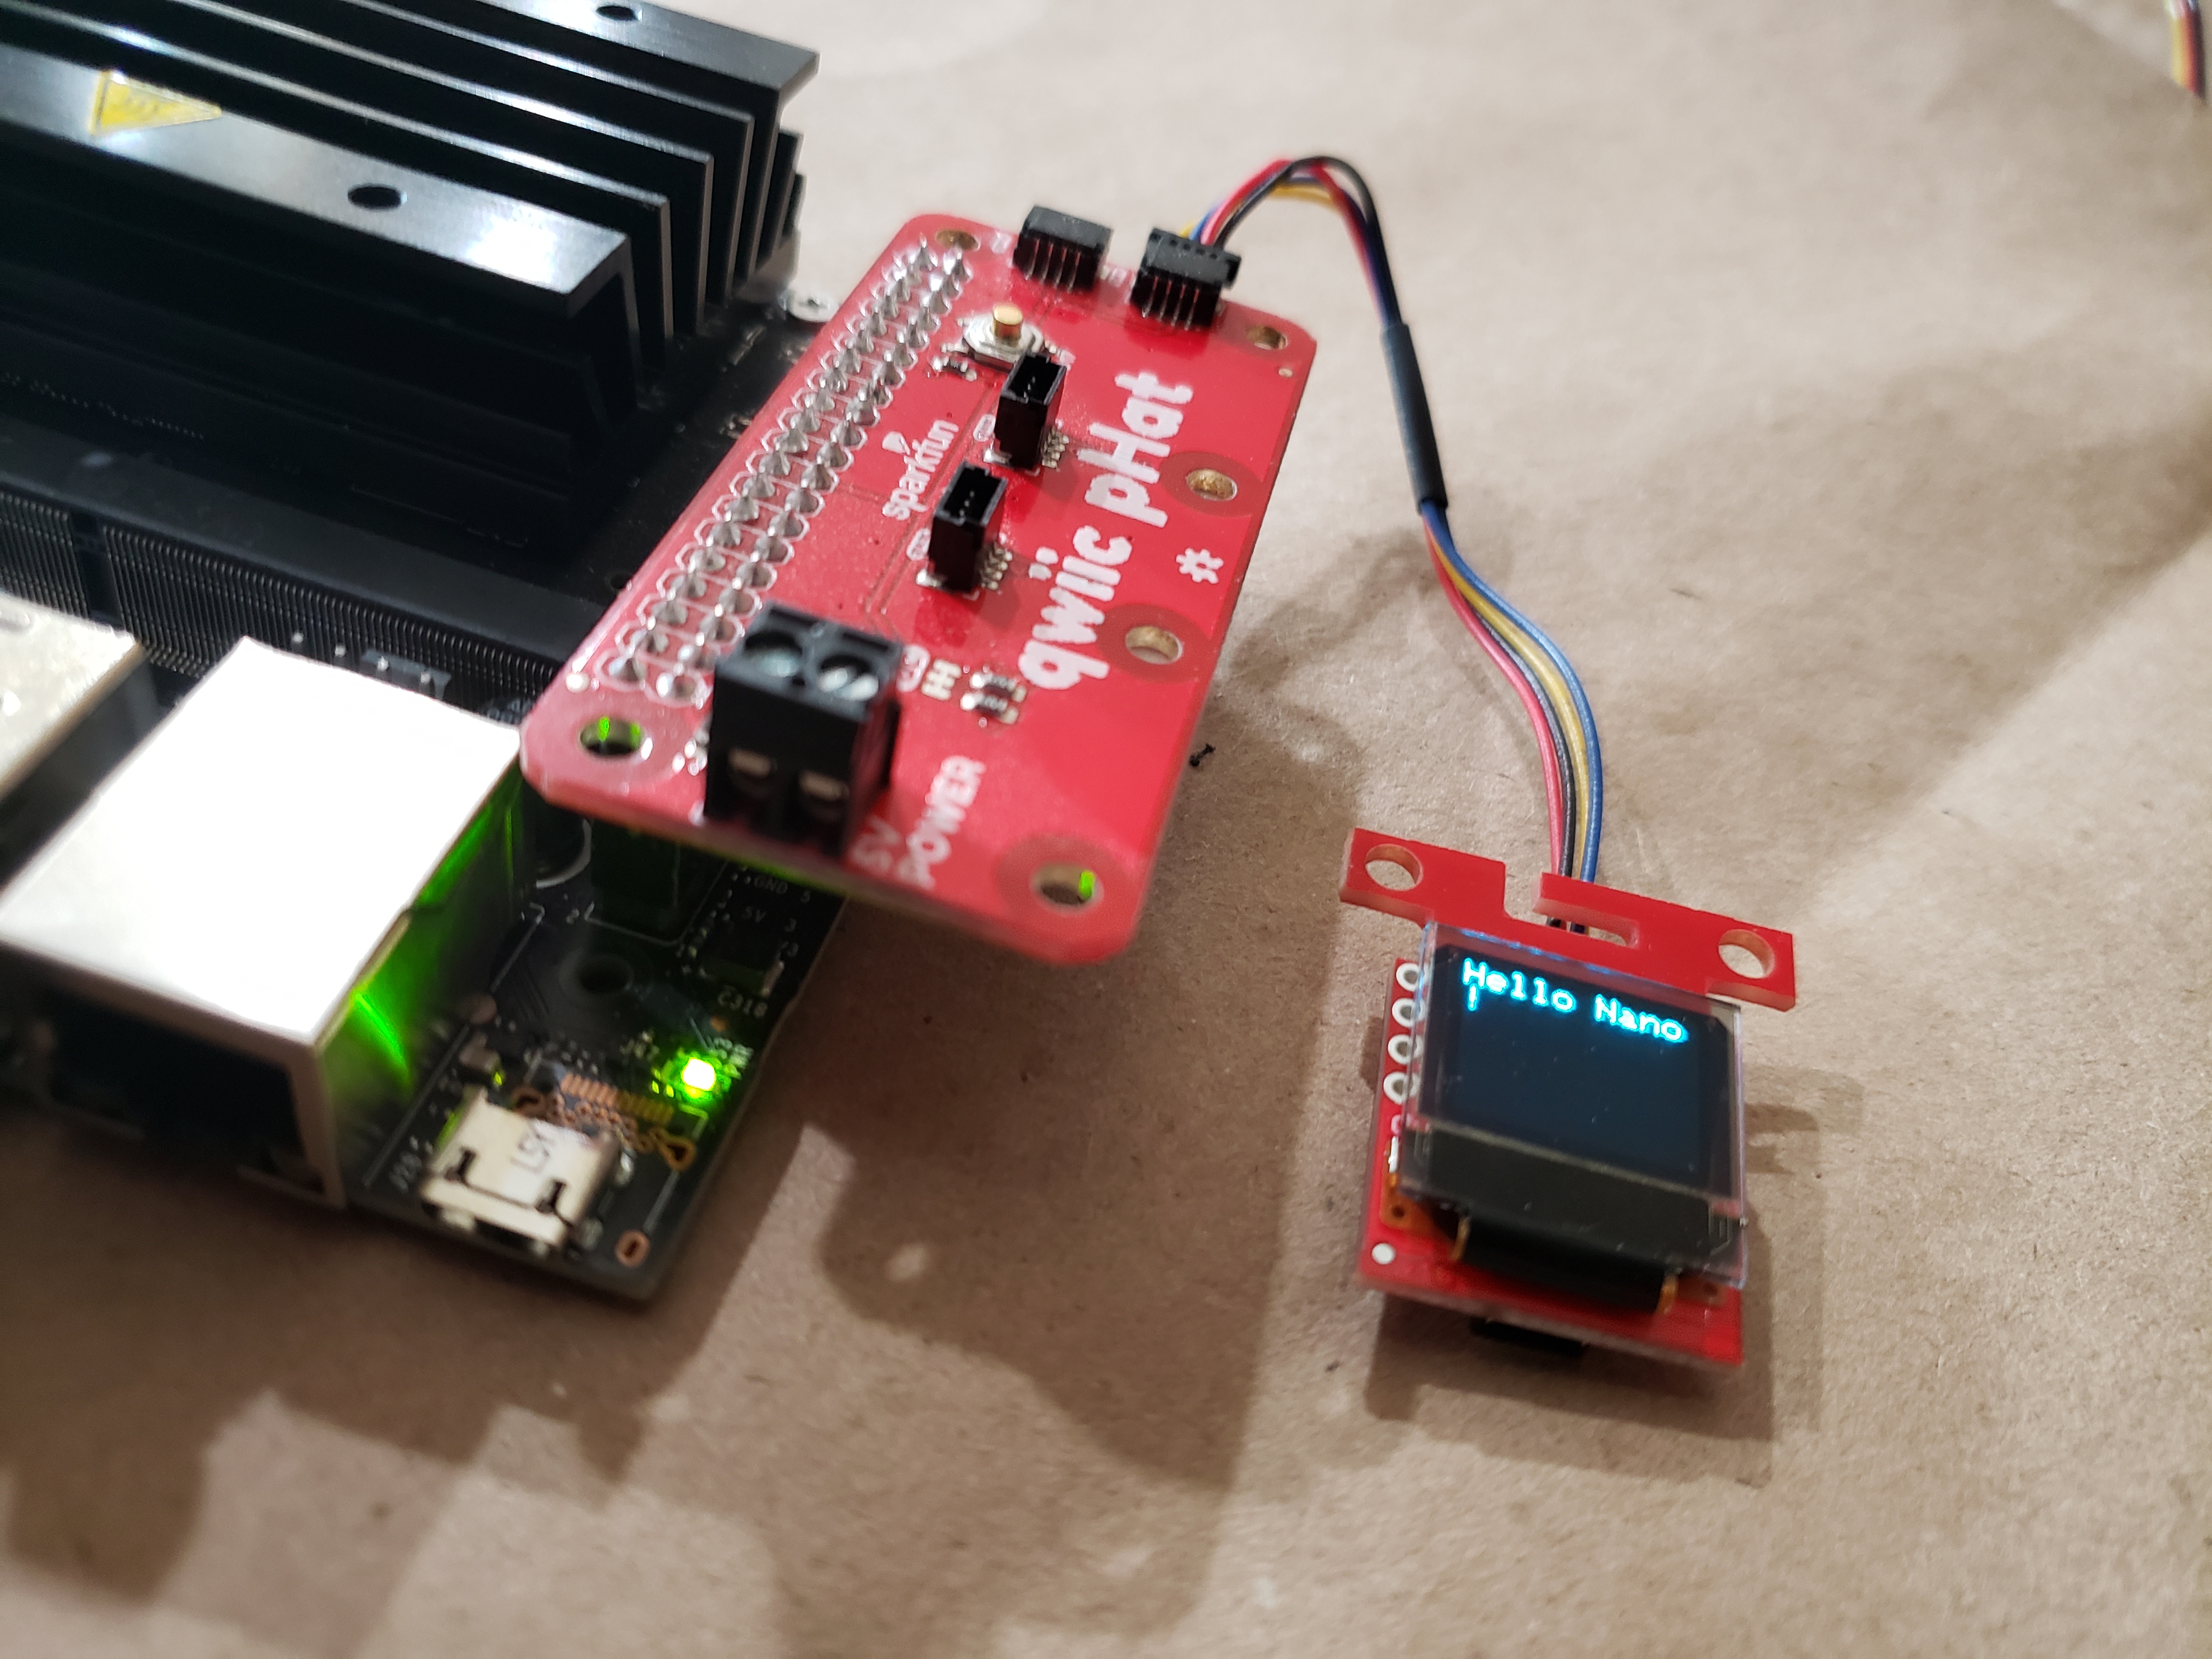
In the end your OLED should display some text on it.
The code cells in the Notebook are interactive and you can make changes. So changing the string that the display changes is as simple as double clicking on that code cell and changing the string to your name for example. You then need to reselect the code cell and re-run it.