Weather Meter Hookup Guide
 Toni_K
Hardware Assembly
The weather meter is an easy kit to assemble -- there are only mechanical connections that need to be made.
Armature
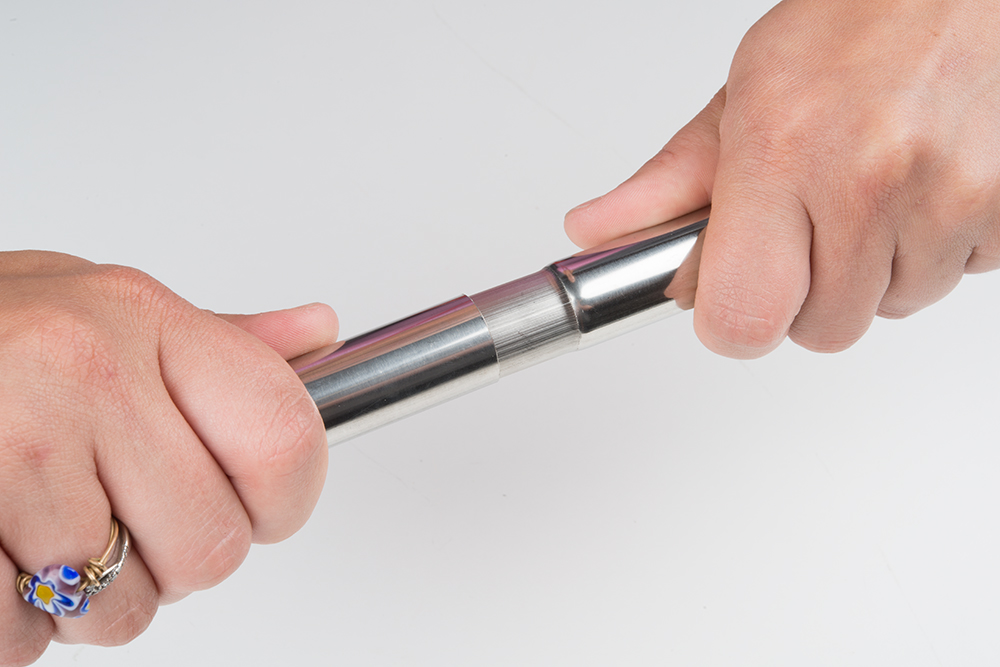
To begin, find the two metal tubes, and slide them together.
Next, add the armature to the top of the tube set. Make sure to line up the nub on the armature with the notch in the tube.
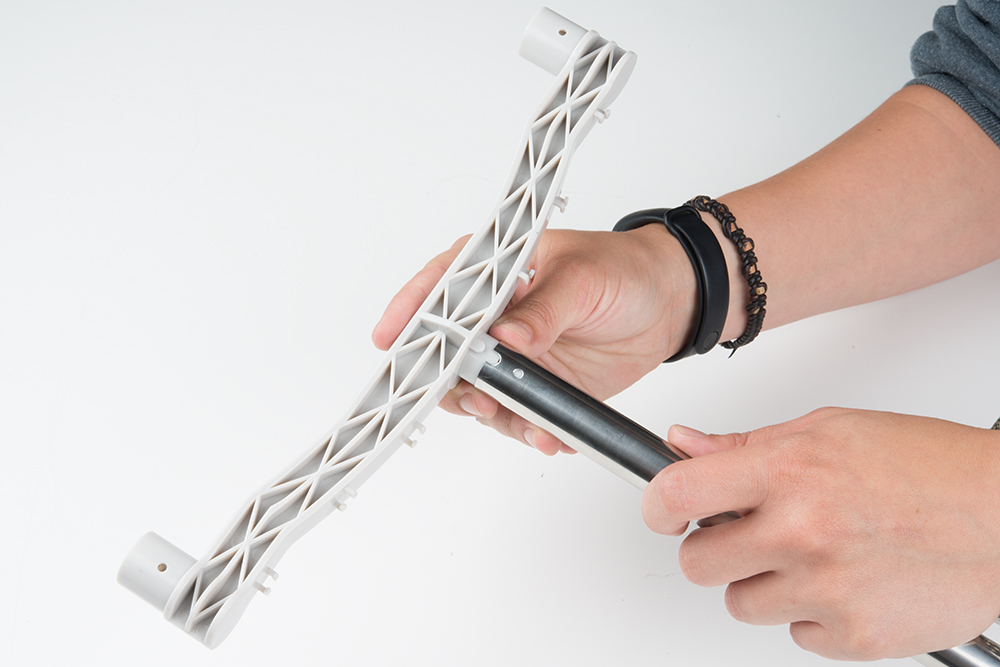
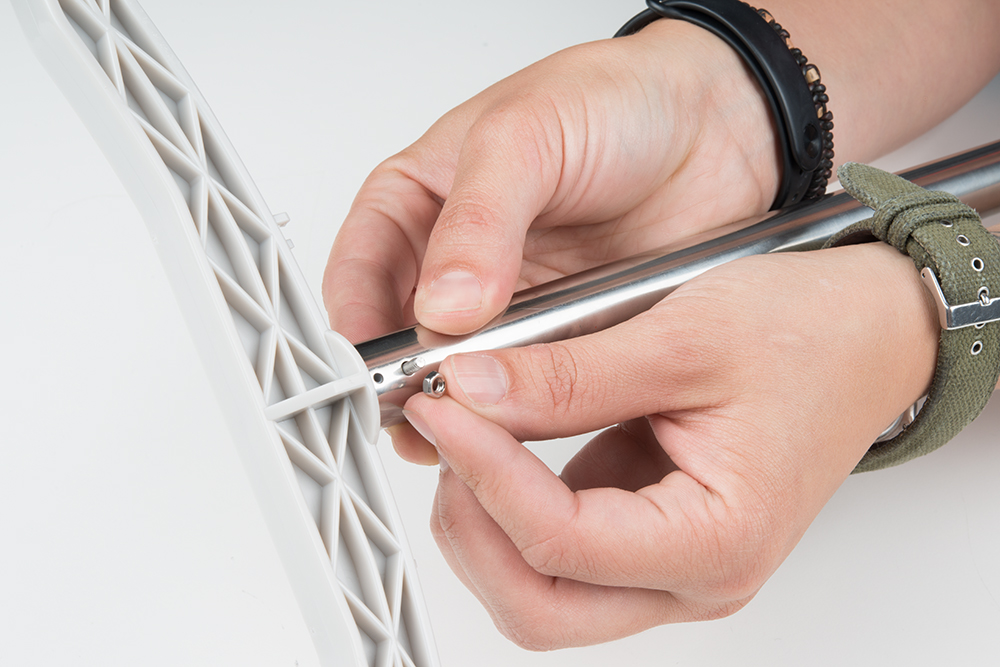
Use one of the included screws and nuts to lock it in place.
Anemometer
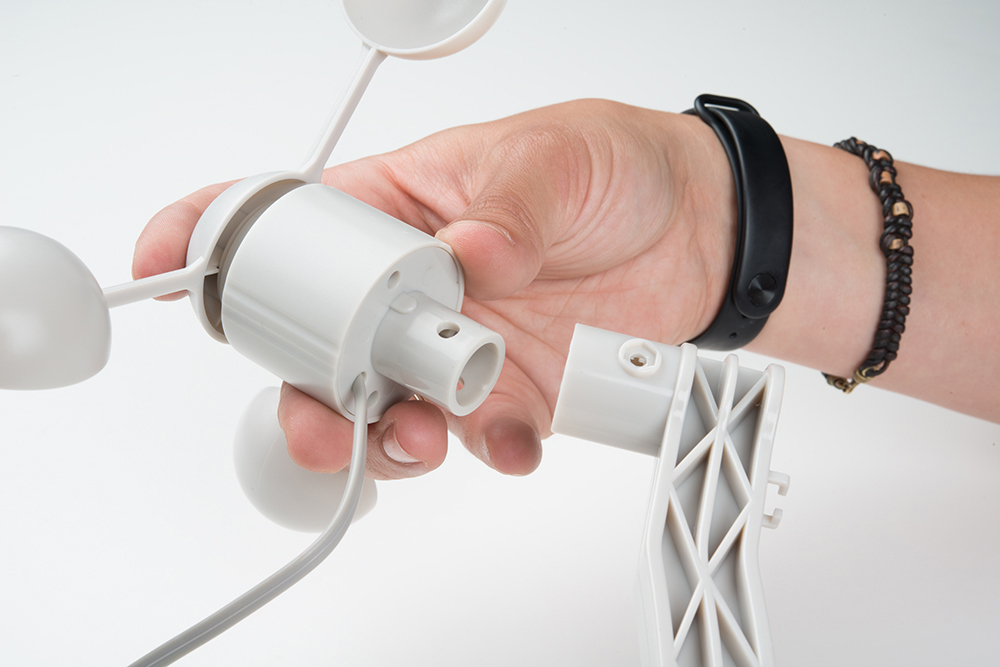
Next, we will mount the anemometer on one side of the armature.
The anemometer has a nub on it that matches notches in the armature. This will help secure the anemometer once attached and only allows the sensor to be mounted in one direction.
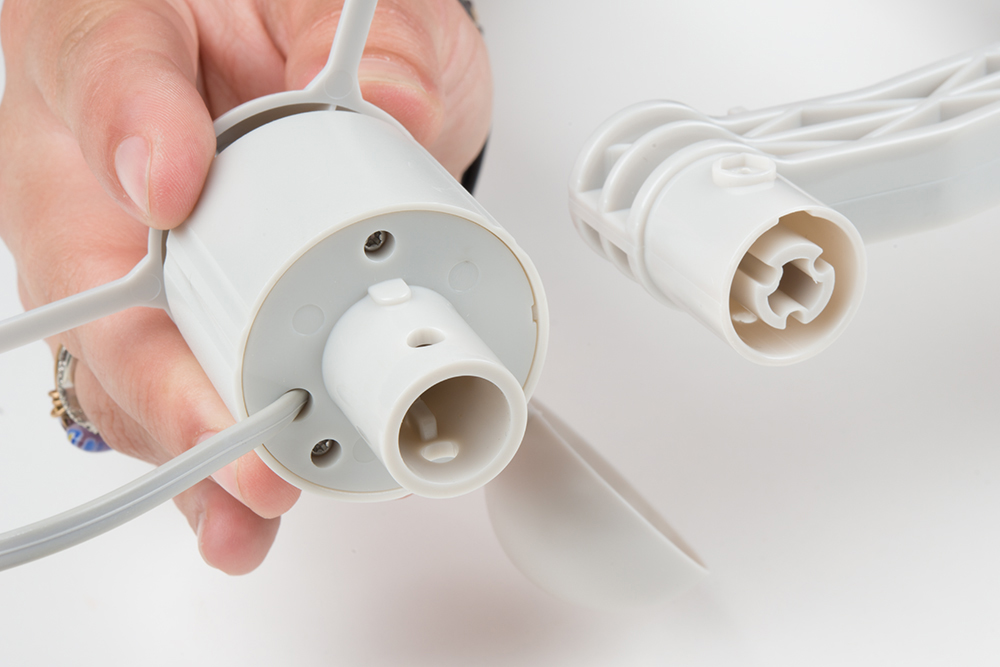
Slide the anemometer onto the armature until it locks in place.
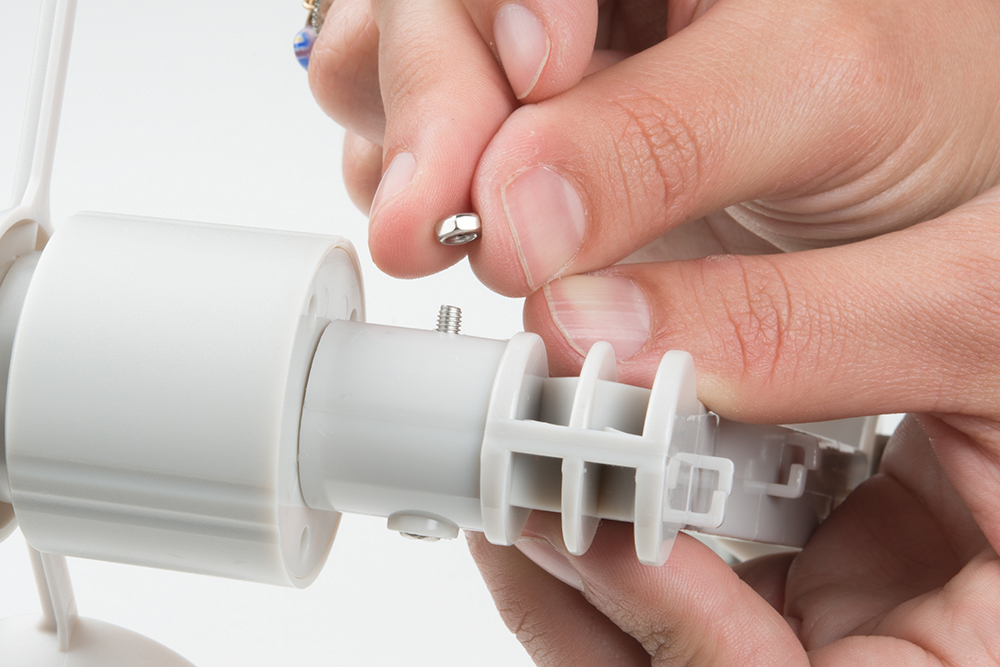
Use an included screw and nut to lock the sensor in place (make sure these are tight).
Wind Vane
To attach the wind vane, you will follow the same procedure as installing the anemometer.
Line up the sensor and the armature, and push the wind vane into place.
Once again, use a screw and nut to secure the sensor in place.

Rain Gauge
To attach the rain gauge, we also need a secondary armature. This is used to keep the rain gauge away from the other sensors to ensure it can get an accurate measurement. If the rain gauge is mounted underneath the wind vane or the anemometer, they can block rainfall into the gauge or offset the readings due to runoff.
Attach the rain gauge armature to the metal tube using the attached screws and nuts. The two halves piece together with the metal tube in between. Once you have it located where the rain gauge will be clear of the anemometer and wind vane, tighten it into place.

Once again, the rain gauge has notches to ensure it mounts snugly on the armature.

Line these up, and push the rain gauge into place.
Using one of the remaining small screws, secure the rain gauge in place.

The rain gauge has two tabs with holes on either side. These can be used to mount the sensor on different surfaces such as rooftops or fences as well.
Wire Management
If you've gotten this far, congratulations! Now it's on to the easy part -- cable management. Luckily, this isn't nearly as difficult as some wiring projects.
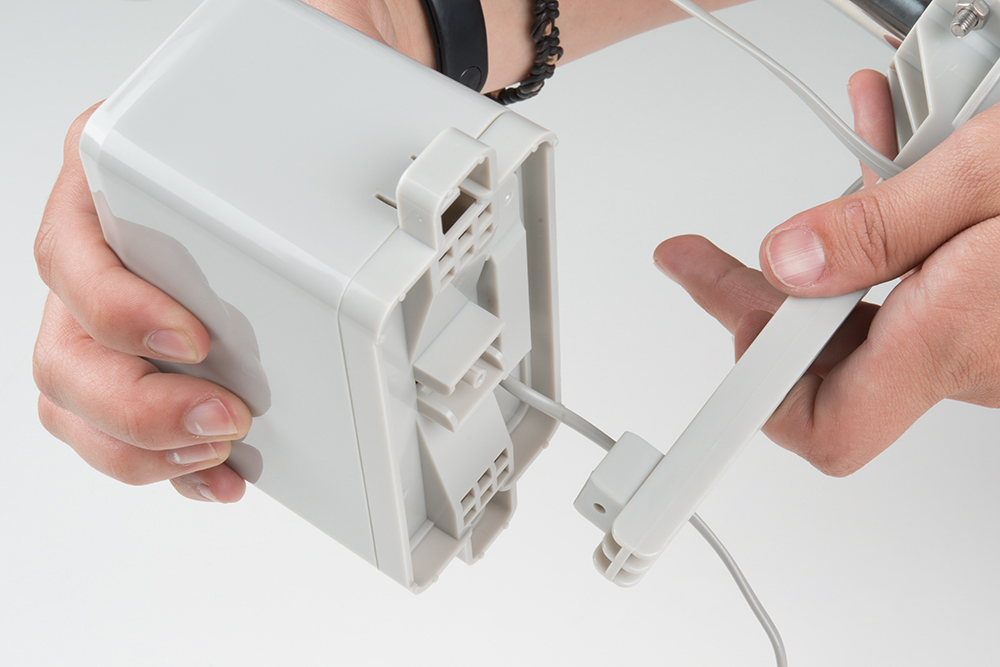
Unravel the wires from the anemometer and the wind vane. On the bottom side of the armature, you will see clips to hold these wires in place. Slide the wire from each sensor into those.

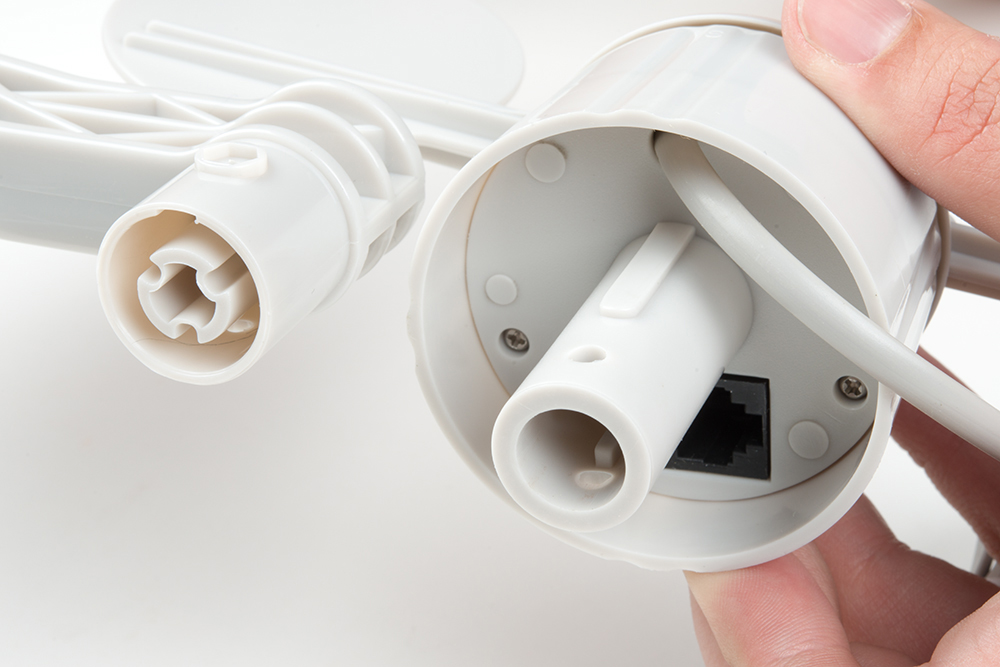
Once you have both of those cables plugged in, you will notice that the anemometer cable is much shorter than the wind vane. As we mentioned in the Hardware Overview, the anemometer switch conductors are shared between the anemometer and the wind vane. You will need to plug the anemometer cable into the wind vane.

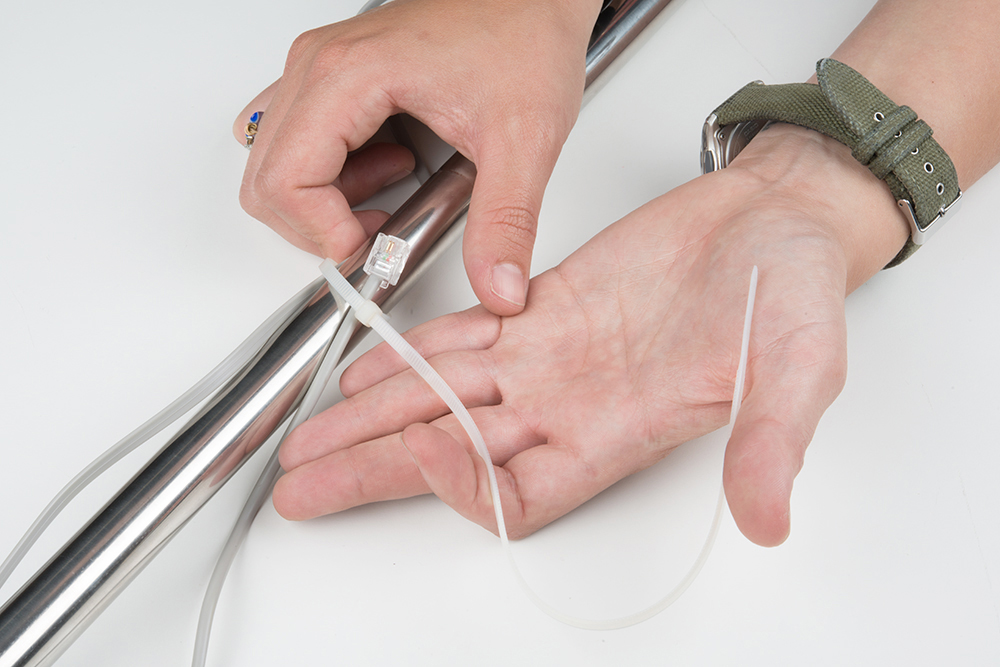
Run all of the remaining wires down the metal tubes, and use the included zip ties to secure them. This will prevent wind from yanking your wires out from your associated electronics.
Success! You now have an assembled weather meter! Make sure your rain gauge is clear of the anemometer and wind vane, and didn't shift during assembly. Your weather meter will look similar to the image below.
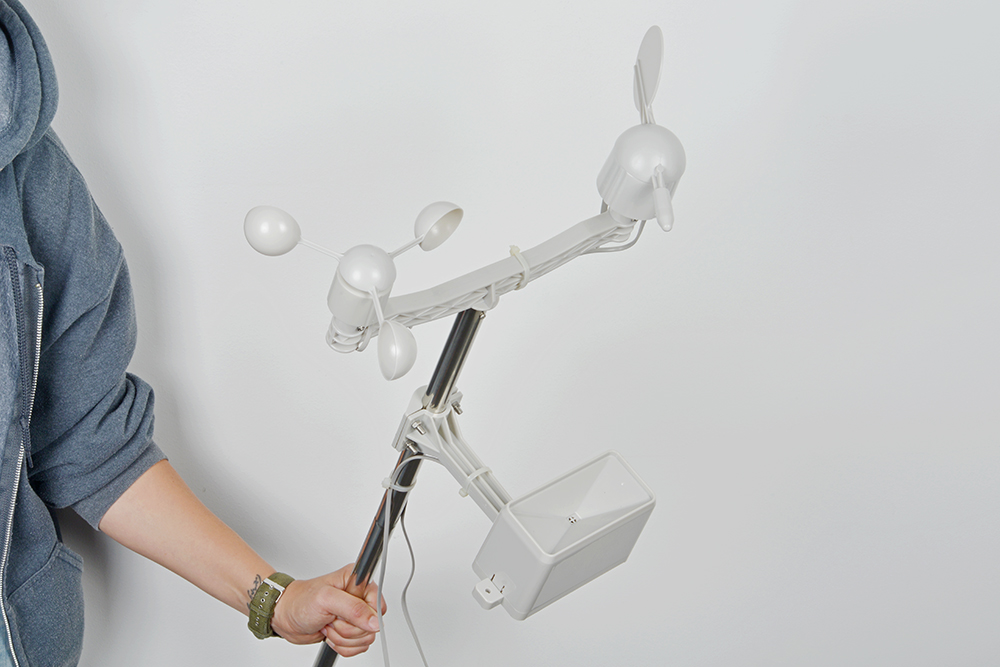
You can now mount this, attach it to various electronics, or just use it as an impromptu lightsaber in battle.
Mount the Meter (Optional)
Now that you've got your meter assembled, you need to place it somewhere with weather! You can use the included gear clamps to help mount and secure your meter.
To show a demonstration of how to use the gear clamp, we slid a gear clamp around our meter and a piece of PVC pipe. Then tighten the gear clamp using a flat head screw driver.

Keep in mind that there are many different ways to approach this problem. You will need to find a mounting solution that works specifically for your application.