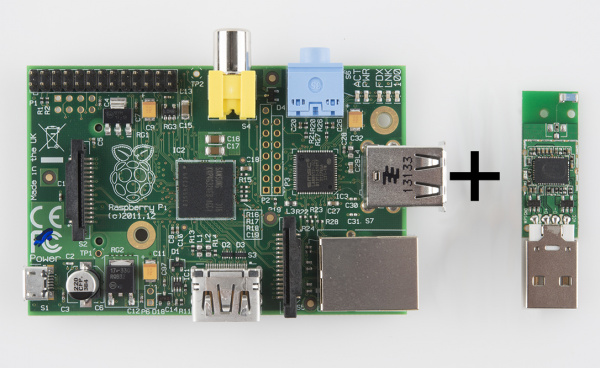
Using pcDuino's WiFi Dongle With the Pi
This Tutorial is Retired!
This tutorial covers concepts or technologies that are no longer current. It's still here for you to read and enjoy, but may not be as useful as our newest tutorials.
Introduction
This quick tutorial aims to show you the steps required to set up the pcDuino WiFi Dongle with everyone's favorite fiberglass-flavored development board: the Raspberry Pi (model B or model A).
This WiFi dongle is a cheap solution to adding network connectivity to your Pi, if you don't have Ethernet nearby. It's easy to set up, once you get the hang of editting text files and typing Linux commands. It's not quite plug-and-play-easy, but it's easy enough.
Required Materials
- pcDuino WiFi Dongle
- Powered USB Hub with at least 3 ports
- Raspberry Pi with these accessories:
- USB mouse and keyboard
- 4+ GB SD card with Rasbpian installed and set up
- 5V USB power supply that can source at least 700mA, and a micro-B USB cable to connect between it and the Pi
- Display connected to the Pi via either HDMI or component
Suggested Reading
This tutorial assumes you have Raspbian installed on your Pi. If you haven't gotten that far, head over to our Setting Up Raspbian tutorial first.
This tutorial is all terminal based. Unfortunately, we haven't been able to get the GUI-based WiFi Config utility to work. So flex your typing fingers and/or prepare to copy/paste a lot of command lines!
