Paper circuits are becoming more and more popular in the hobby electronics world. The easy availability of craft-like materials and increasing abundance of new products has created a really unique ecosystem for crafters looking to make the leap to electronics projects. This guide is an overview of materials and techniques available to paper circuit crafters.
What is a Paper Circuit?
A paper circuit is a functioning electronic circuit built on a paper surface instead of a PCB. Projects can range from greeting cards, to origami, to traditional art such as paintings or drawings. What makes them unique is the use of traditional fine art techniques to create a circuit that is combines aesthetics and functionality.
Suggested Reading
Before we begin crafting, here few concepts you should be familiar with:
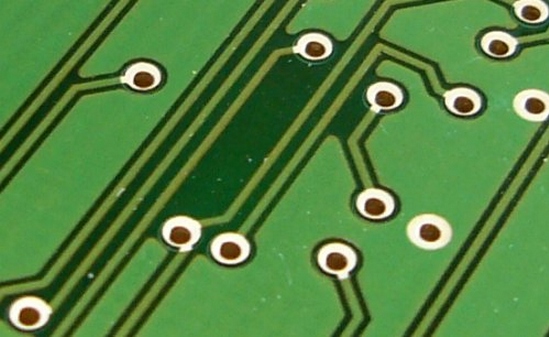
A trace is a path that takes the place of wiring, most commonly seen on a printed circuit board. In paper circuits we'll use conductive materials as a substitute for wires on the paper's surface to connect components. In this tutorial we'll discuss three types of traces: paint, tape, and ink.
The green lines on this PCB are the traces connecting parts of the board.
Conductive Tape Traces
Conductive tape is one of the easiest ways to get started crafting a paper circuit. Just peel off the paper backing and press down where you want your circuit to go! Copper tape is also solderable, allowing strong connections between components and traces that you won't get with paint and inking methods.
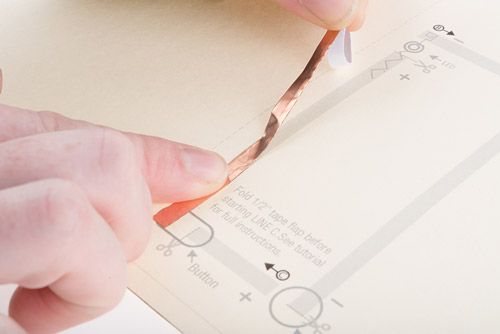
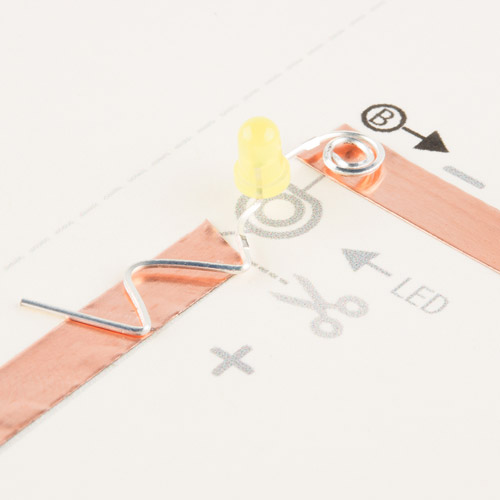
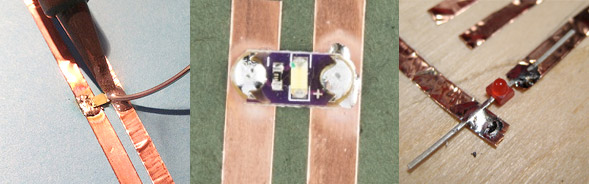
Prototyping with copper tape and a SparkFun template
Easier to find locally - copper tape is also used as a snail/slug repellent and sold in hardware stores. It is also used in stained glass making and may be available in local craft or hobby stores. Not all tapes are made alike though - these ones may be more difficult to work with and the adhesive is probably not conductive.
Cons:
Copper tape can give you a nasty paper cut, please be careful!
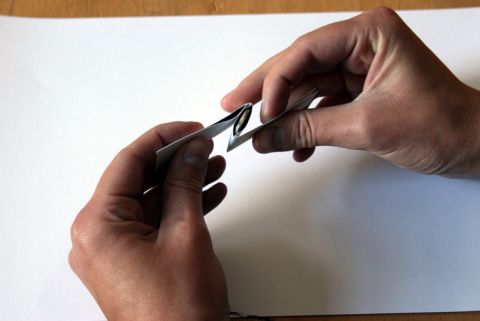
Harder to create smooth lines or shapes. You can cut the tape to a thinner width to help with this.
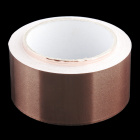
Copper tape has countless applications in electronics from creating low-profile traces for electrical components to RF-shield…
$28.95
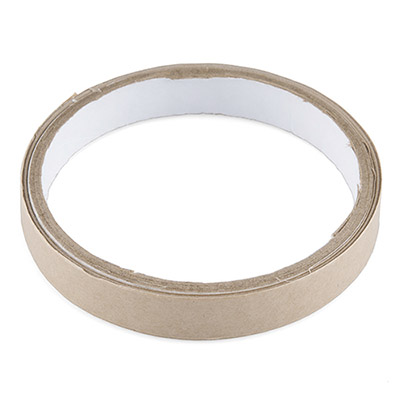
The most common conductive tape for paper circuits is made of a thin sheet of copper with an adhesive on the bottom that comes on a roll. Manufacturers create the tape in a few different sizes, we like 5mm width tape because it is easy to work with on a smaller crafting scale.
Less common than copper tape is a conductive fabric tape made of nickel, copper and cobalt. This tape will stand up to bending and flexing and is a great option for projects that have folds (such as cards that require traces to cross the center crease).
Instructions:
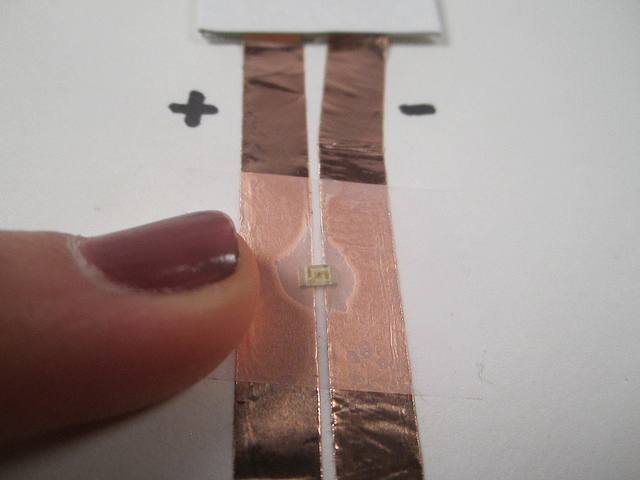
Peel and stick where the traces should go, making sure to leave gaps in the tape where components will sit. For the most reliable circuit, try to use one continuous piece of tape between components. Use folding techniques around corners or solder pieces together as needed.
For copper tape - use clear tape over bent leads to hold them down to the trace. Soldering is a more secure option. For fabric tape we recommend a conductive glue or sewing the connection with conductive thread.
Note how the copper tape is cut to leave room for the LED.
Examples:
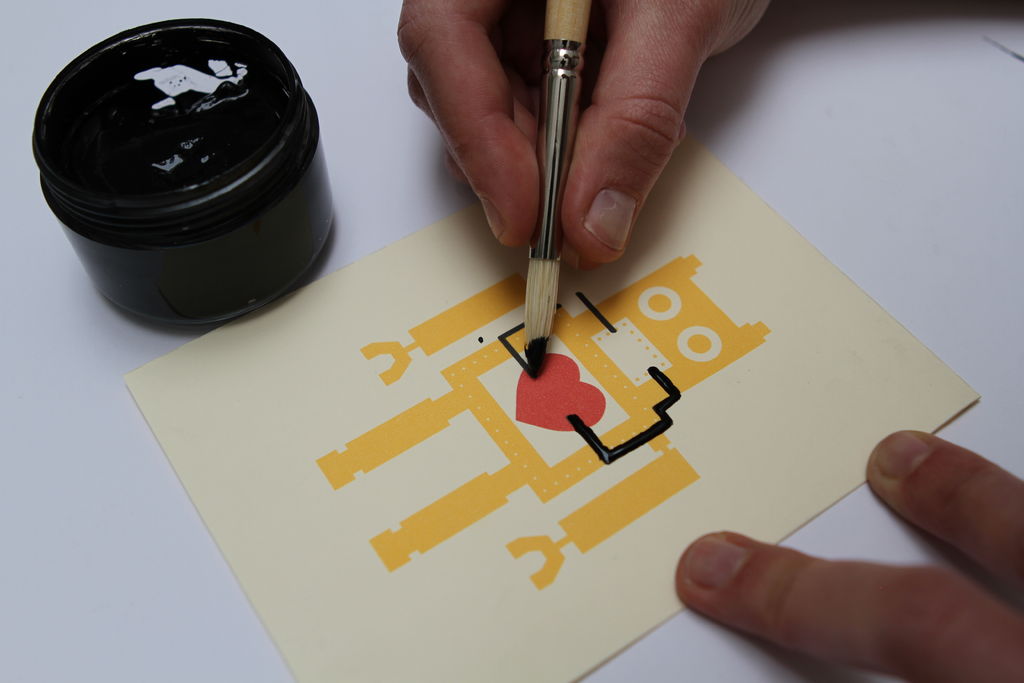
This blushing robot card from Chibitronics uses thin copper tape to spell the message inside and create the circuit for the LED on the front of the card.
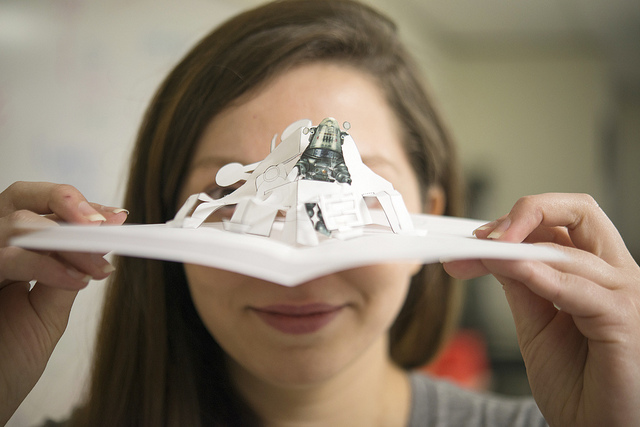
Jie Qi's Circuit Sketchbook uses conductive fabric tape in the book's binding and copper tape on the inside cover.
Additional Resources:
Paper Circuits with Copper Tape - one of the original resources for working with copper tape developed by Jie Qi at MIT's High-Low Tech Lab. This site includes some printable templates and techniques.
Soldering Conductive Fabric - tests done by Hannah Perner-Wilson of Kobakant on soldering different types of fabric.
Conductive Paint Traces
Conductive paints are a great way to create artistic pieces with electronics. Use a brush or a squeeze bottle to create traces that curve and swirl to connect components. Conductive paints can also be used to 'glue' components to a trace. This method can be the most frustrating to use because of the mess factor and dry time. We recommend patience and practice when beginning to work with these materials.
Difficulty: Beginner - Intermediate (depending on complexity). Can be frustrating to get smooth lines. Cost: Varies. Most conductive paints start at ~$10. Mess Level: Moderate
Painting with Bare Conductive Paint and a paintbrush. Image via Instructables.com.
Pros:
Use it like any other water-based paint.
Can cover with other paint mediums (such as acrylic) after drying to create a seamless piece of art.
Easy to layer more paint on top of an existing trace to troubleshoot or fix an unreliable connection.
Cons:
Not conductive until fully dry. Depending on the thickness of your painting and the type of paint, may need to dry overnight. A hair dryer or heat gun will speed this along.
May take some practice to get consistent lines/traces.
Copper based paints will oxidize quickly and can have a short shelf life.
Prone to cracking when under strain. Best on flat surfaces. Painted traces over folds or on bendable projects will mostly likely fail with repeated movement.
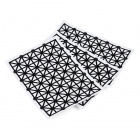
Bare Conductive has created intricate patterns on this three-pack of Printed Sensors for you to use in touch and proximity se…
Retired
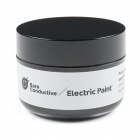
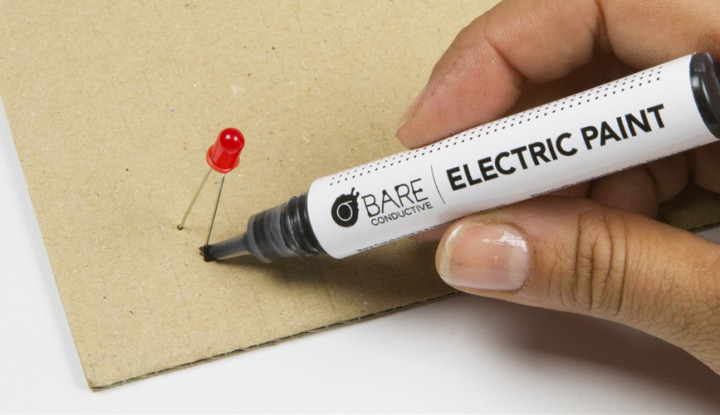
Bare Conductive's Electric Paint is a nontoxic, solvent free and water soluble carbon-based paint. Available in a squeeze tube for finer lines or pot for brush and stencil use.
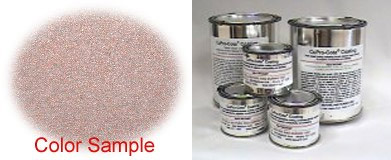
CuPro-Coate Paint is water based paint containing copper, similar to latex paint. Comes in 4oz through gallon containers. Due to short shelf life/working time once opened, we recommend the 4oz size.
Instructions:
When planning your circuit design, first sketch out where the traces will go. Drawing the path with a pencil or marker before painting will make the process much easier.
Glue down any components you will be using onto your paper. Use tweezers for precise placement of smaller components.
Using a paintbrush or squeeze bottle, carefully apply the paint along traces and over the wires or pads of the components in your circuit. Let dry completely before testing.
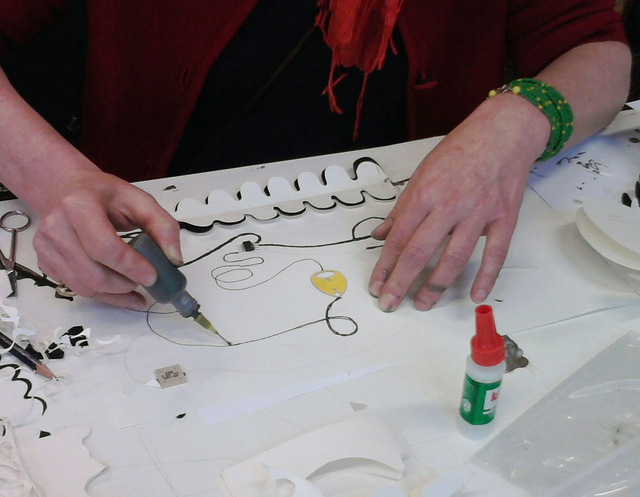
Artist carefully following her lines with conductive paint during a paintable electronics workshop held at MIT.
Examples:
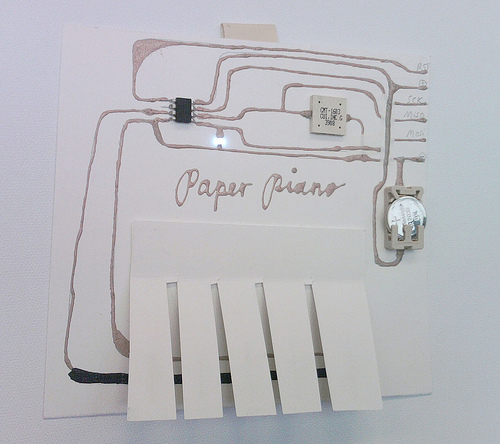
Electronic Popables is an interactive pop up book created using conductive paints and electronics
Conductive inks are now available in pre-filled pens, making it easier than ever to create traces by simply drawing them. Most conductive ink pens also dry faster than conductive paints. This method may be the easiest to apply, but attaching components can be more frustrating.
Difficulty: Beginner to Intermediate (depending on components you are attaching to the ink). Cost: Higher - most pens start ~$20 Mess Level: Minimal
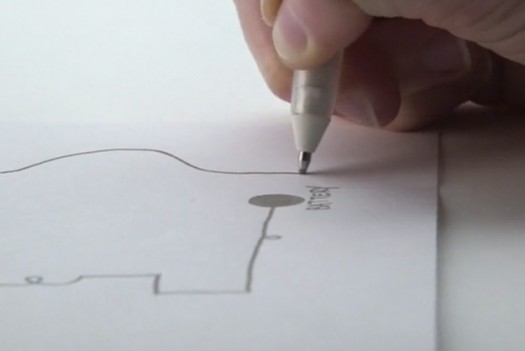
Drawing with a Circuit Scribe pen. Image via Circuit Scribe's Kickstarter.
Pros:
Dries faster than conductive paints.
Precise lines.
Intuitive use.
Cons:
Can be difficult to attach components to (see Making Connections section for techniques).
Paper selection matters - inks will not adhere to some types of paper. Photo paper works best.
May be easily mistaken for regular pens or markers and accidentally wasted on non-electronic projects.
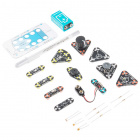
This is the Circuit Scribe Maker Kit, a massive conductive ink pack with a full range of modules and other items that you can…
Retired
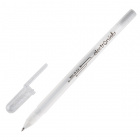
Circuit Scribe is a non-toxic, silver conductive ink pen that writes similarly to a gel pen. It is great for creating precise lines and drawings to showcase (and light up) your circuit.
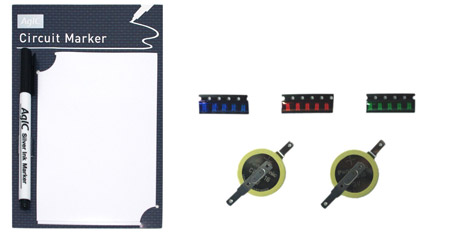
AgIC is another silver-based ink that comes in marker form. It only works on EPSON Glossy Photo Paper, so you will need to plan your projects accordingly.
Instructions:
Plan your circuit using a pencil (and stencil if it comes with your conductive ink kit). The ink does not adhere well to printer toner, if you are designing your circuit on a computer, make sure to leave outlines to fill in rather than lines to draw directly over.
Carefully trace your lines with the conductive ink pen, making sure to keep a continuous path between components. Leave larger circles/pads where components will connect to the traces.
Use tape, conductive glue, or circuit stickers on top of ink lines to attach components.
Now that we've explored options for creating traces, let's talk about the components we can use with our circuits. Not all components play nice with paper circuit trace materials. For example, if you'd like to solder connections, copper tape would be a better choice than a conductive ink. Here are a few of our suggestions of components to use in your projects.
Through-Hole Components
Through-hole components with long leads (such as LEDs) can be bent with pliers into a shape that will sit flat on paper and provide more surface area to connect with the traces. Components with shorter legs (like the ATtiny85) can can be carefully bent flat with fingers or pliers.
Use With:
Bare Conductive Electric Paint - use the paint as a cold solder joint. Here's a tutorial covering that process.
Copper tape - use clear tape over the leads to quickly attach components, or solder directly to the copper tape.
Conductive fabric tape - sew over leads with conductive thread or use conductive glue to attach.
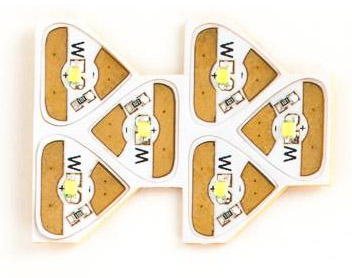
SMD Components
While a little trickier to work with, surface-mount device (SMD) components are low profile and great small or flat projects such as greeting cards. You will need tweezers to place these components and a good eye to see the labels on the part itself. SMD components can be soldered to copper tape, connected by painting the pads with conductive paint, or taped onto copper tape. This tutorial from The Exploratorium's Tinkering Studio shows two methods for attaching SMD LEDs - soldering and clear tape.
Use With:
Copper tape - solder or attach with conductive glue. Some components can also be taped over to hold them to the copper.
Conductive paints - use superglue to attach to paper, then paint over the pads of the components to connect. Here's a great tutorial from High-Low Tech that walks through the process.
Conductive inks - use superglue to attach to paper, being careful not to get between the ink pad and the pads of the component. Connect to ink with conductive glue or z-axis tape. This method is used in Circuit Scribe's Paperduino 2.0 project.
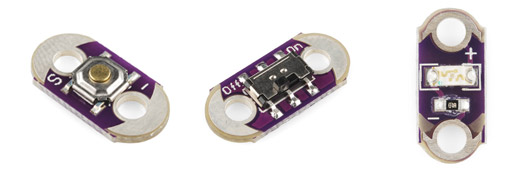
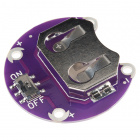
LilyPad Components
Originally made for e-textile applications, LilyPad components can work well with paper circuits because of their low profile and large conductive pads. LilyPad components work best when soldered to copper tape, but can also be attached using z-axis tape or by placing clear tape over the pads to hold them to traces. Note - if using the clear tape method, only the Button and Switch boards have large enough pads to make good contact.
Use With:
Copper tape - soldering works best, but conductive tapes, glues, and clear tape may be suitable options.
Fabric tape - sewing is ideal, or z-axis tape.
Chibitronics Circuit Stickers
Chibitronics stickers have a conductive adhesive on them which make them ideal for paper circuit projects. They are compatible with almost all paper circuit traces, but can be more expensive than using off the shelf components.
Use With:
Copper tape
Conductive fabric tape
Conductive paint
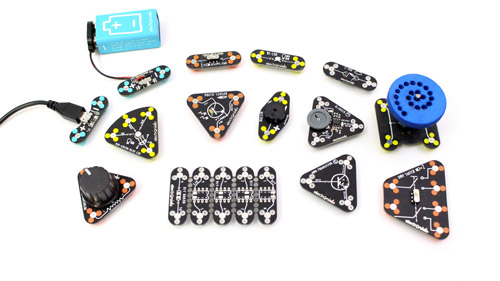
Circuit Scribe Modules
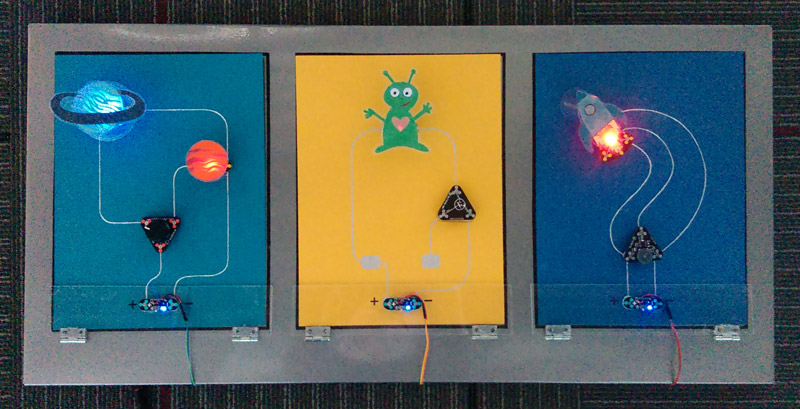
Circuit Scribe modules work differently than all the other components we've shown so far - they are magnetic. To attach to your traces, you will need a metal sheet or surface behind your paper. This is a temporary connection instead of the more permanent connections shown in this tutorial. While their size isn't ideal for small projects like greeting cards, it can be fun to create wall hangings or reconfigurable artwork with the modules.
Use With:
Copper tape
Conductive fabric tape
Conductive inks
Making Connections
Now that we know how to create traces and have chosen components for our project, it's time to connect them together. Here are a variety techniques for creating an electrical connection between the components and traces.
Tape Method
Clear tape is an easy way to start attaching components to paper circuits, though it is not as reliable as other methods. Use tape to carefully press over component leads or pads and press down onto copper tape. For SMD components, you can tape over the entire part.
Taping over SMD LED. Image via Jie Qi's flickr feed.
Use With:
Copper tape
Through-hole or SMD components
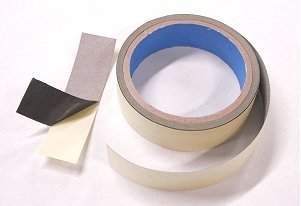
Z Axis Tape
Z-Axis tape is an easy-to-use, pressure sensitive double-sided tape designed for connecting, bonding and grounding flex circuits and PCBs. We can use small sections of tape to attach components to conductive traces.
Use With:
Copper tape
Components with larger surface area such as tabs (bend wires into spirals or squares to give an easier surface for the adhesive to grab onto).
Conductive ink in large areas - draw pads for components and tape to attach to.
Conductive paints can be used as a glue/cold solder joint to attach components to traces. Push components into wet paint to connect and let dry completely before powering.
Use With:
Conductive paint traces - attach components while the original trace is still wet for the best connection.
Non-flexible surfaces - the paint can crack or break under repeated stress. Push component legs through the paper before painting for some strain relief.
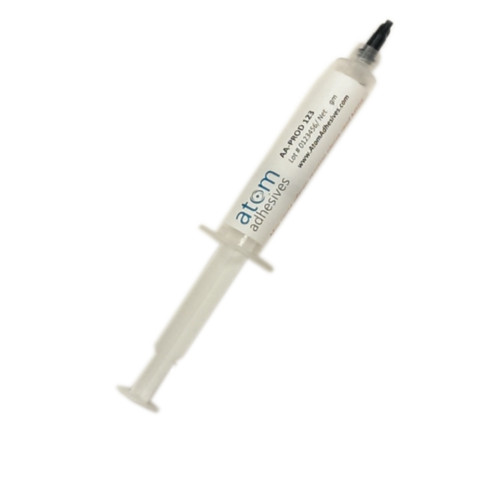
Conductive glue or epoxy is another option for connecting components. These products are one of the more expensive ways of attaching components to your paper circuit projects and can be difficult to work with. Often they need a long dry time or to be heat set. Try to find a syringe of epoxy to cut down on mess and help with precision placement. Make sure to read through the MSDS and follow all package directions when using these types of glues.
Use With:
Copper tape
Conductive inks
Through-hole and SMD components
LilyPad components
Soldering
Soldering is one of the stronger connections you can make with paper circuits, the only drawback is that it will only work on copper tape - you cannot solder to conductive paints, inks, or most fabrics. If you need help learning how to solder, check out our tutorial.
Examples of soldering components to copper tape from left to right: SMD LED from the Tinkering Studio, LilyPad LED from SparkFun, and 3mm LED from High Low Tech.
Use With:
Copper tape
Through-hole and SMD components
LilyPad components
Circuit Stickers
Powering Your Project
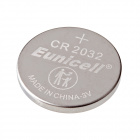
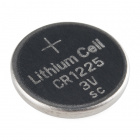
Paper circuit projects can be easily powered with a 3V coin cell battery. We recommend a 20mm or 12mm diameter battery for small projects such as greeting cards.
CR1225 lithium metal 3V 12mm 47mAh coin cell batteries. Perfect small battery for miniature sensor node applications.
Thes…
$2.25
Most common coin cell batteries look like the ones above - the top and sides of the battery are positive and a textured bottom is negative. This can prove tricky for attaching to our traces, so we'll go over a few techniques to try.
Safety Note: Never solder directly to a coin cell battery! To attach a battery, choose a battery holder or battery with tabs specifically for soldering.
You can also find some good examples of battery use and power in this tutorial:
Learn the options for powering your LilyPad projects, LiPo battery safety and care, and how to calculate and consider power constraints on your projects.
Create Your Own Battery Holder
Making a battery holder with the materials you have on hand is quick and easy! Here are a few different methods for crafting your own battery holder.
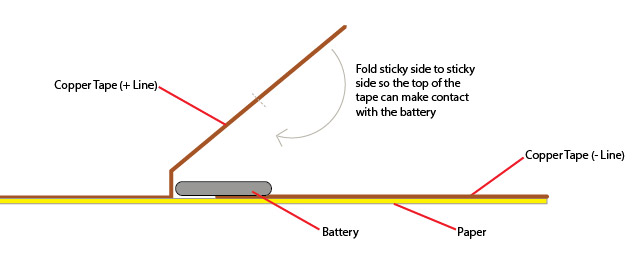
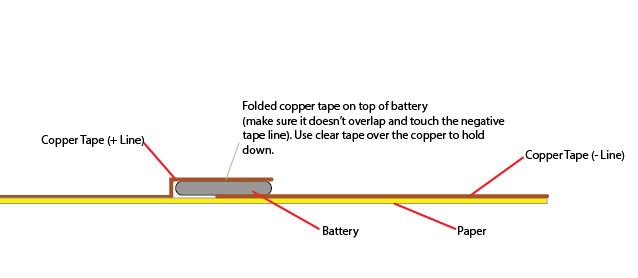
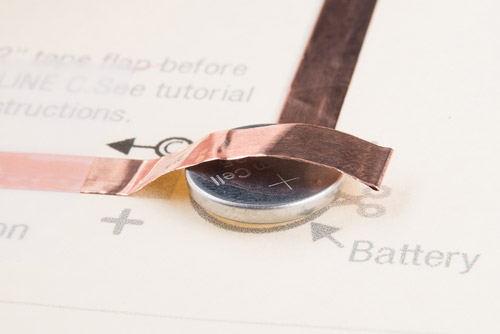
Copper Tape Holder:
We at SparkFun use this copper tape technique in all of our pop up card tutorials.
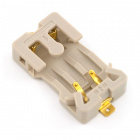
Battery holder modules can be soldered onto copper tape or glued with conductive glue or paint. Always remember to remove the battery from the holder before soldering.
This is a coin cell holder for the common CR2032 type battery. The holder has a neat pop-in, pop-out feature that makes chang…
$1.95
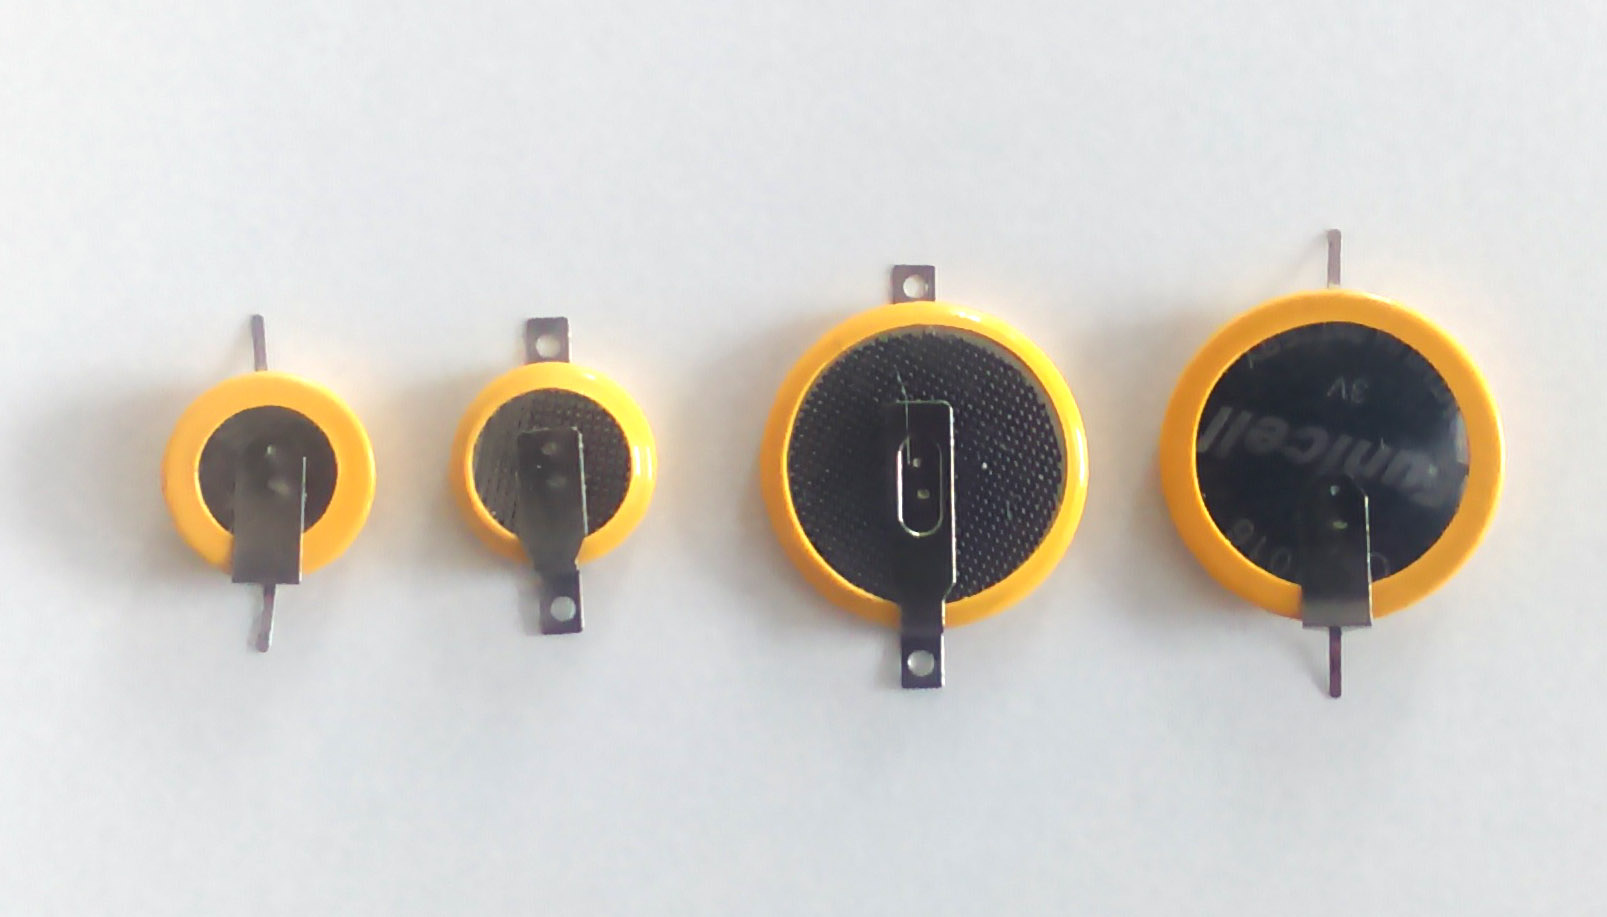
Tabbed Batteries
You can also purchase batteries with solder tabs - these can then be soldered, glued with conductive glue, or sometimes even pressed in place with clear tape to attach to a circuit. When shopping for a tabbed battery, try to find one with insulation around the sides to avoid accidental shorts.
Some examples of tabbed batteries.
Many paper circuit-specific components such as LED stickers, boards, or modules have built-in resistors. If creating your own paper circuit components with off the shelf LEDs, you may need to add resistors to your circuit to account for different voltage requirements.
Resources and Going Further
Wow, we covered a lot of concepts in this tutorial! If you are unsure where to start, try experimenting with small swatches of scrap paper and exploring which technique works best for your project ideas. If you are looking for some more guided projects, check out some of our tutorials:
This quick craft project shows you how to create a circuit using copper tape instead of wire to light up an LED and make a wearable piece of e-craft art.