Teensy XBee Adapter Hookup Guide
Introduction
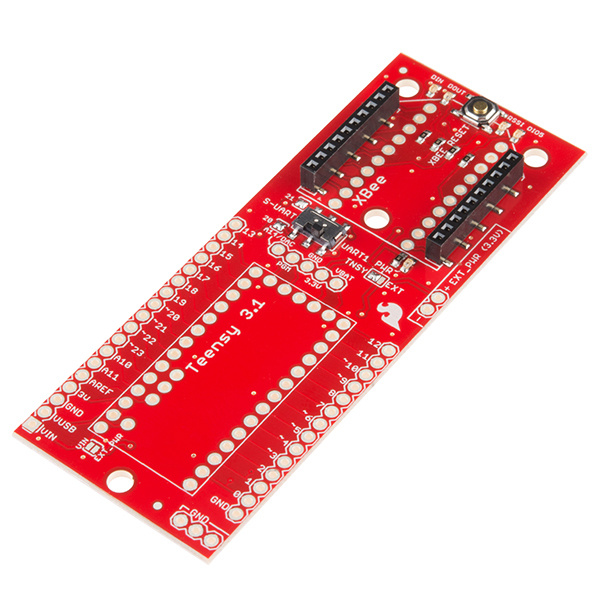
The Teensy is a great way to get more computing power than an Arduino, and in less space. When a decently ranged, no-frills wireless serial link is required, the XBee series is a great solution. The Teensy XBee Adapter joins the two with ease and brings wireless to your Teensy projects. This tutorial will demonstrate the basics of using the adapter board.
Teensy 3.1 XBee Adapter
BOB-13311This tutorial demonstrates:
- How to initialize Teensy 3.1 HW serial
- How to initialize Teensy 3.1 SW serial using softwareSerialAlt library
- The basics of packetizing data.
- How to make a simple controller that effects something far away
Required Materials
At a minimum, you'll need an XBee explorer, two XBees, a Teensy and the adapter board. Here's a list of things you'll need if you want two Teensy XBee radio stations that are both off-the-grid, plus some useful extras.
Required Tools
You will need a soldering iron, solder, and general soldering accessories. Depending on your setup, you will also need hookup wire, wire strippers, and a hobby knife.
- Soldering iron and flux core solder
- Hookup wire
- Wire strippers
- X-acto or knife for cutting traces (optional)
Software Requirements
Suggested Reading
Before getting started, there are a few concepts that you should be familiar with. If you haven't used a Teensy or XBee before, read these tutorials before continuing:
- Getting Started with the Teensy - How to install Teensyduino, comparison of the Teensy 3.1 and LC, and soldering options.
- Exploring XBees and XCTU - Guide to configuring the XBees using the XBee tool XCTU
- XBee Buying Guide - Shows various XBee models including current consumption use an Arduino to control the APDS-9960
- Serial Terminal Basics - Lots of information about serial. If you've only ever used the Arduino Serial monitor (or no terminal at all), this is a good resource. It shows how to get serial terminals working on Mac, Linux, and Windows.
