SparkFun Thing Plus - NINA-B306 Hookup Guide
Contributors:
 El Duderino
Hardware Assembly
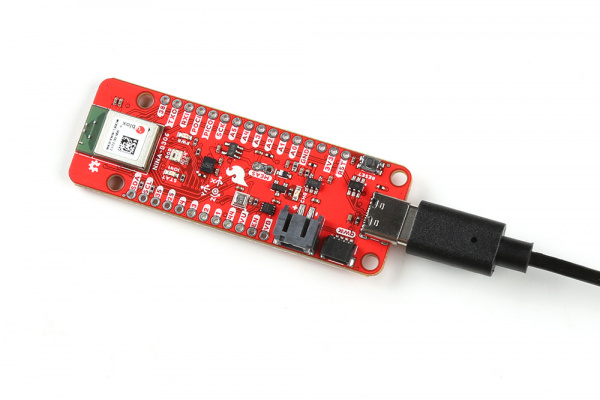
Now that we're familiar with the hardware on this Thing Plus it's time to assemble the board into a prototyping circuit or simply plug it into our computer with a USB-C cable and get right to programming.
Basic Assembly
For those who want to jump right in to using the Thing Plus NINA-B306 on its own or just with the wireless capabilities, all you need to do is plug the board into your computer using a USB-C cable.
Soldering Headers
Users who want to assemble a prototyping circuit with the Thing Plus should solder headers of their choice to the board to plug it into a breadboard. We recommend something like this Feather Stackable Header Kit.
If you have never soldered before or would like some tips, check out our Through Hole Soldering tutorial:
How to Solder: Through-Hole Soldering
This tutorial covers everything you need to know about through-hole soldering.
