SparkFun Qwiic Shield for Thing Plus Hookup Guide
 El Duderino
 Introduction
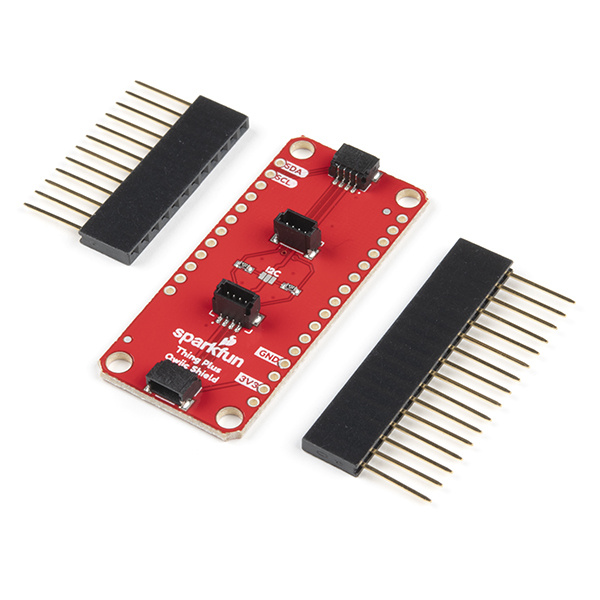
The SparkFun Qwiic Shield for Thing Plus provides an easy-to-assemble way to add the SparkFun Qwiic ecosystem to any development board with the Thing Plus Footprint. This shield is also compatible with the Feather Footprint so you can add Qwiic functionality to any development board that uses the Thing Plus or Feather Footprints! It connects the I2C bus (GND, 3.3V, SDA, and SCL) on your Thing Plus to four SparkFun Qwiic connectors. The Qwiic ecosystem allows for easy daisy chaining so, as long as your devices are on different addresses, you can connect as many Qwiic devices as you'd like.
Required Materials
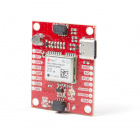
To follow along with this tutorial, you will need an Arduino development board with the Thing Plus footprint. This includes the all variants of the SparkFun Thing Plus boards and many other Thing Plus-compatible boards! Here are a few of the compatible boards:

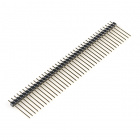
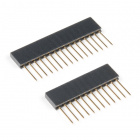
The Qwiic Shield includes a set of stackable headers to fit the Thing Plus footprint but you may also need some headers to solder to your Thing Plus. Or if you would prefer to use another header type for your shield assembly we've listed a few options below:


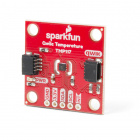
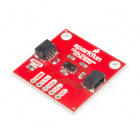
Now you probably would not want the Qwiic Shield for Thing Plus if you didn't have any Qwiic products to use with it, right? Well, if you don't have any Qwiic products, the following might not be a bad place to start:
You will need some of our Qwiic cables to connect your devices to the shield. Below are a few options:


Qwiic Cable - 50mm
PRT-14426
Qwiic Cable - 200mm
PRT-14428
Qwiic Cable - 500mm
PRT-14429Lastly, if you want to use a non-Qwiic I2C device, these adapters help to convert it to a Qwiic connector:


Qwiic Cable - Female Jumper (4-pin)
CAB-14988Required Tools
You will need a soldering iron, solder, and general soldering accessories to solder the header pins to the Qwiic shields:


Suggested Reading
If you aren't familiar with the Qwiic system, we recommend reading here for an overview:
| Qwiic Connect System |
We would also recommend taking a look at the following tutorials if you aren't familiar with them:
How to Solder: Through-Hole Soldering
I2C
Hardware Overview
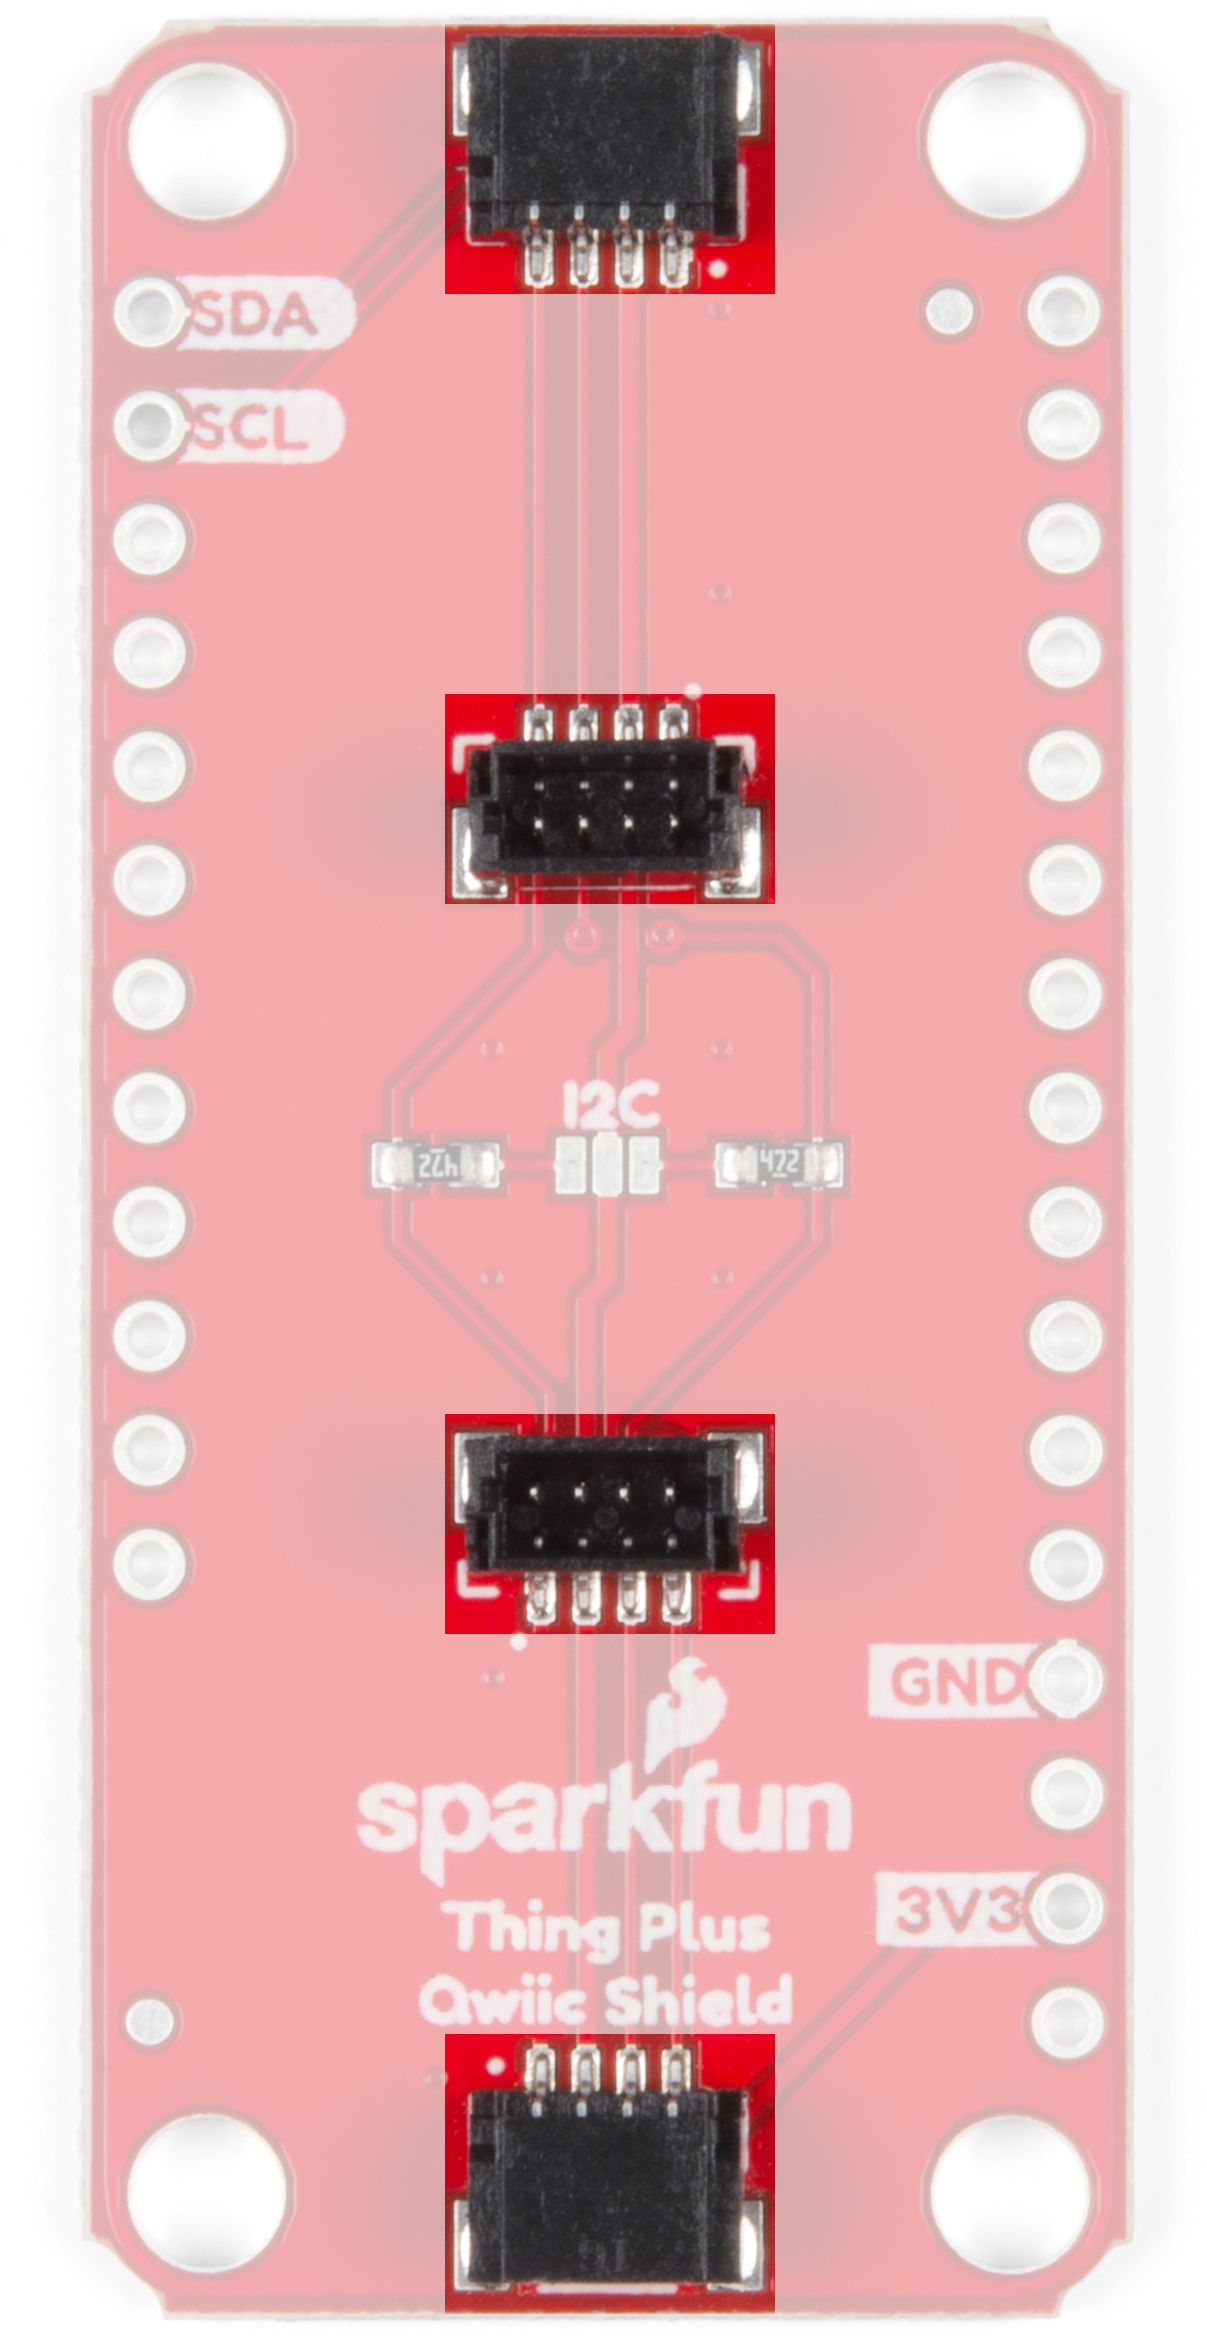
Qwiic Connectors
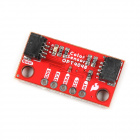
The Qwiic Shield for Thing Plus has four Qwiic connectors on it. The two on the edges are the standard horizontal connectors and the two in the middle are vertical connectors.
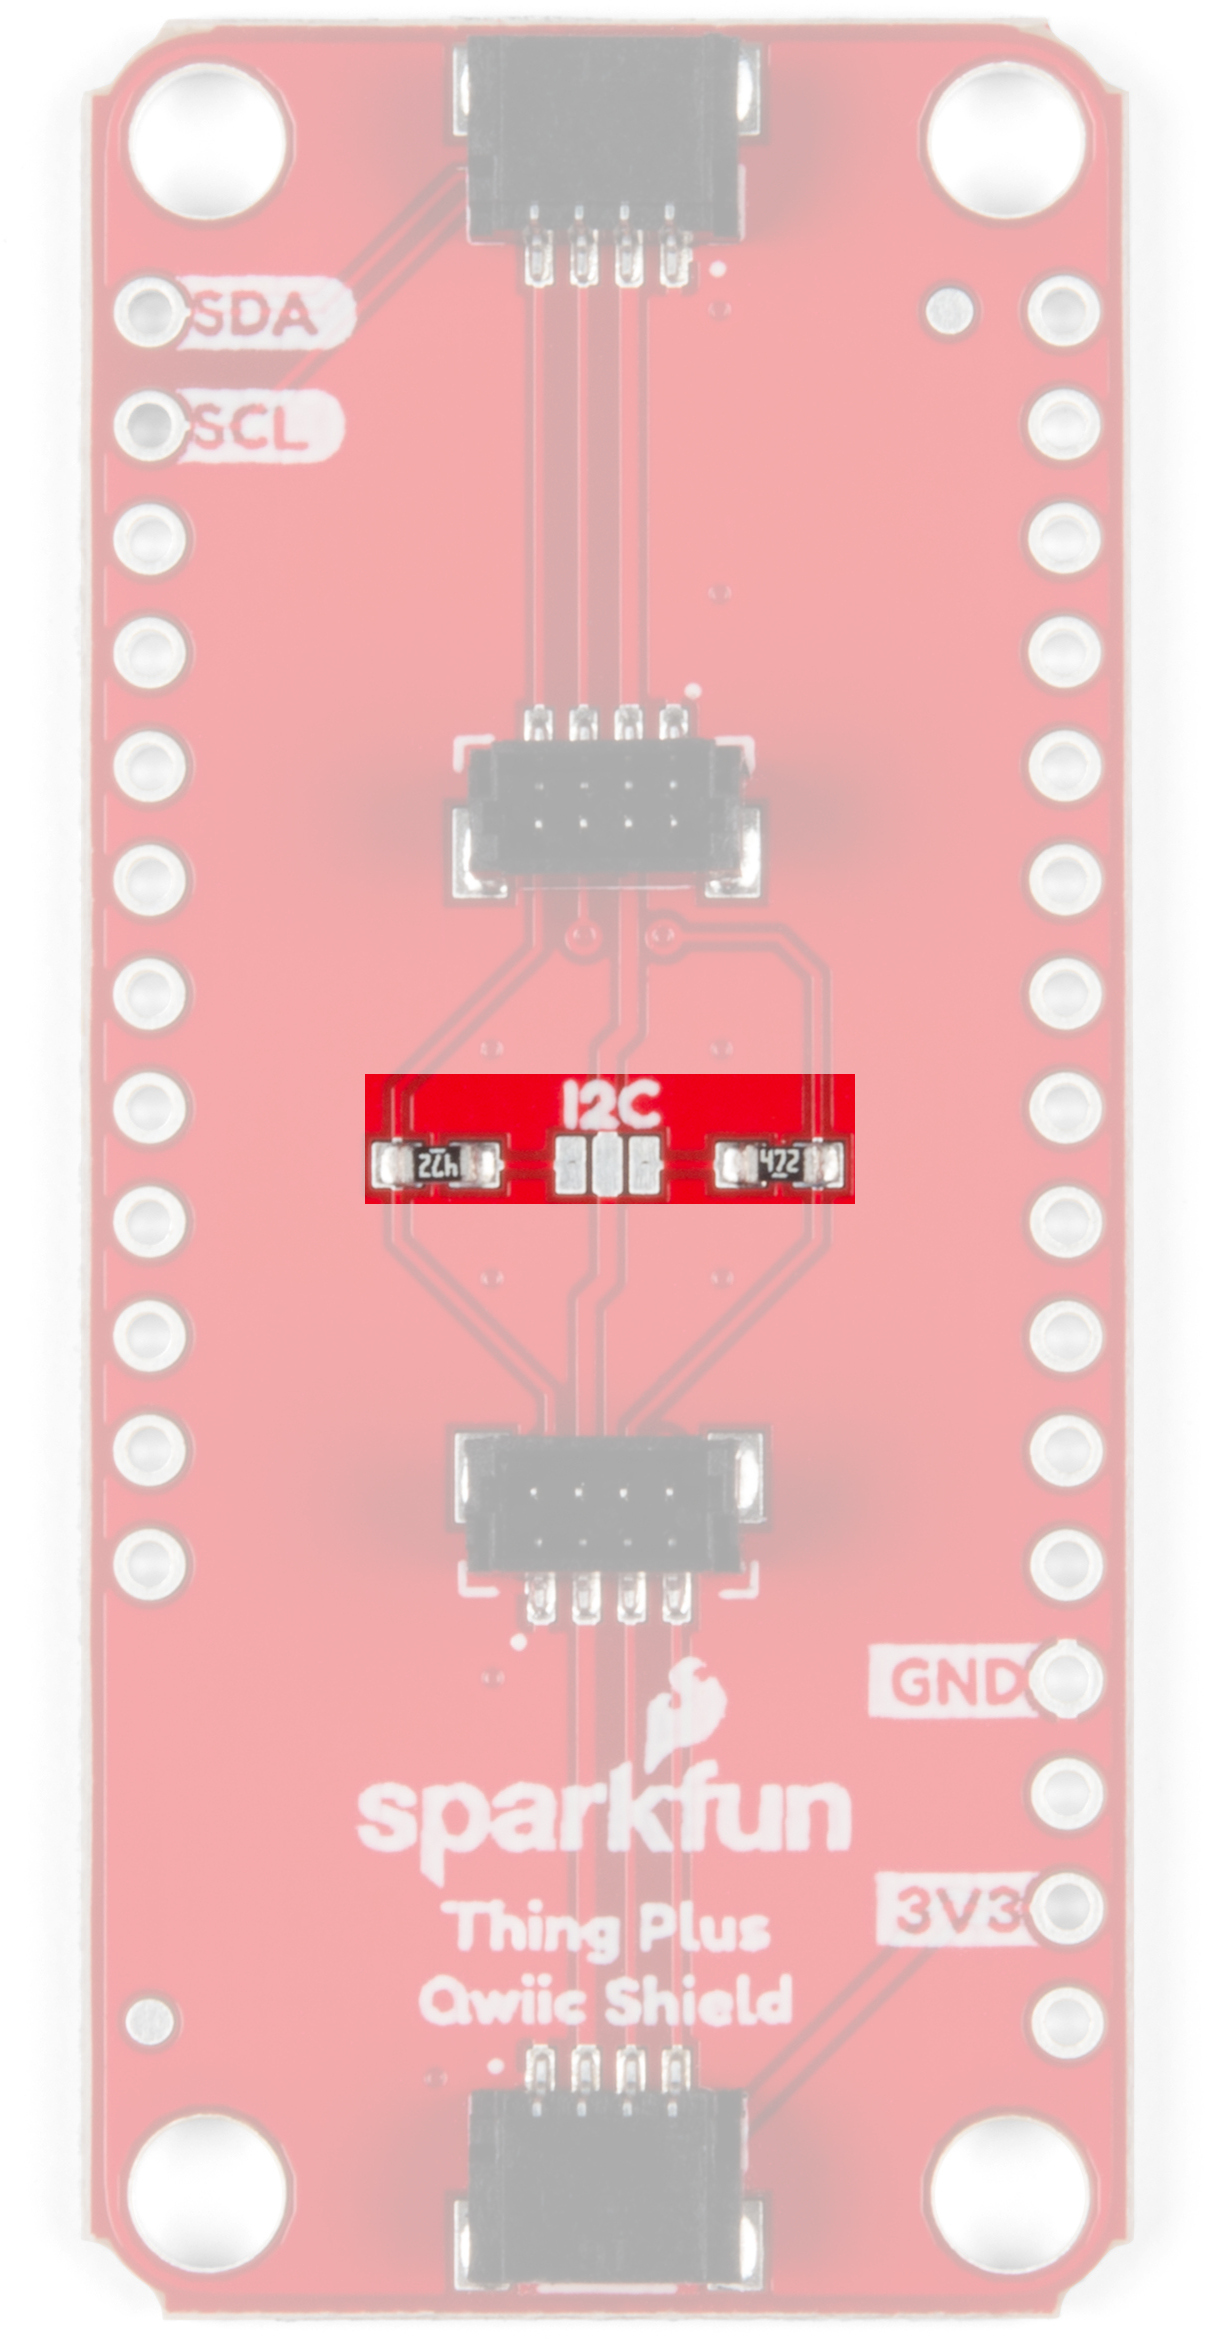
I2C Jumper
This jumper is a little different than our normal I2C pull up jumpers as it is open by default. The jumper only needs to be closed if your peripheral device does not have pull up resistors. Essentially all SparkFun I2C breakouts come with pull up resistors on them so if you are using a Qwiic I2C device or another SparkFun I2C device, you can most likely leave it open. When closed, the SDA and SCL lines are pulled to 3.3V by 4.7K resistors. If you have never worked with solder jumpers before, check out this tutorial for some tips and tricks for working with them.
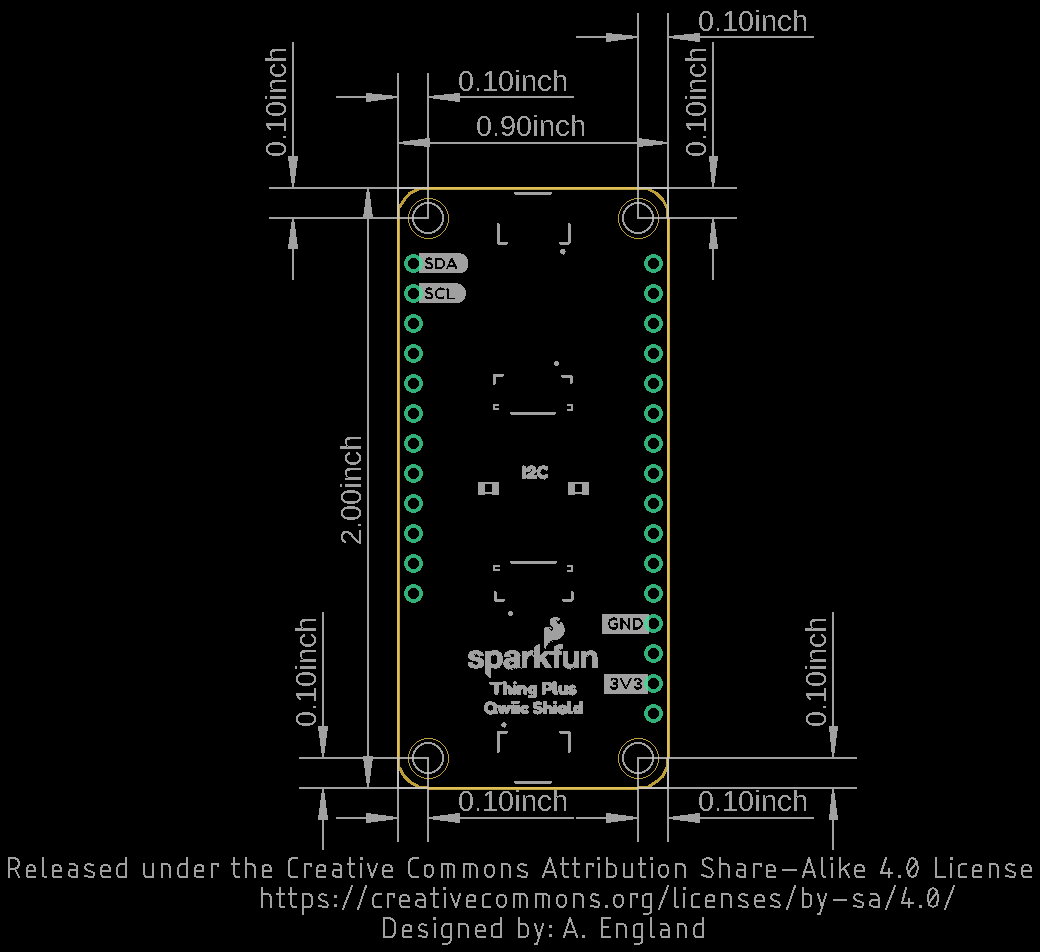
Board Dimensions
The shield measures 2.00in x 0.90in (50.8mm x 22.86mm) and has four mounting holes that fit a 4-40 screw.
Hardware Assembly
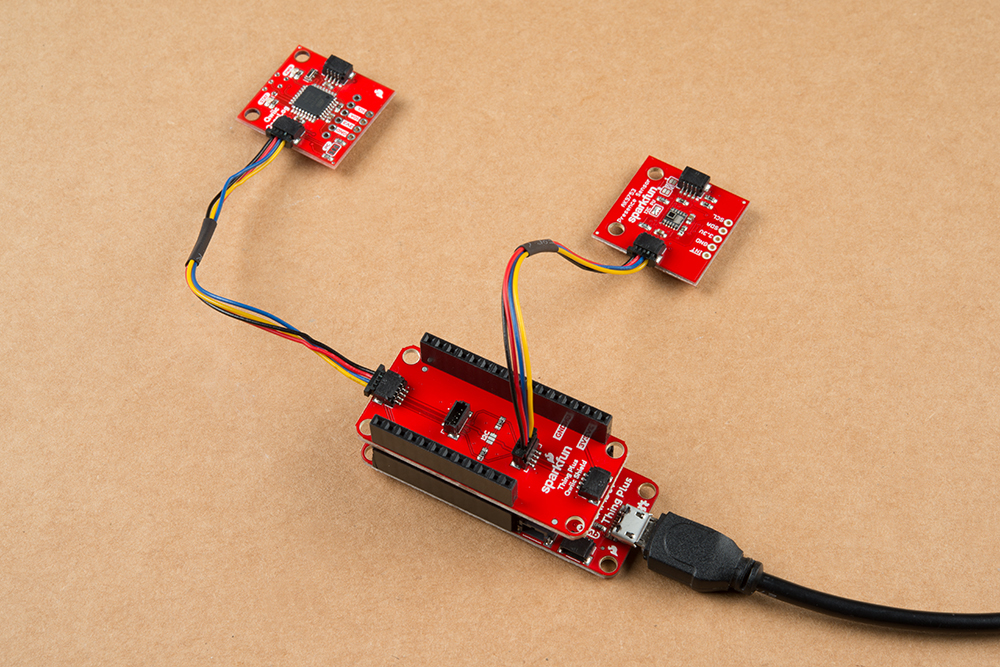
All you need to get started using the Qwiic Shield for Thing Plus is to solder the included stackable headers or whichever headers you choose to the shield and, if necessary, to your Thing Plus (or compatible board). If you have never worked with an Arduino Shield before or need some tips, our Arduino Shields Tutorial provides detailed instructions on how to assemble and use them.
Once you have soldered headers to your shield and connected it to your Thing Plus, it's time to start connecting Qwiic devices! Below you can see the Qwiic Shield connected to a SparkFun Thing Plus - SAMD51 using the Feather Stackable Header Kit included with the shield along with a couple of Qwiic Devices chained to it.
Resources and Going Further
For more information, take a look at the resources below.
- Schematic (PDF)
- Eagle Files (ZIP)
- Board Dimensions
- GitHub Repository
- Qwiic System Landing Page
- SFE Product Showcase
If you are having trouble getting your Qwiic devices to connect using your newly assembled Qwiic Shield, you may want to take a look at these tutorials for help troubleshooting and reworking your shield.
Now that you have your Qwiic Shield ready to go, it's time to check out some Qwiic-enabled products. Below are a few to get started.
Before you go, here are some other tutorials using the Qwiic Connect System you may want to look through: