SparkFun Qwiic Shield for Arduino Nano Hookup Guide
 El Duderino
Hardware Assembly
All that is needed to get started using the Qwiic Shield for Arduino Nano is to solder the included stackable header kit or your chosen headers to the shield and, if necessary, to your Arduino Nano. If you have never worked with an Arduino Shield before or need some tips, our Arduino Shields Tutorial provides detailed instructions on how to assemble and use them. Take care to match the markings on the Qwiic Shield to the appropriate pins on your Nano to avoid shorting anything out and possibly damaging your Nano. Also, some variants of the Nano like the Nano 33 BLE Sense have sensors or antennas that can be affected by the Qwiic Shield's placement on top such that you may want to consider placing the Qwiic Shield below your Arduino Nano.
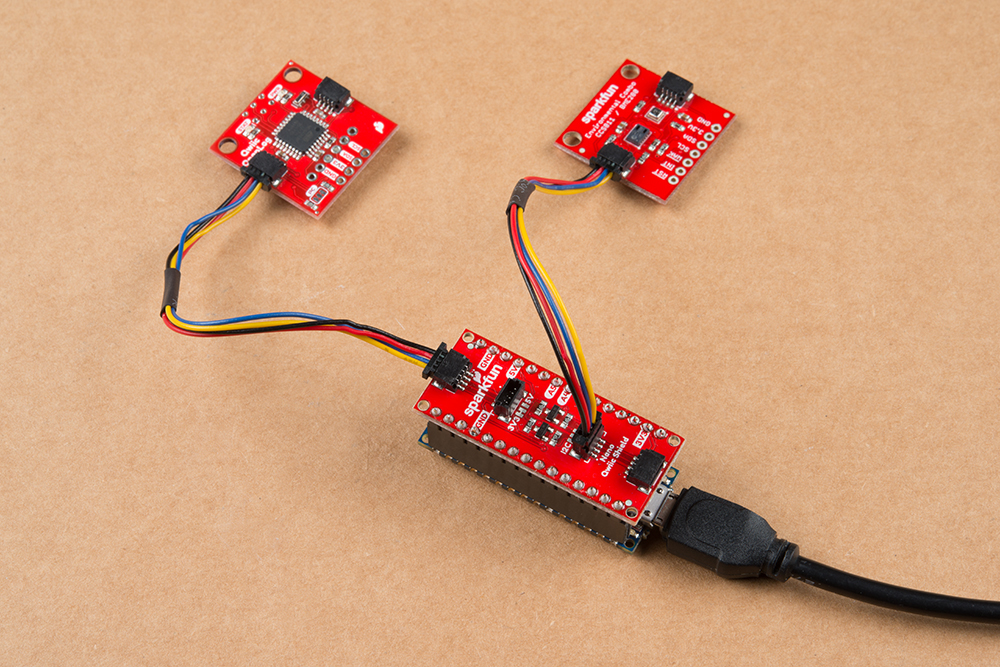
Once you have soldered headers to your shield and connected it to your Nano, it's time to start connecting some Qwiic devices! Below you can see the Qwiic Shield attached to an Arduino Nano Every using some female and male headers with a couple of Qwiic devices attached.