SparkFun Paper Circuit Kits
 Gella
Gella 
Prepare and Place LED
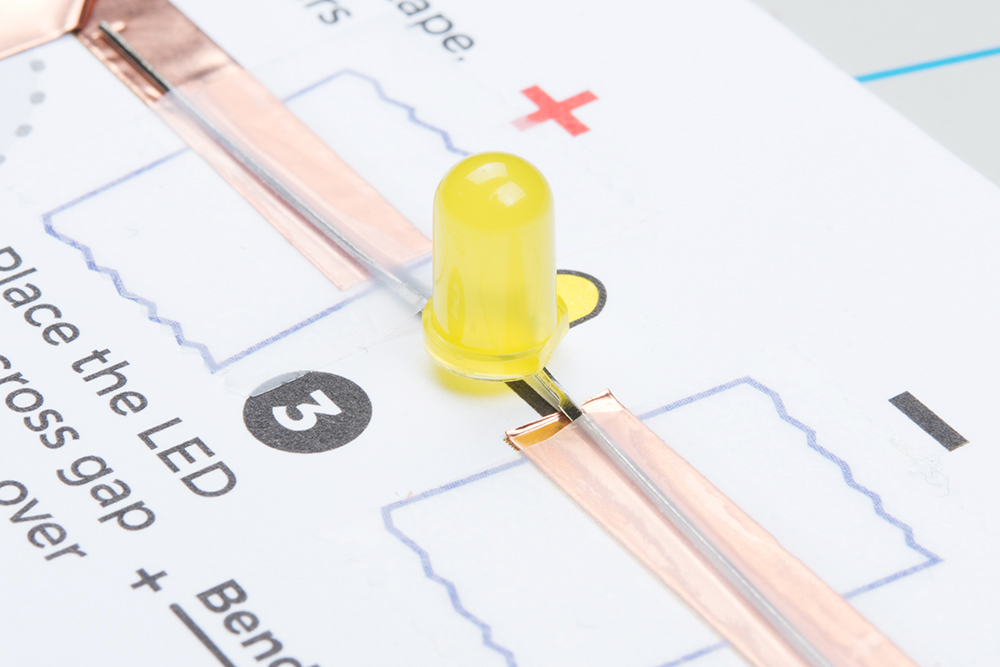
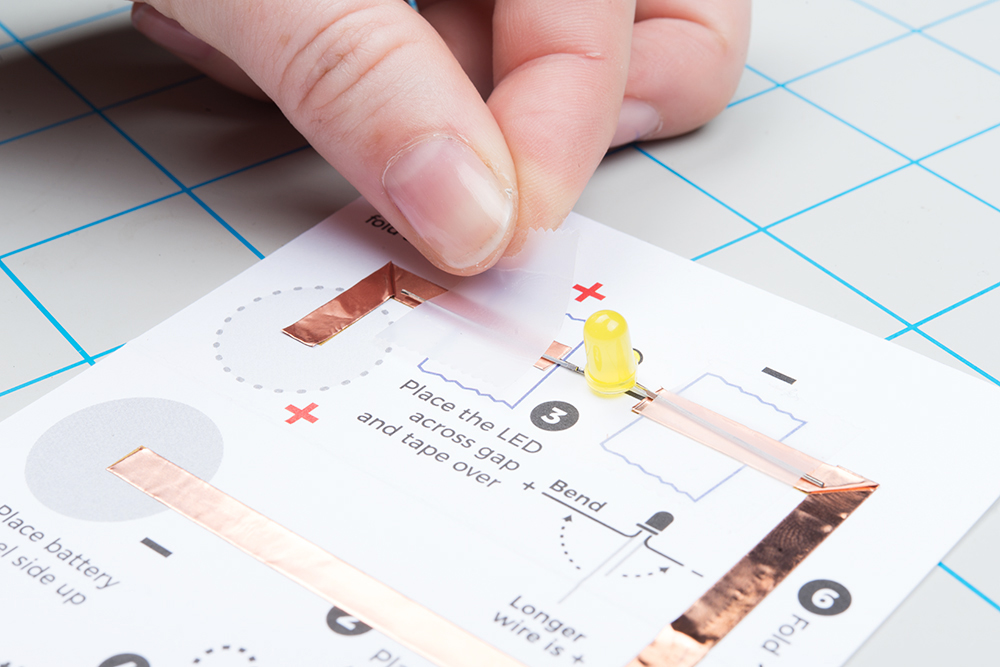
Now that we've created the path for electricity to follow in the circuit, it's time to add a light-emitting diode (LED) that will turn on when we power the project. Look for the circle marked 3 (i.e. ③) and the yellow LED illustration for where to place it on the template.
LEDs
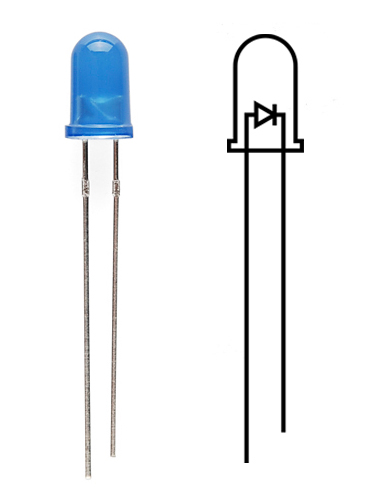
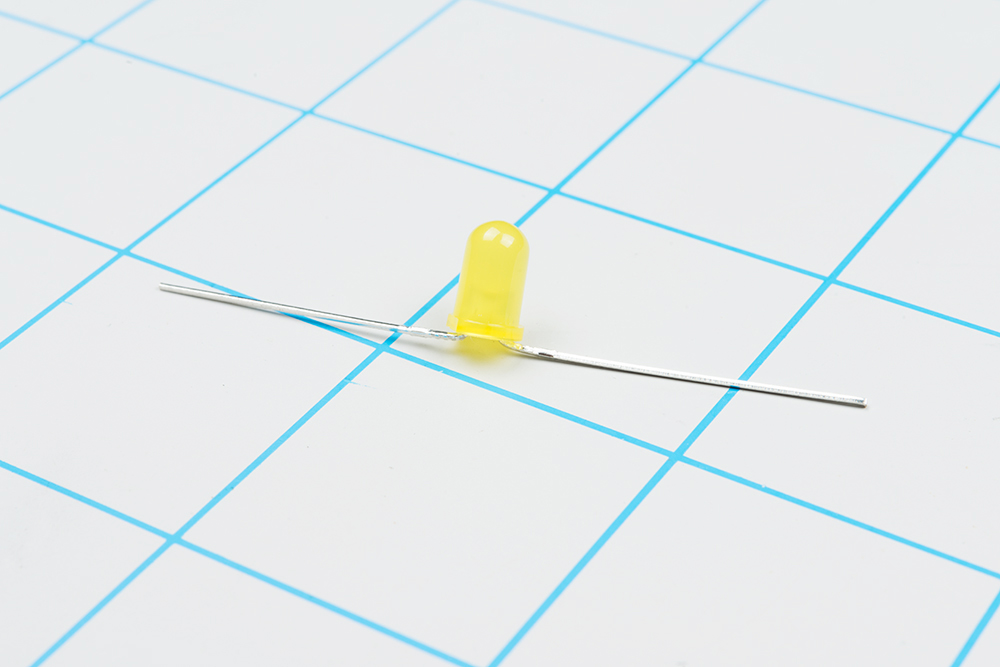
The template has an LED symbol on it which shows its wires - let’s check it out. LEDs are polarized, which means they need to be connected in a certain orientation to function. The LED has two wires coming out of its colored bulb - notice one is longer than the other - this is the positive (+) side of the LED. The shorter side is the negative (-). We will connect these on the + and - sides of our copper tape paths. There is also a flat side on the bulb itself; this is the negative side.
Bending the LED
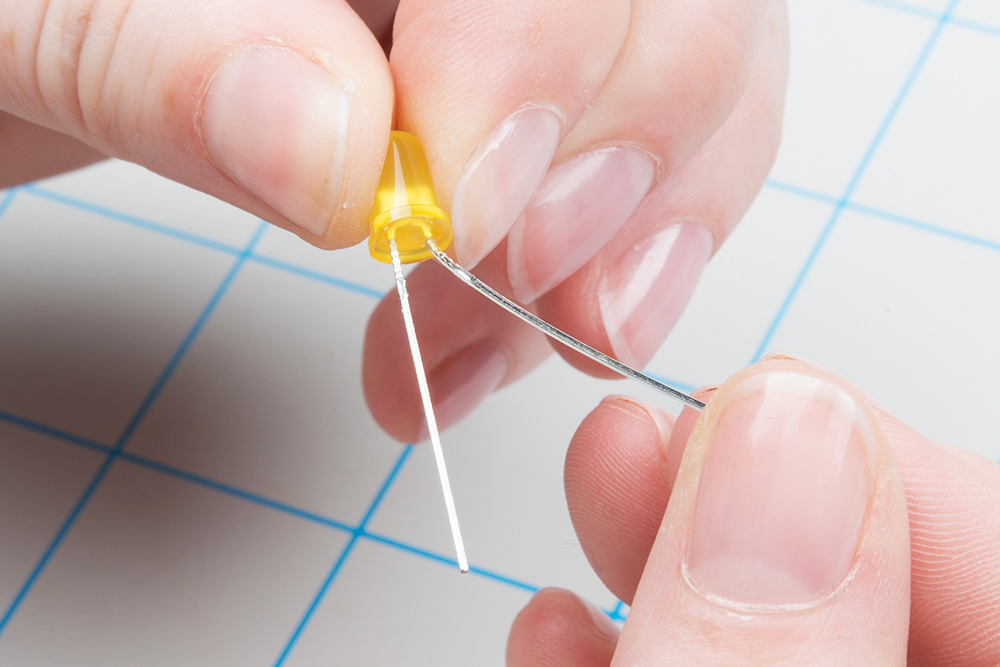
We will need to do a little preparation in order for the LED to lay flat in our circuit. Using your fingers (or pliers), bend the longer wire (also known as its ‘leg’) of the LED flat. Be careful not to break the wire by bending back and forth over the same joint too many times.
 |
 |
Next, bend the shorter (-) leg of the LED flat as shown.
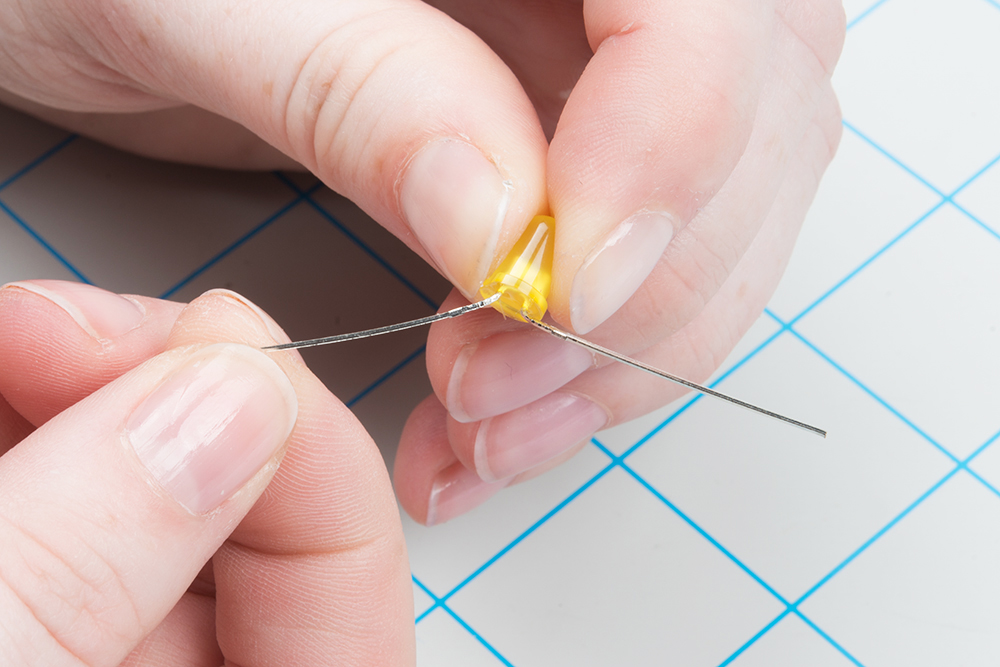
Once all bending is complete, place the LED on a table or flat surface to make sure it sits flat and upright. If not, make any adjustments now.
Tape Down LED
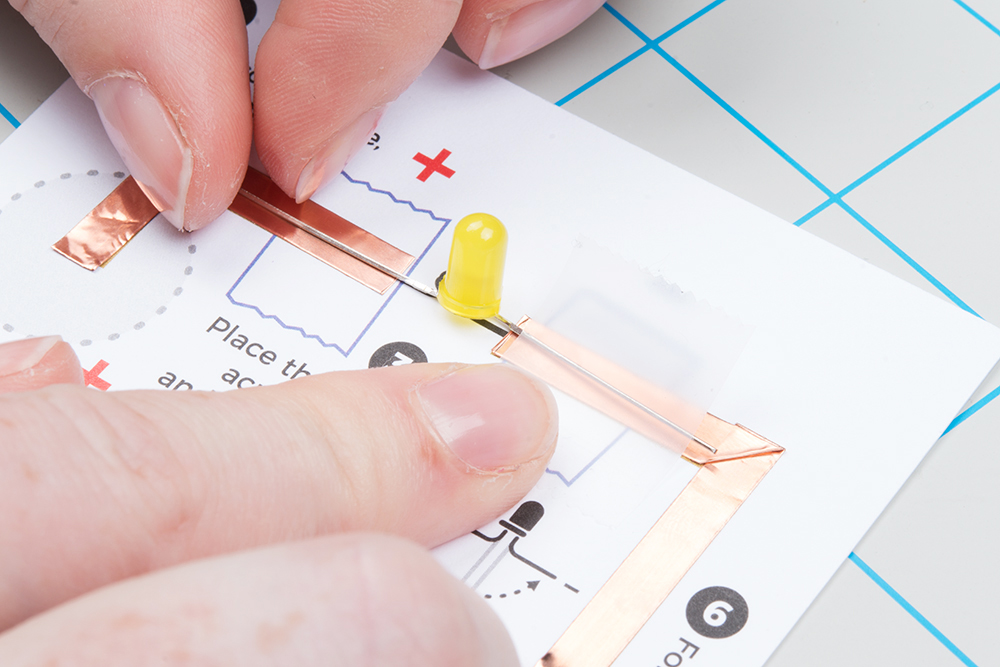
Next, line up the positive leg of the LED with the copper tape marked + and the negative with -. Use clear tape over the leads to hold down to the copper. If you have trouble telling the sides apart, check the base of the LED bulb - the flat edge is the negative (-) side.
 |
 |
The connection between the LED and copper tape should look like the image below.