SparkFun Paper Circuit Kits
Contributors:
 Gella
Gella
Gella 
Insert Battery
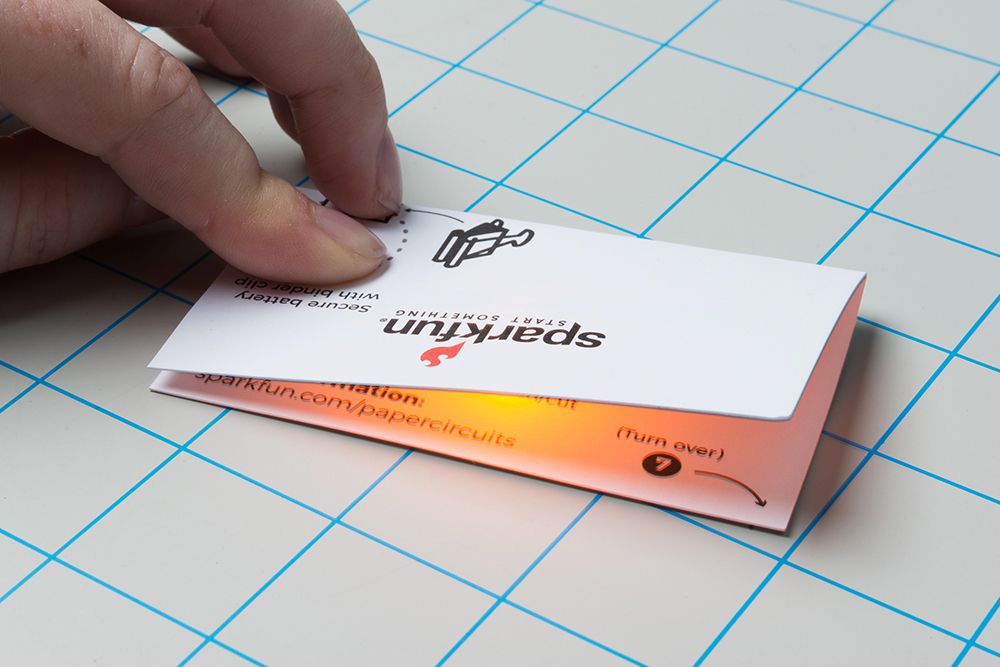
Once all the components are installed, it’s time to test our circuit by adding a battery. Place the battery inside the circle marked - with the label (marked + or with the battery name) facing up.

Carefully fold along the dotted line so that the copper tape inside the + circle rests on top of your battery, making a connection. You should see your LED light up once the copper tape touches the battery. Flip your project over and push the LED through the hole you punched to see it shine through the design.
 |
 |
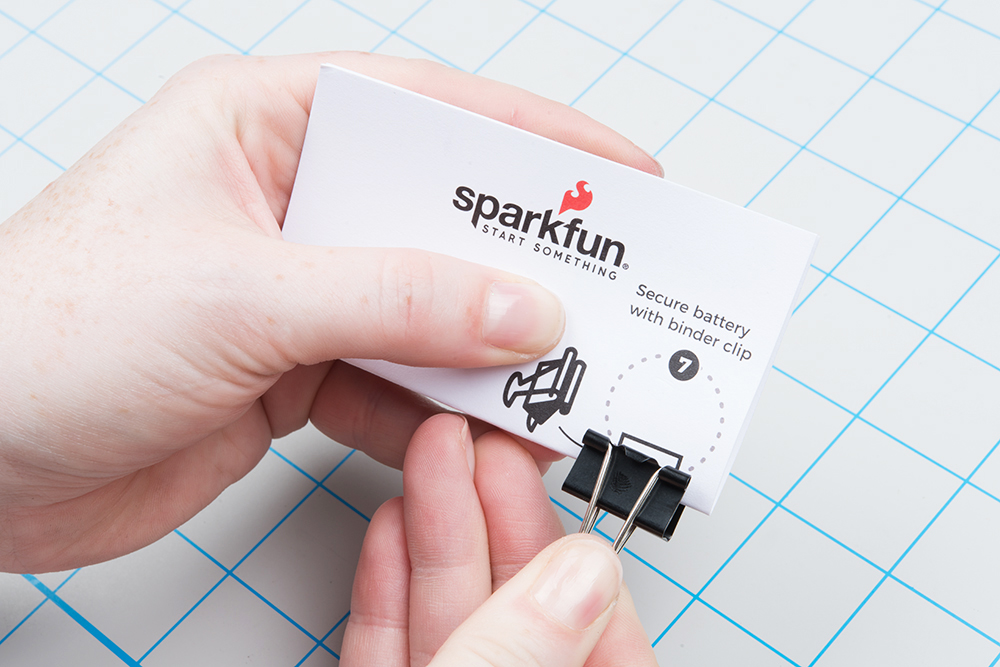
Secure the battery in the project using a binder clip. If you don't have a binder clip, a large paper clip can also work.
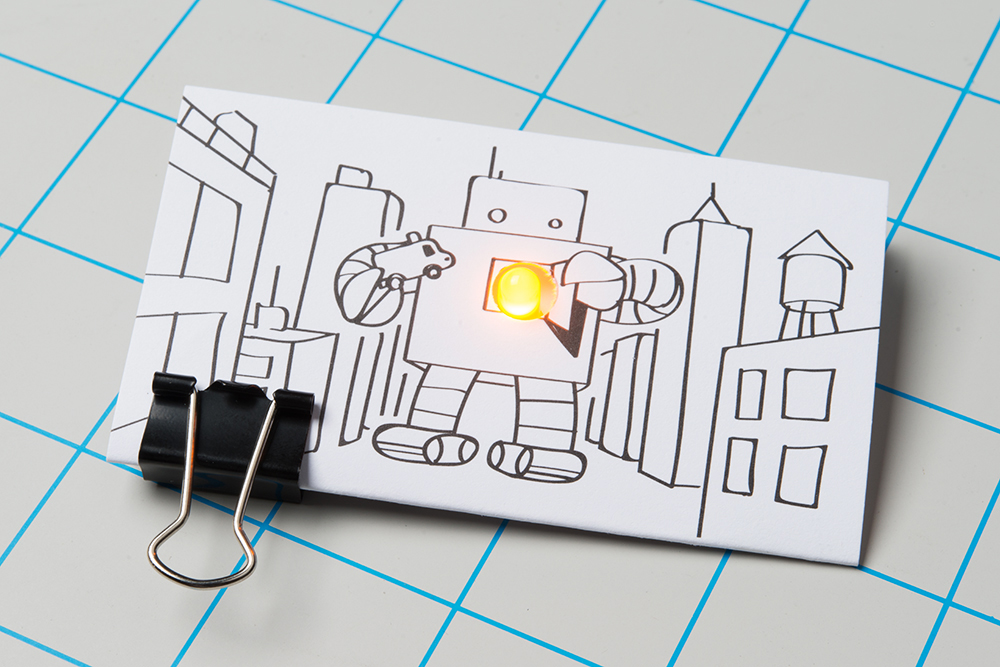
Enjoy your completed paper circuit!
Troubleshooting
- If Your LED Isn’t Lighting Up - check the tape connections. Use your nails or a pencil to make sure the LED’s wires are being held down to the copper tape and making contact.
- Check the Wires of the LED - double check that they weren’t accidentally broken while bending them or if the LED is installed with the + side to - side.
- Check the Battery - Make sure it is sandwiched firmly between the top and bottom copper tape lines and that the top copper is not accidentally touching the bottom of the battery.