SparkFun Paper Circuit Kits
 Gella
Gella 
Create Copper Traces
Time to create a path for our electricity to flow through our circuit. In this project, we will use copper tape wiring that connects each part of the circuit. Each template has numbered icons to help guide you in constructing the different parts of the circuit.
Take a look at the template and find the circle marked 1 (i.e. ①). Peel away a few inches of the paper backing from the copper tape and stick down along the shaded line to cover it.
 |
 |
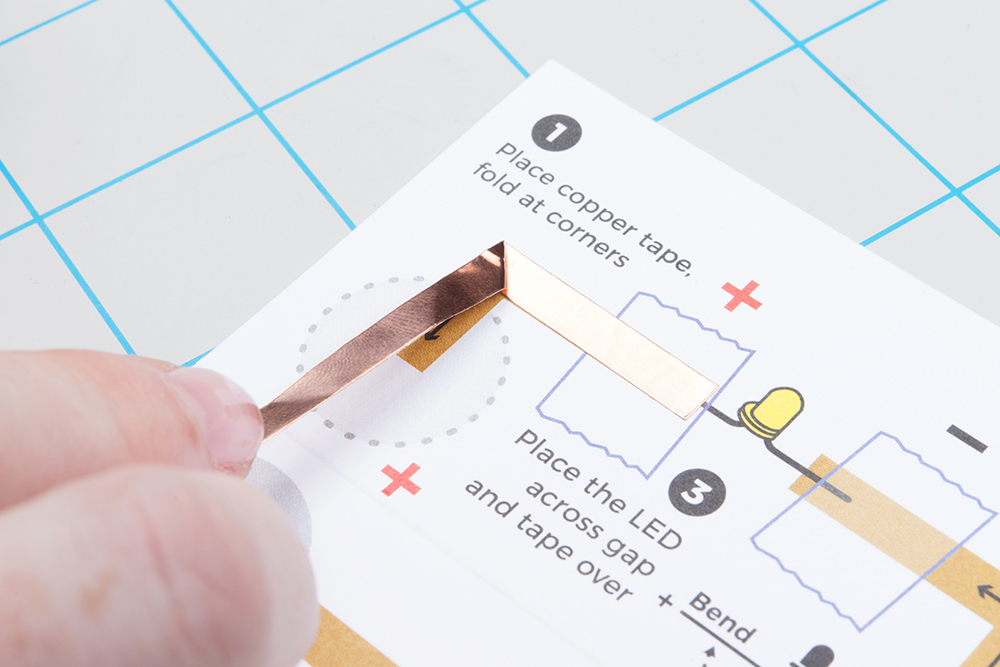
This template includes a few turns - to keep a solid connection of copper around corners, we’ll be using a folding technique to press the tape into shape. Start by sticking the copper tape down until you reach the corner, then fold the tape backward on itself. Use a fingernail or pen to give it a good crease at the edge.
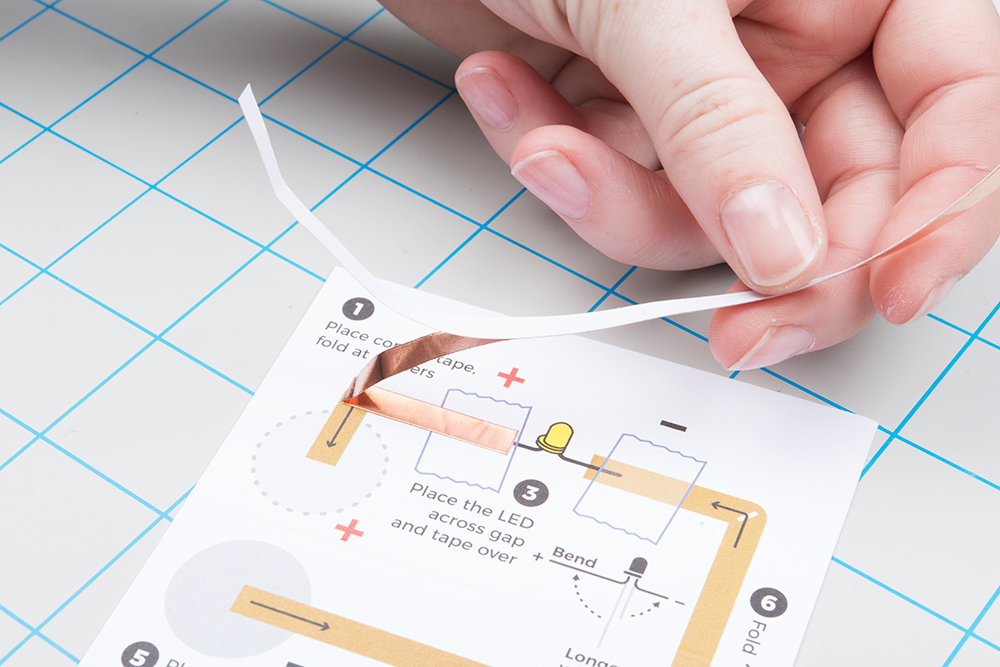
Then carefully move the tape down around the corner - you should see the fold forming - and press down flat against the paper. The neatness of the fold doesn’t matter that much, it will be covered by your pop up in the end.
Corners got you confused? Watch how it is done here (watch full screen to see the process a little better):
Finally, cut the tape when you reach the end of the printed line.

Repeat this process starting at the line marked 2 (i.e. ②).

Now we are done creating our copper tape paths. If you have extra tape, you can discard or save for another project.