SparkFun GPS Dead Reckoning NEO-M8U Hookup Guide
Contributors:
 bboyho,
  Elias The Sparkiest
bboyho, Elias The Sparkiest Resources and Going Further
Now that you've successfully got your GPS receiver up and running, it's time to incorporate it into your own project! For more information, check out the resources below:
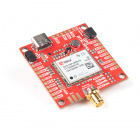
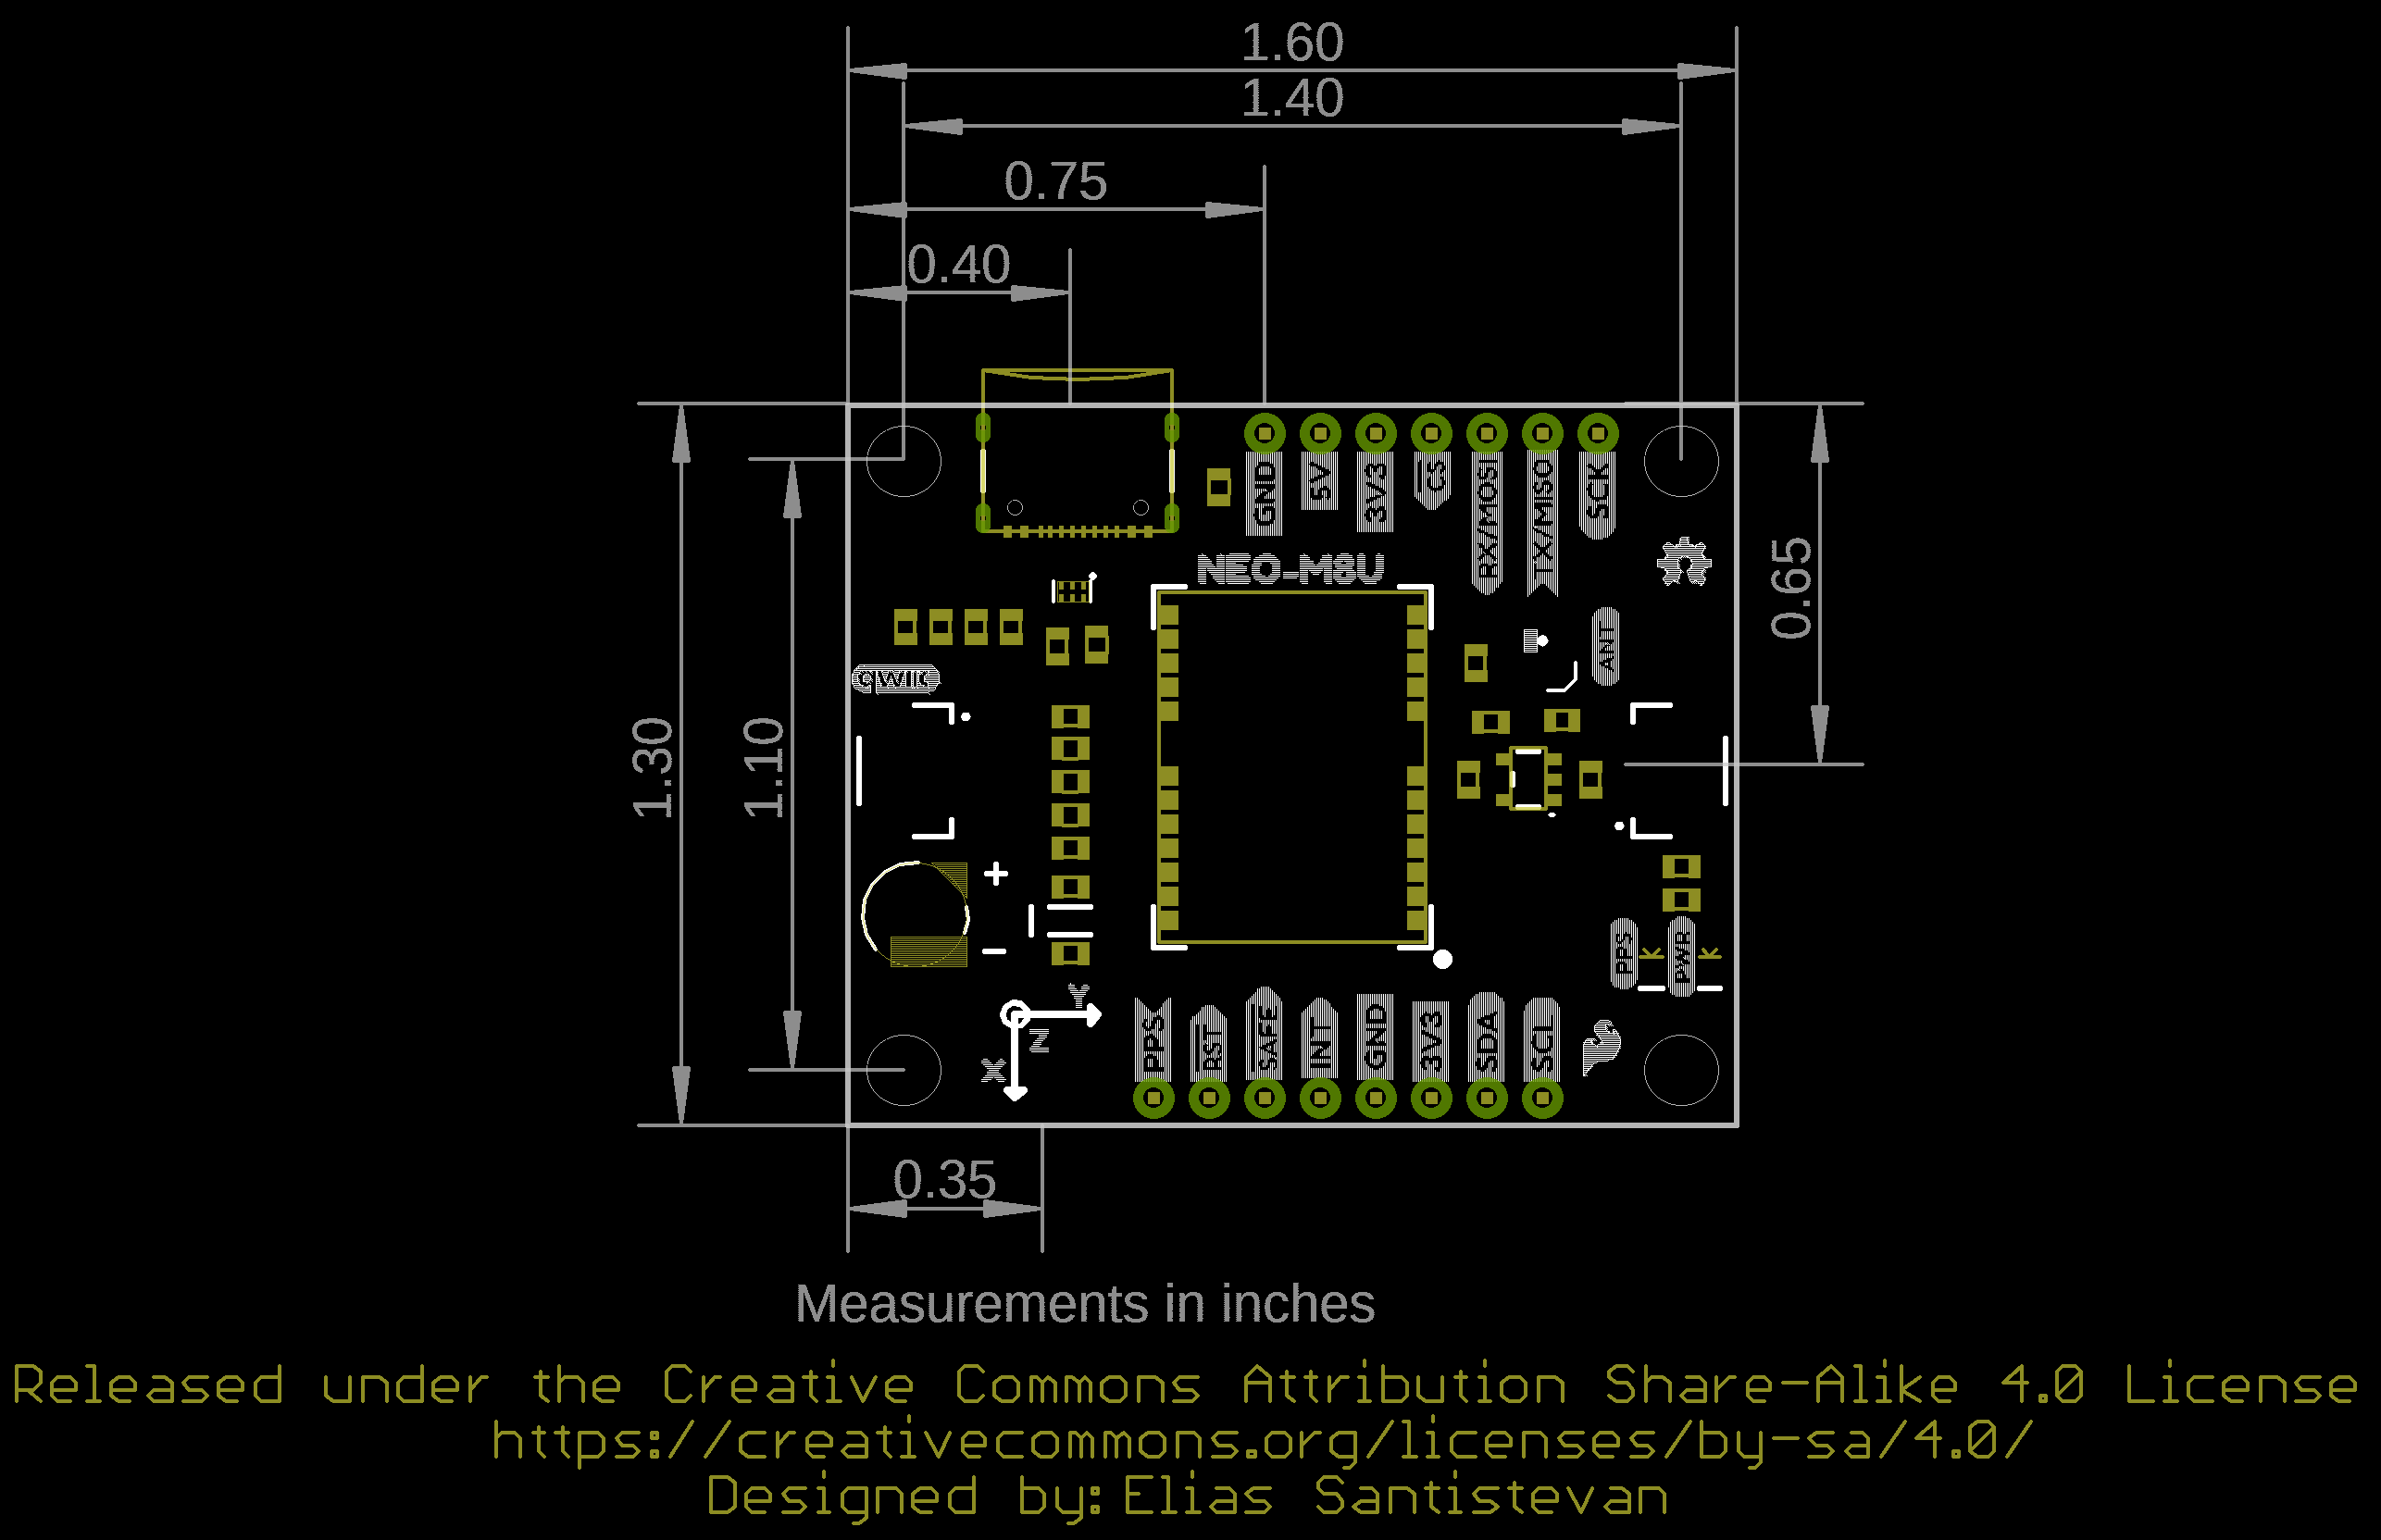
- SparkFun u-Blox NEO-M8U with Chip Antenna
- u-blox NEO-M8U Module Documentation and Resources
- GitHub
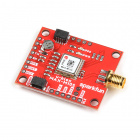
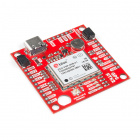
Are you looking for a GPS receivers? Check out the following GPS boards from the SparkFun catalog!
Need some inspiration for your next project? Check out some of these related tutorials:
GPS Differential Vector Pointer
Use GPS to have two objects, a base and a target, point towards one another. This can be used to aim a directional antenna (or in the case of this project, a laser) from one object to the other object at a distance that is only limited by your ability to provide the base station with the target's GPS location.
GPS Geo-Mapping at the Push of a Button
Let's ramp up our GPS tracking skills with KML files and Google Earth. We'll make a tracker that logs location and allows us to visualize our steps with Google Earth.
MicroMod Asset Tracker Carrier Board Hookup Guide
Get started with the SparkFun MicroMod Asset Tracker Carrier Board following this Hookup Guide. The Asset Tracker uses the u-blox SARA-R510M8S LTE-M / NB-IoT module to provide a host of data communication options.
SparkFun RTK Express Hookup Guide
Learn how to use the enclosed RTK Express product to achieve millimeter level geospatial coordinates.