SparkFun Blocks for Intel® Edison - Dual H-Bridge
 CaseyTheRobot,
  SFUptownMaker
Introduction
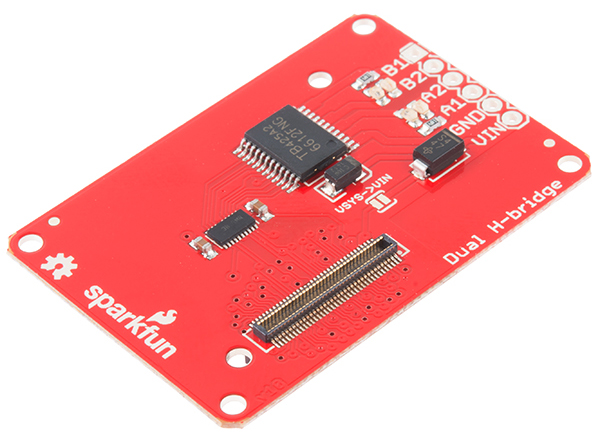
SparkFun's H-Bridge Block for Edison adds a two-channel low-voltage low-current h-bridge (the Toshiba TB6612) to your stack. The block can be configured to draw power either from the VSYS supply of the stack or from an external supply connected to the header on the block.
Suggested Reading
If you are unfamiliar with Blocks, take a look at the General Guide to Sparkfun Blocks for Intel Edison.
Other tutorials that may help you on your Edison adventure include:
- Programming the Edison - This tutorial assumes you are not using the Arduino IDE, so you'll want to familiarize yourself with C++ development on the Edison.
- Powering Your Project
- Connector Basics
- PWM
Board Overview
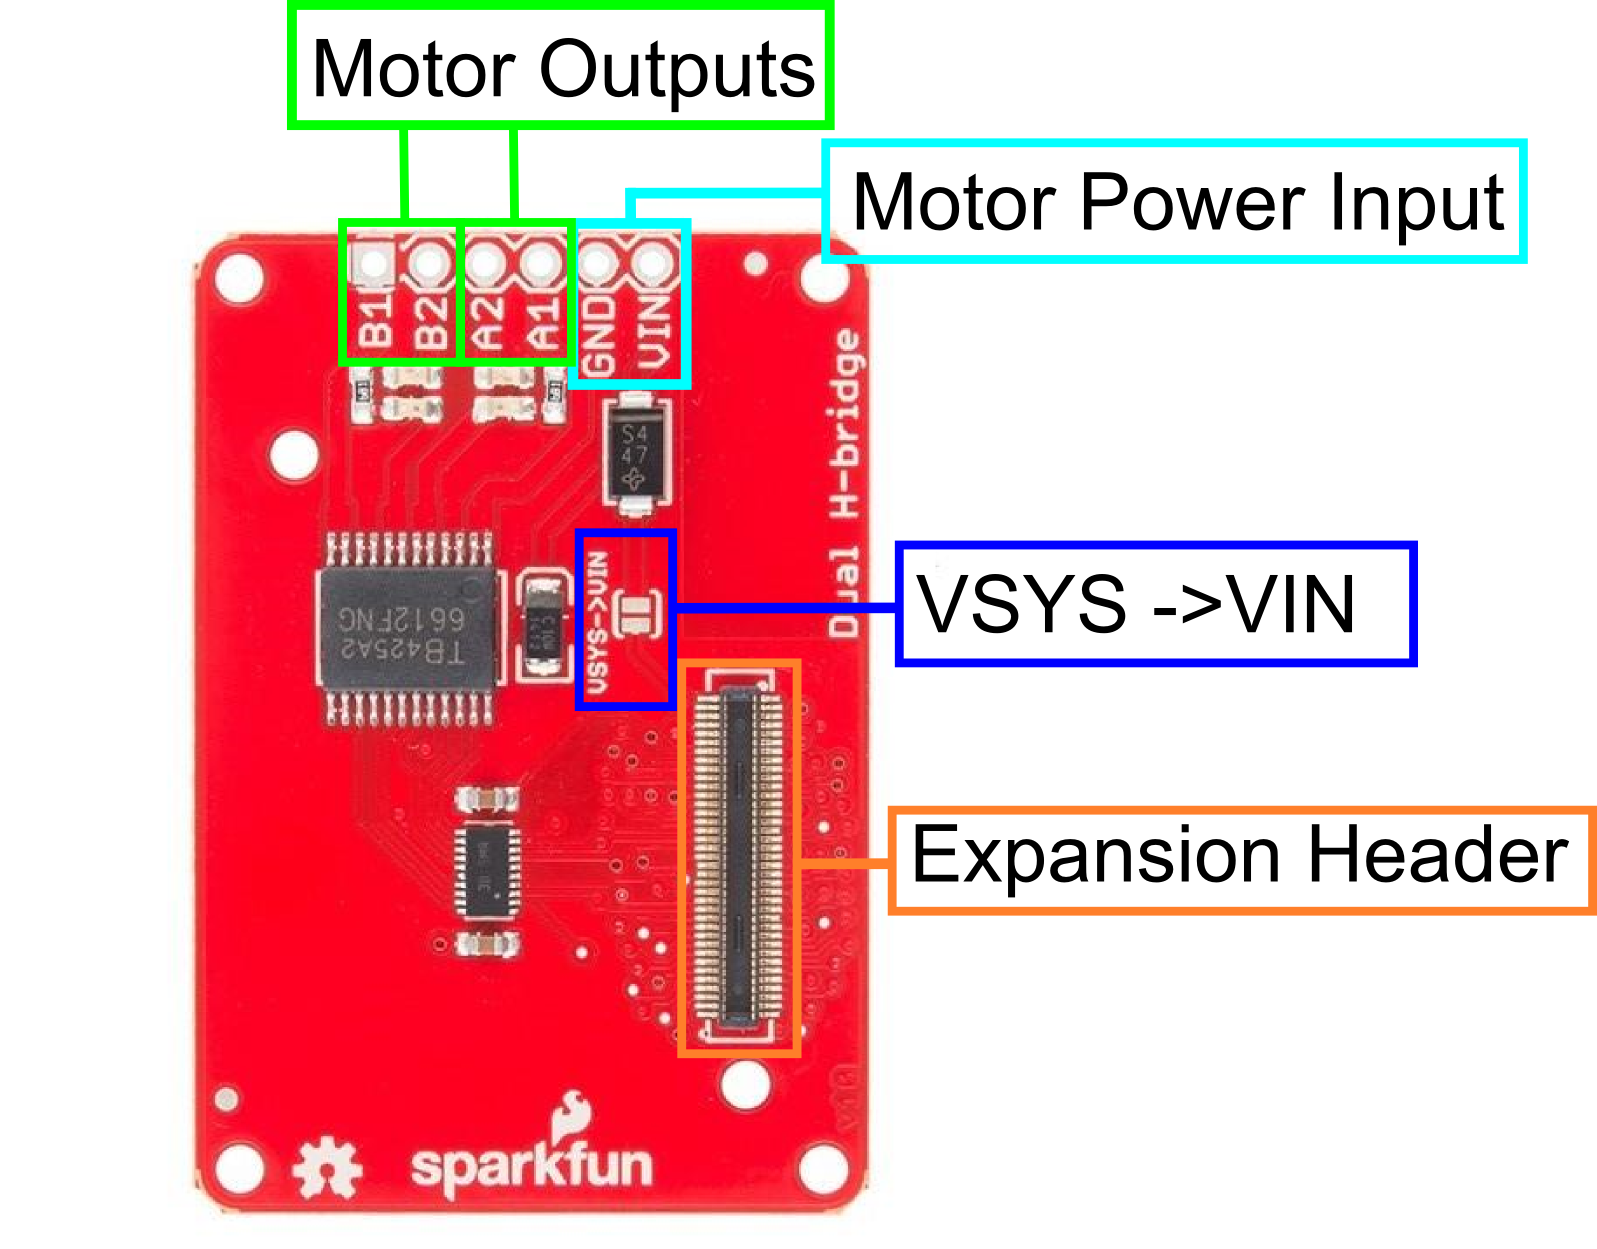
Motor Outputs - Two DC motor outputs. Motor A and B
Motor Power Input - External power input for DC motors. Limit to 15v DC.
VSYS -> VIN - Close this jumper to power Motors off VSYS. Use caution to not overdraw power supply capabilities.
Expansion Header - The 70-pin Expansion header breaks out the functionality of the Intel Edison. This header also passes signals and power throughout the stack. These function much like an Arduino Shield.
Using the Dual H-Bridge Block
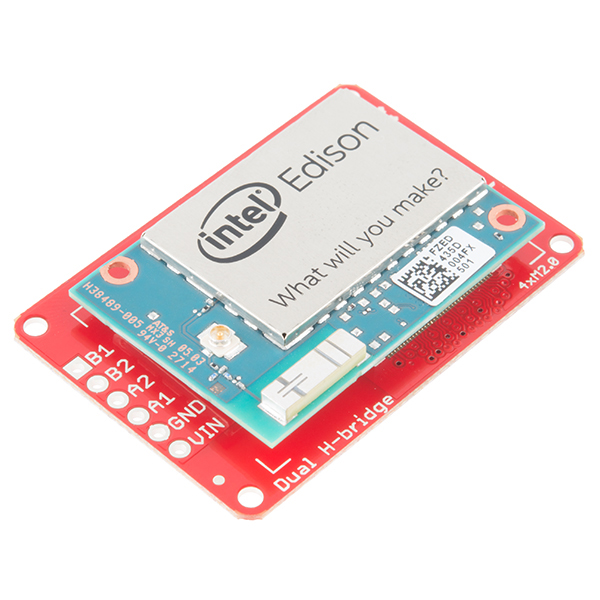
To use the Dual H-Bridge Block simply attach an Intel Edison to the back of the board or add it to your current stack. Blocks can be stacked without hardware but it leaves the expansion connectors unprotected from mechanical stress.
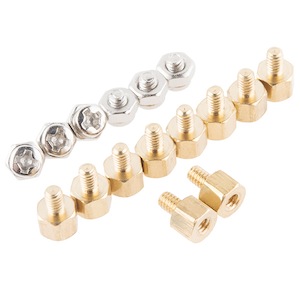
We have a nice Hardware Pack available that gives enough hardware to secure three blocks and an Edison.
NOTE: The Dual H-Bridge Block does not have console access or a voltage regulator. It is recommended to use a console communication block in conjunction with this block like ones found in the General Guide to Sparkfun Blocks for Intel Edison.
C++ Code Example
We're assuming that you're using the Eclipse IDE as detailed in our Beyond Arduino tutorial. If you aren't, you'll need to go to that tutorial to get up to speed.
Getting Started
Follow the instructions in the programming tutorial to create a new project named "SparkFun_H-Bridge_Edison_Block_Example". Once you've created the project, open the project files on disk (hint: you can find the path to the project by choosing "Properites" from the project menu), and copy the three source files found in the Edison H-Bridge Block CPP library GitHub repository into the "src" directory.
Hardware Connection
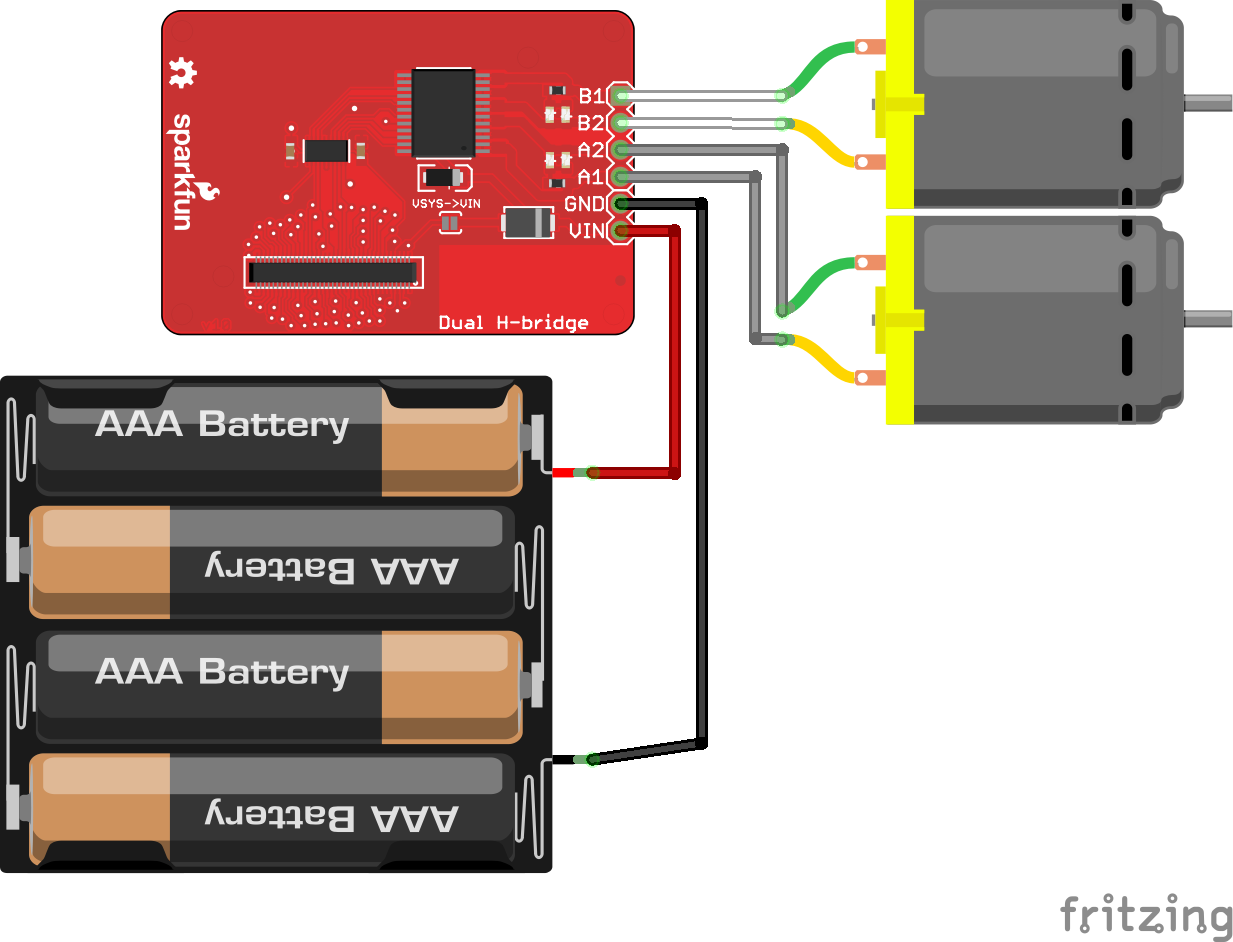
For this example, we have two small DC motors with gearboxes attached to the outputs. The image below shows how to build the circuit. It's up to you whether you want to drive the motors with an external supply. I've shown one here, but I've had perfectly good luck closing the supply jumper and pulling the current for these motors directly from the stack's VSYS rail, even when powering it over USB.
Code
Everything you need to know is in the comments.
language:c
#include <unistd.h>

#include "mraa.h"
#include "SparkFun_TB6612_Edison.h"
#include <iostream>
#include <iomanip>
using namespace std;

int main()
{

  // The constructor for the tb6612 class object configures all the necessary
  //  pins, exporting them if they aren't already exported, etc. Note that only
  //  one tb6612 class object may exist at a time, as they share hardware
  //  resources!
  tb6612 motors;

  // The constructor disables the outputs of the tb6612 by asserting the standby
  //  pin on the controller. You *must* use the standby() function to enable
  //  them before proceeding!
  motors.standby(false);

  // diffDrive() accepts a floating point number for channel A and channel B, in
  //  the range -1.0 to 1.0 inclusive.
  motors.diffDrive(0.5,0.5);
  sleep(5);
  motors.diffDrive(-0.5,-0.5);
  sleep(5);

  // "short brake" literally means the two outputs are shorted together. This
  //  drags the motor to a halt in a very short time and then holds it still
  //  (albeit fairly weakly). The shortBrake() function doesn't change the
  //  PWM output settings, so when shortBrake() is released by sending a "false"
  //  parameter, the motor will immediately resume its previous speed.
  motors.shortBrake(true, true);

  // Return the motors to hi-z state. This also doesn't affect the PWM output,
  //  so when standby is released (by passing false to this function) the motors
  //  will immediately resume their former speeds. This also doesn't provide any
  //  braking, so the motors will coast to a stop much more slowly than with
  //  shortBrake().
  motors.standby(true);

  bool brakeA = false;
  bool brakeB = false;
  float dcA = 0;
  float dcB = 0;
  bool onStandby = false;

  // We've provided a number of "get" functions, to check the current status of
  //  the device.

  // getStandby() returns true if the motors are on standby, false otherwise.
  //  This function checks the actual status of the gpio pin used for setting
  //  the standby mode on the chip, so it will always match reality.
  onStandby = motors.getStandby();

  // getDiffDrive() checks the *stored* speed value, rather than the current
  //  value. Thus, if another process alters the PWM output duty cycle without
  //  actually touching the class object, this may return invalid data. It also
  //  doesn't return any information about standby or brake status.
  motors.getDiffDrive(&dcA, &dcB);

  // getShortBrake() checks the pins used for setting the direction/brake mode,
  //  so the values placed into the pointer parameters by the function are
  //  accurate at the time the function is called.
  motors.getShortBrake(&brakeA, &brakeB);

  cout<<"Motor standby status: "<< boolalpha << onStandby << endl;
  cout<<"Motor A brake status: "<< brakeA << endl;
  cout<<"Motor B brake status: "<< brakeB << endl;
  cout<<"Channel A speed: "<< fixed << setprecision(3)<<dcA<<endl;
  cout<<"Channel B speed: "<<dcB<<endl;

  return 0;
}
Resources and Going Further
Now that you have had a brief overview of the Dual H-Bridge Block, take a look at some of these other tutorials. These tutorials cover programming, Block stacking, and interfacing with the Intel Edison ecosystems.
Edison General Topics:
- General Guide to Sparkfun Blocks for Intel Edison
- Edison Getting Started Guide
- Loading Debian (Ubilinix) on the Edison
Block Specific Topics:
Check out these other Edison related tutorials from SparkFun: