Sound Location with the Qwiic Sound Trigger and the u-blox ZED-F9x
Introduction
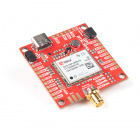
In this tutorial, we show you how to calculate the location of a sound using the SparkX Qwiic Sound Trigger and the u-blox ZED-F9P GNSS receiver.
Qwiic Sound Trigger
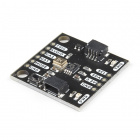
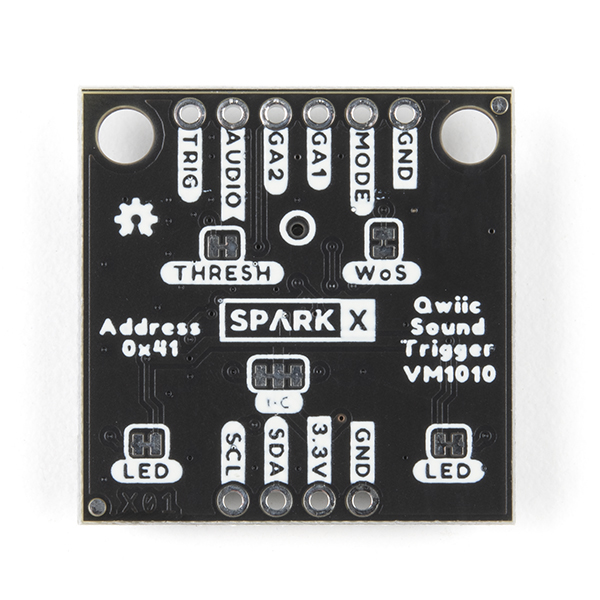
SPX-17979The Qwiic Sound Trigger can be used on its own, or as part of your Qwiic system. It is based on the VM1010 from Vesper Technologies and the TI PCA9536 GPIO expander. The VM1010 is a clever little device which can be placed into a very low power "Wake On Sound" mode. When it detects a sound, it wakes up and pulls its TRIG (DOUT) pin high. The VM1010 can then be placed into "Normal" mode by pulling the MODE pin low; it then functions as a regular microphone. The analog microphone signal is available on the AUDIO (VOUT) pin. All of this happens really quickly, within 50 microseconds (much faster than a capacitive MEMS microphone), so you don't miss the start of the audio signal. This makes it ideal for use as a sound trigger! If you turn the Qwiic Sound Trigger over, you will see a small hole ringed in white. That’s the opening for the microphone. You need to have the rear of the board pointing towards your sound source, not the front.
The u-blox ZED-F9P GNSS receiver is an old friend. It is a top-of-the-line module for high accuracy GNSS location solutions including RTK that is capable of 10mm, three-dimensional accuracy. With this board, you will be able to know where your (or any object's) X, Y, and Z location is within roughly the width of your fingernail! Something that doesn’t get discussed as much as it should is that the ZED-F9P can also capture the timing of a signal on its INT pin with nanosecond resolution! It does that through a UBX message called TIM_TM2.
Together, these two boards form the heart of our noise source location system. Want to figure out where a sound came from? These boards let you do that!
We are also going to show you how to log the TIM_TM2 data from the ZED-F9P to SD card using the MicroMod Data Logging Carrier Board and Artemis Processor Board. But our example code can be adapted to any board if required. Then we’ll go on to show how you can use our example Python code to process the data and calculate the location of the sound!
But first, let's talk about sound itself….


