smôl Hookup Guide
 PaulZC
 Assembly
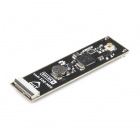
smôl boards are designed to stack one on top of the other, using 16-way 0.5mm-pitch FPCs to provide the interconnect from one board to the next. Each board has an IN FPC connector on the bottom layer and an OUT FPC connector on the top layer. The boards stack in a zig-zag daisy chain; signals and power are passed from one board to the next up and down the chain through the FPCs.
We use "back-flip" "dual contact" connectors to make inserting the FPCs as frustration-free as possible. The "back-flip" makes the connector very compact and it is easy to flip the lever with your fingernail. We find them much easier to use than traditional slide connectors. "dual contact" connectors have contacts both top and bottom so it does not matter which way round you insert the FPC. Either way up is OK.
There are some simple steps you need to follow when connecting your boards:
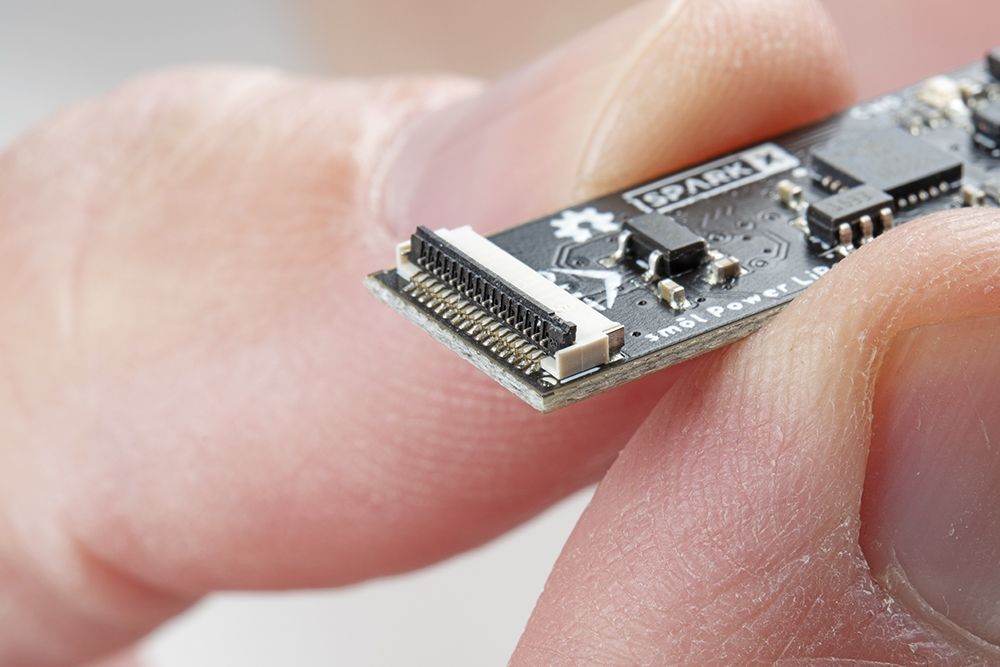
Lift the Back-Flip Lever
Lift the back-flip lever with your fingernail or a small screwdriver:
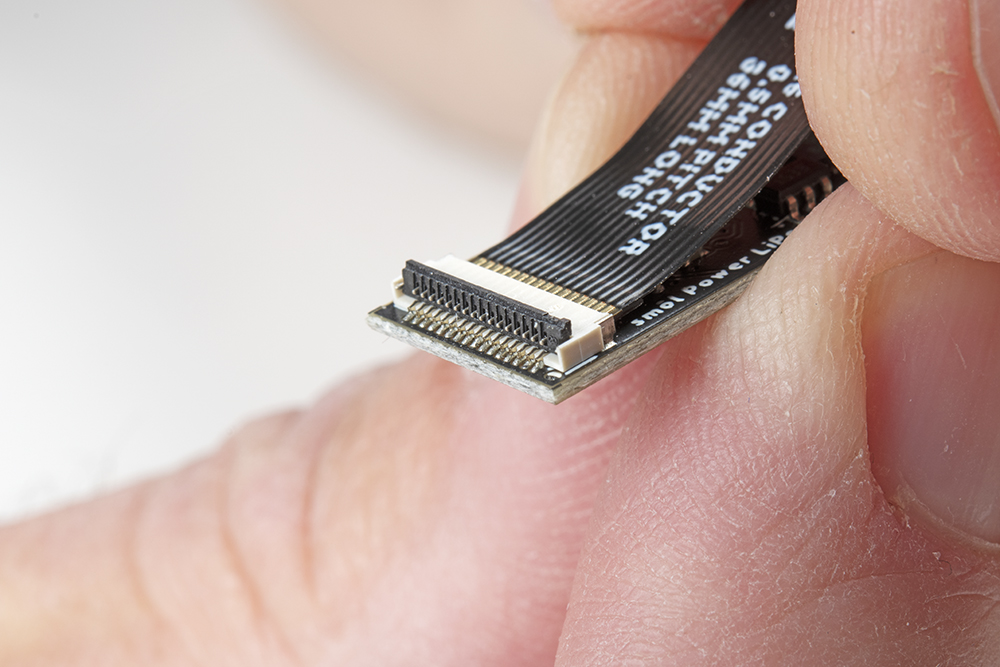
Insert the FPC
Insert the FPC. Give it a little jiggle and apply a little pressure until it is fully inserted. You can insert the FPC either way up:
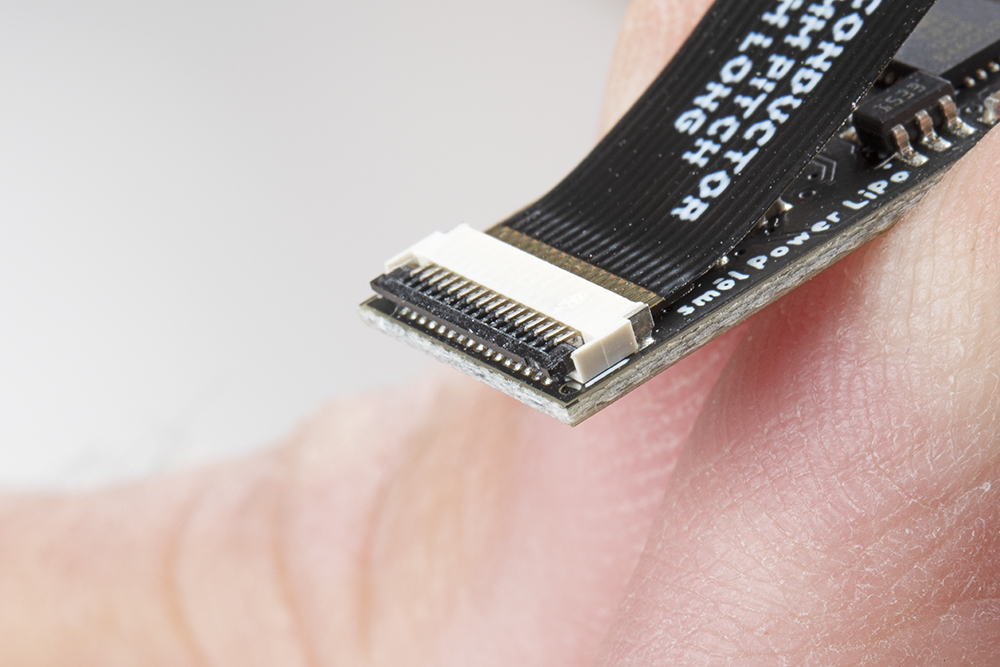
Close the Back-Flip Lever
Use your fingernail or a small screwdriver to close the back-flip lever, securing the FPC:
Expert Tip:
Let's say you are connecting a ZOE-M8Q GNSS Peripheral Board to an ESP32 Processor Board. As described in the previous section, you are going to position the ZOE-M8Q above the ESP32. Our expert tip is to:
- Turn the ZOE-M8Q board over and lift the back-flip lever on the IN connector
- Orientate the FPC so the writing and gold fingers will be against the underside of the ZOE-M8Q board. This reveals the brown stiffener on the back of the FPC.
- Start to insert the FPC into the IN connector and then put your fingernail against the edge of the stiffener. There is a small step on the edge of the stiffener.
- Use your fingernail to gently drag the FPC stiffener into position, making sure the FPC ends up fully inserted into the connector.
- Close the back-flip lever on the IN connector.
- Lift the back-flip lever on the ESP32 OUT connector.
- Start to insert the other end of the FPC into the OUT connector.
- Hold the ZOE-M8Q board and give it a little jiggle to help insert the FPC. It is easier to hold the ZOE-M8Q board than it is to hold the FPC itself.
- Make sure the FPC is fully inserted, then close the OUT connector back-flip lever.
Simples!
Completed Stack
Here's how your completed smôl stack should look once fully assembled:
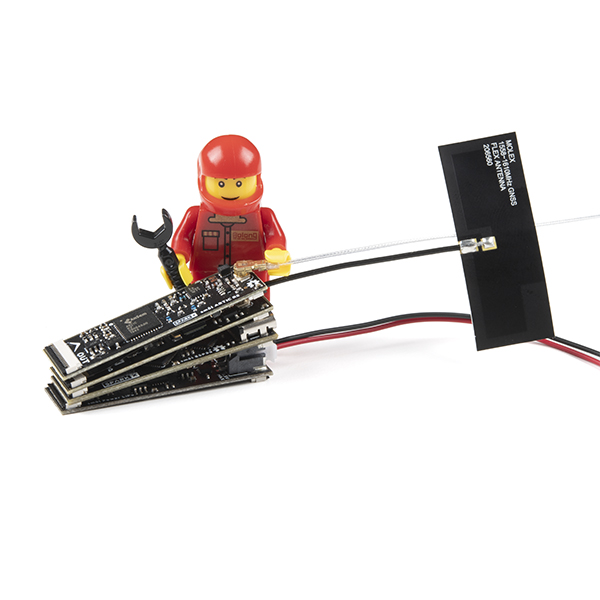
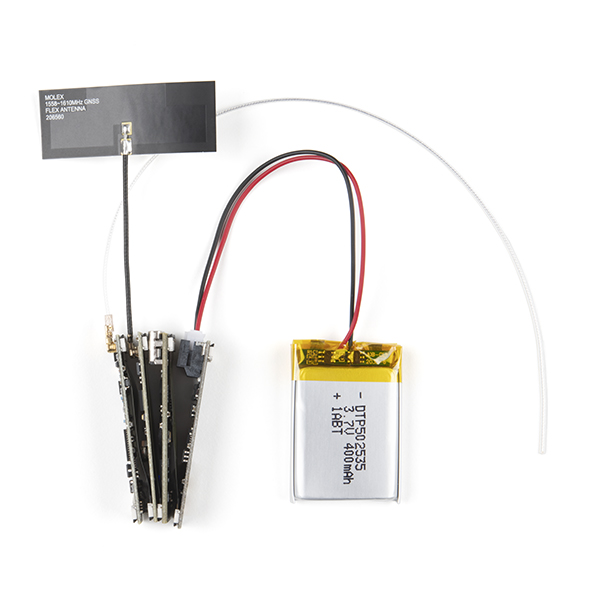
The stack in the above photos is a complete ARTIC R2 satellite tracker capable of transmitting 2.5m accuracy position fixes five times per day to the ARGOS satellite network (ARGOS provides global coverage, including the oceans and the polar regions) using a 400mAh battery for over 100 days!
- ARGOS Omnidirectional Antenna - 401MHz
- smôl ARTIC R2
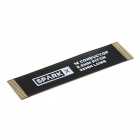
- 3 x 36mm 16-way 0.5mm FPCs
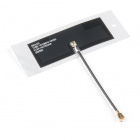
- Molex Flexible GNSS Antenna - U.FL
- smôl ZOE-M8Q
- smôl ESP32
- smôl Power Board LiPo
- Lithium Ion Battery - 400mAh


