Simblee LilyPad Hookup Guide
This Tutorial is Retired!
This tutorial covers concepts or technologies that are no longer current. It's still here for you to read and enjoy, but may not be as useful as our newest tutorials.
Contributors:
 SFUptownMaker
SFUptownMaker Simblee LilyPad Hardware Overview
Let's take a quick tour of the Simblee LilyPad hardware:
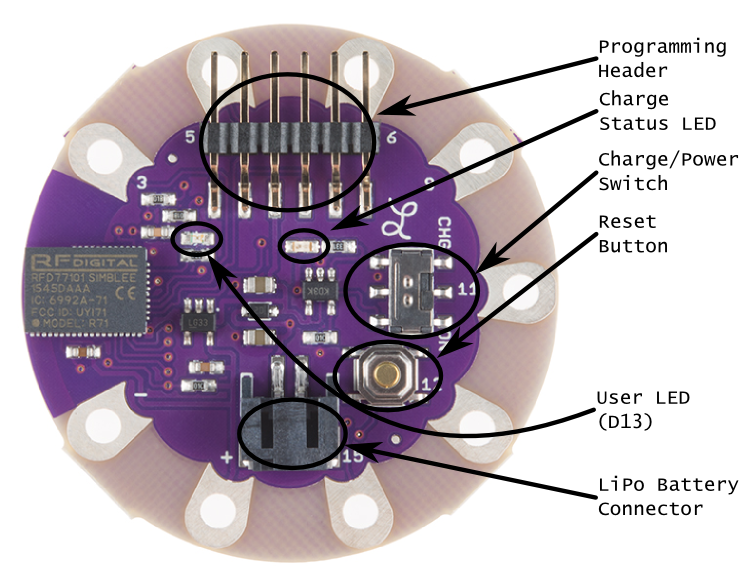
- Programming Header -- This is the place to connect the programming board. We recommend using the either the LilyPad FTDI Basic or the 5V FTDI Basic for programming the Simblee LilyPad. Do not use the 3.3V FTDI Basic. This header can also be used to power the board during development.
- Charge Status LED -- If a battery is connected and charging, this LED will be lit. Otherwise, it will be off.
- Charge/Power Switch -- This switch controls the power to the board. When set to "CHG", the on-board charge circuit will charge the battery (if power is connected via the Programming Header) at 100mA, but power to the rest of the board (and anything powered from the "+" sewtap) will be disconnected. When set to "ON", the board and any attached circuitry will be powered, and charging will continue if the board is plugged in.
- Reset Button -- Normally this shouldn't be required, but it may on occasion be useful to start your code from scratch, without reprogramming or pulling the power.
- User LED -- This LED is connected to pin 13 and can be used in your code for a "free" indicator LED.
- LiPo Battery Connector -- This connector mates with the 2mm JST connector on our polymer lithium ion batteries. The charge current is set to 100mA, which is a safe current for any battery with a capacity of 100mAh or higher.
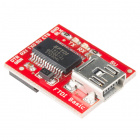
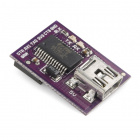
USB-to-Serial Programmer
We recommend using the either the LilyPad FTDI Basic or the 5V FTDI Basic for programming the Simblee LilyPad. There is a 3.3V voltage regulator after VIN and a protection resistor on it so a 5V input on the RX line won’t damage the module
Do not use the 3.3V FTDI Basic, as it may not be able to source enough current from the 3.3V rail.
Do not use the 3.3V FTDI Basic, as it may not be able to source enough current from the 3.3V rail.
LilyPad FTDI Basic Breakout - 5V
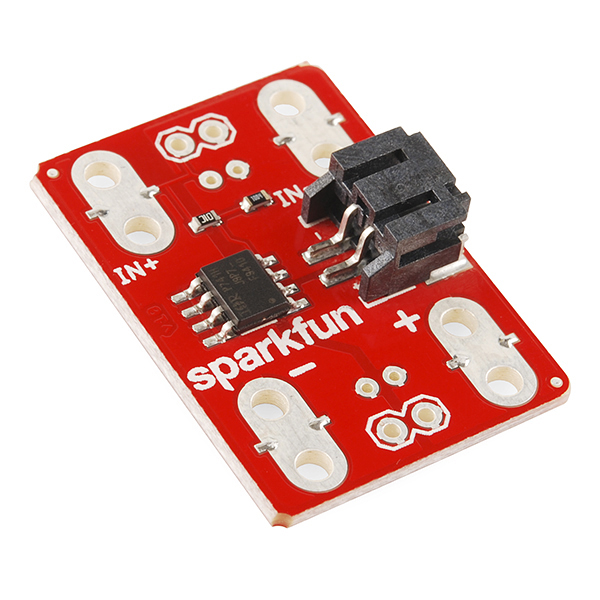
DEV-10275Output Control w/ Transistors
Warning: If you've used Arduino boards before, you're probably used to connecting LEDs to the pins as output signals. A normal Arduino can light up many LEDs at once, and several per pin; for the Simblee, you shouldn't try more than ONE per pin, with an additional recommendation of don't try to turn on more than three at a time across all pins. The processor inside the Simblee module cannot drive enough current to light up more LEDs than this (pg 9 of the Datasheet).
If you decide to drive multiple LEDs, try using a transistor as a switch.
If you decide to drive multiple LEDs, try using a transistor as a switch.