Contributors:
 MTaylor
 Operating the Mill
Setup
Now that the files look good, it's time to prepare for the actual work. Gather together all the things you think you'll need before starting, especially if you're not working in a shop. This can prevent running for new tools.
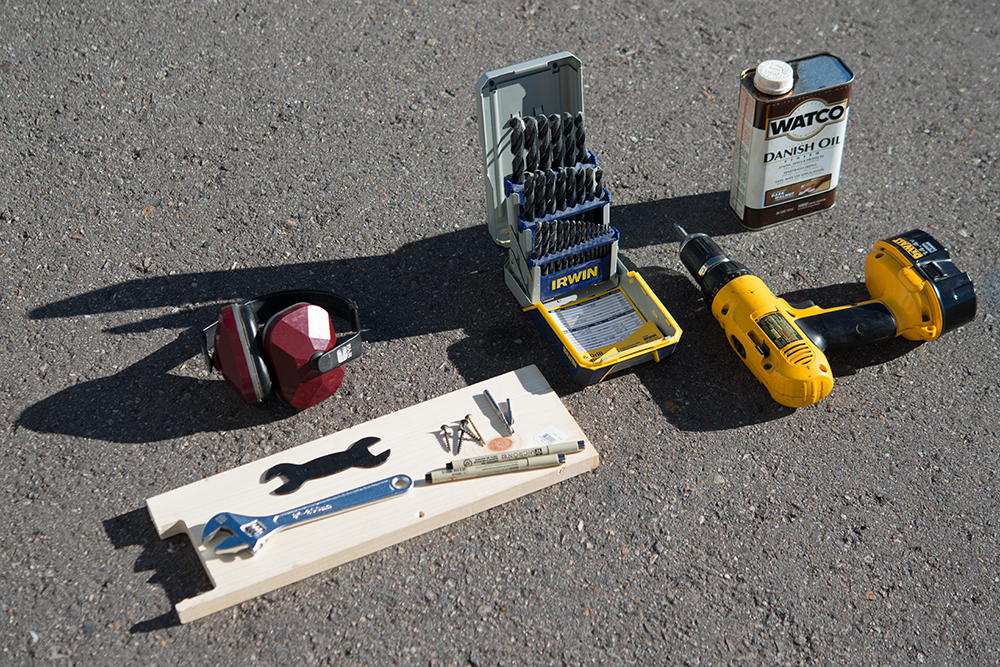
The various hand tools and supplies collected for this project, as mentioned in the Introduction.
Of course, you'll need a mill and computer. Shown here is a Carbide 3D Shapeoko mill with SparkFun Stepoko controller
Operation
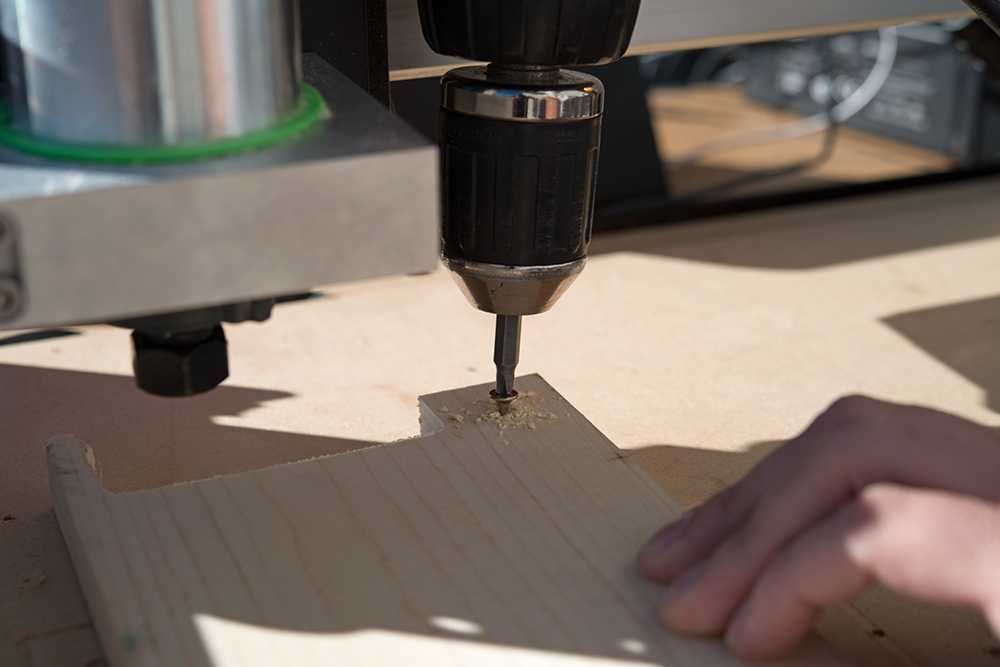
Set the material into the mill. Some mills have clamps but for this simple job I drilled holes in the material and screwed it down to the wasteboard.
I've left the carriage at about zero so I know the cut path of the job won't hit the screw heads. An easy way to get it all straight is to eye-ball off the previous liner cuts that develop in the wasteboard over time.
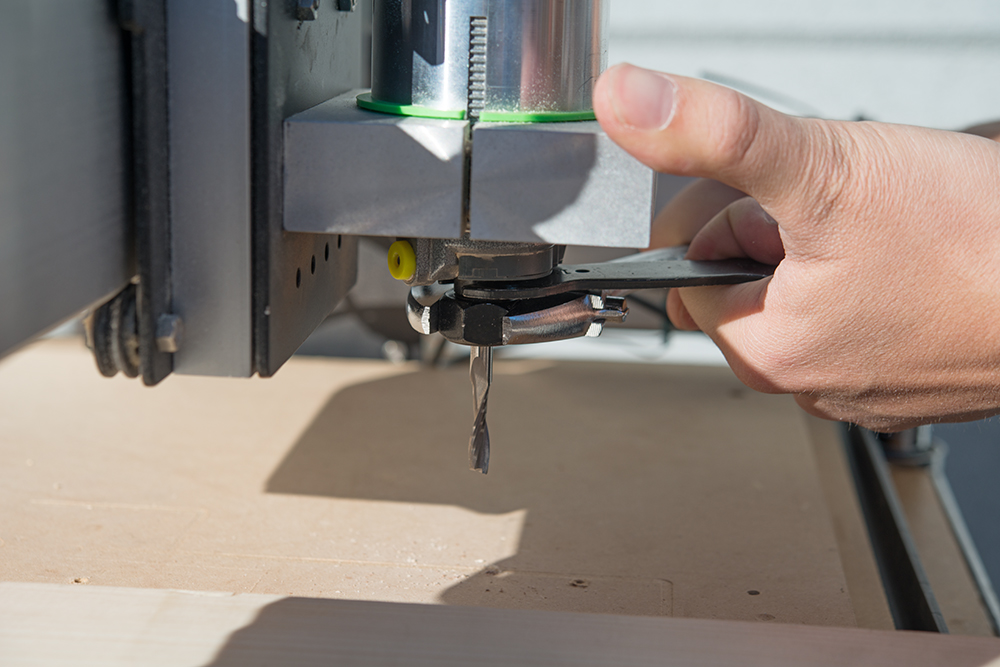
There will be three jobs to run. First, 1/4 inch milling, then engraving, then milling again. With the e-stop enabled, the carriage moves freely but doesn't track motion. We haven't calibrated to zero yet, so move it up to get to the collet.
The tool is made pretty tight. If it slips up in the collet during operation, the tool may be dull, too loose, or the feed rate is to high.
Now, it's time to make a zero reference. Once made, this will be zero for all jobs. If everything goes smoothly (don't plan on it the first time around), the machine will never have to be re-zeroed. If not, you'll have to use this reference to locate zero again.
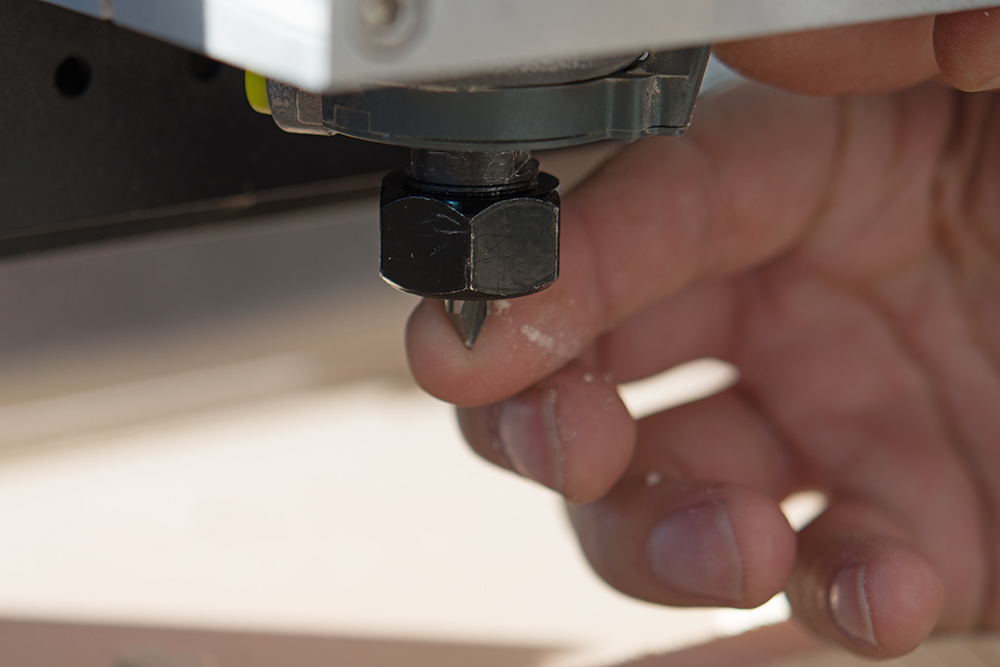
The tool can be lightly pressed into materials like plastic and wood to dent and give a mark.
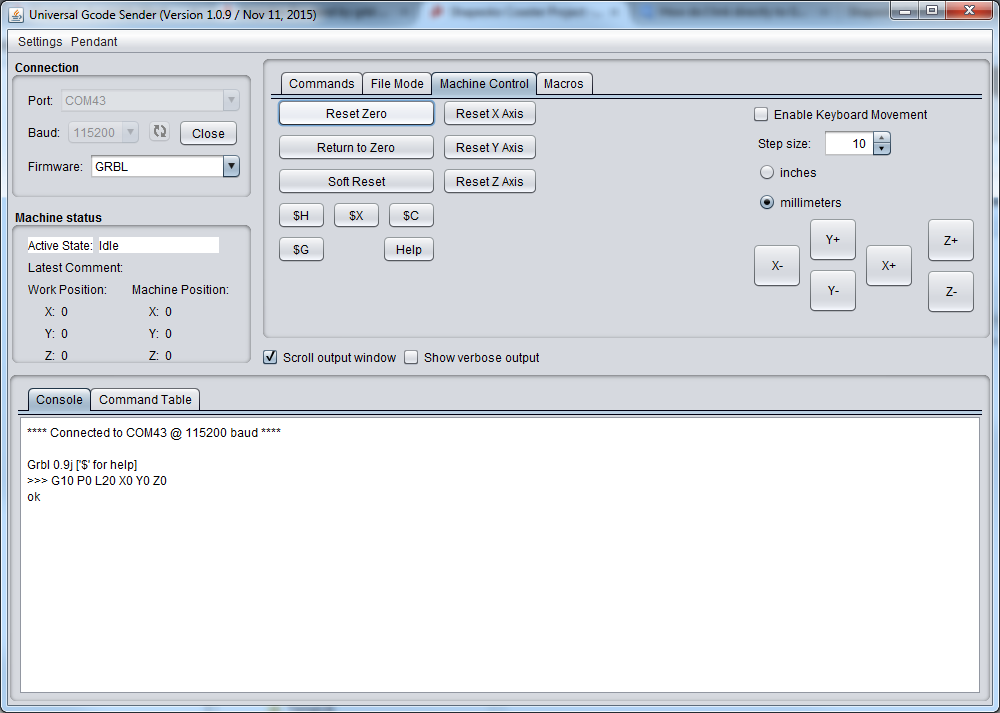
Back on our computer, click 'Reset Zero' to tell everybody that the machine is at the new zero. If this doesn't seem to take, close and reopen the software.
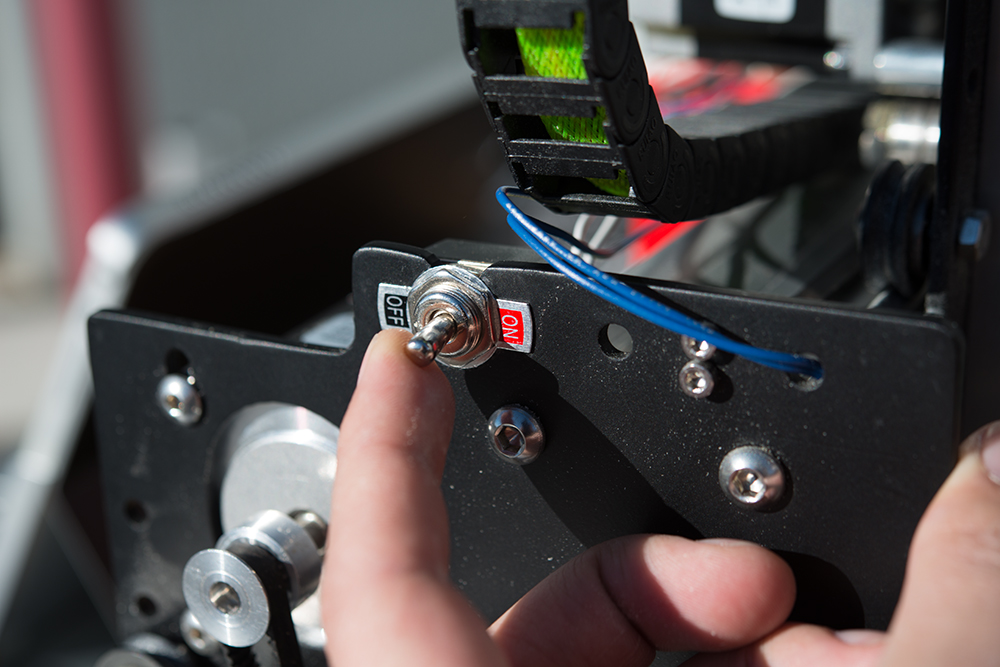
With the machine at zero, switch off the e-stop (turn on the switch). This locks the stepper motors.
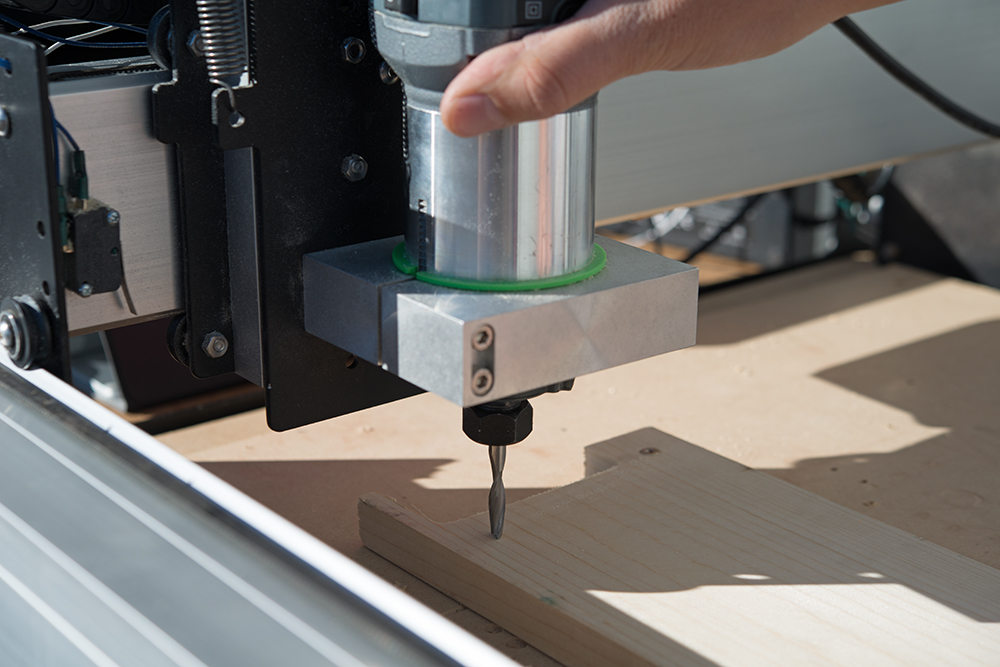
Use the machine control tab in Gcode Sender to lift the tool by a know amount. I chose 10mm. This is kind of a sanity check to make sure the machine is working and to get it away from the material.
Lesson: Draw a cross-hair across the center of the zero. Later in the process, I dropped a running tool on the point and milled out the indentation and had to guess a bit. Pros use
wigglers to set zero.
Hearing Safety Warning!: High speed cutters are loud! Some people think it's not so bad, but after about a minute of milling they all start backing away. Put on hearing protection before proceeding.
After the first pass, the first 3 operations are apparent. The mill has been returned to zero.
To switch tools, use the switch to unlock the motion, lift the Z axis without disturbing the X and Y, and re-enable the motion. Now I have some room to work.
Oops! It can be seen here that the black plate, which moves with the tool, will crash into the work surface if I try to run the job.
Lesson: Make sure the tool is adjusted in the clamp before starting any work.
I loosen the router clamp evenly.
The router is dropped down an inch or so. I had to zero again before running the job.
After running the job, switching the tool back to the mill bit, and running the final perimeter job the part is released. If you watch the video you can see that on the last pass, I hold down the part with a scrap pushstick. Alternately, you can leave tabs in the CAM software so that it doesn't fly around when on the final cut.
Enjoy a time-lapse video of the three jobs being sent to the mill!
The coaster, right out of the mill.