Shapeoko Coaster Project
Contributors:
 MTaylor
MTaylor 
Introduction
The purpose of this project is to show that milling is a complex, multi-layered and multi-step process. It's not like printing on paper; there are many small steps involved to get from an idea to an object. But, one must begin somewhere.
This guide is intended to allow someone who's never milled before make something useful with a mill.
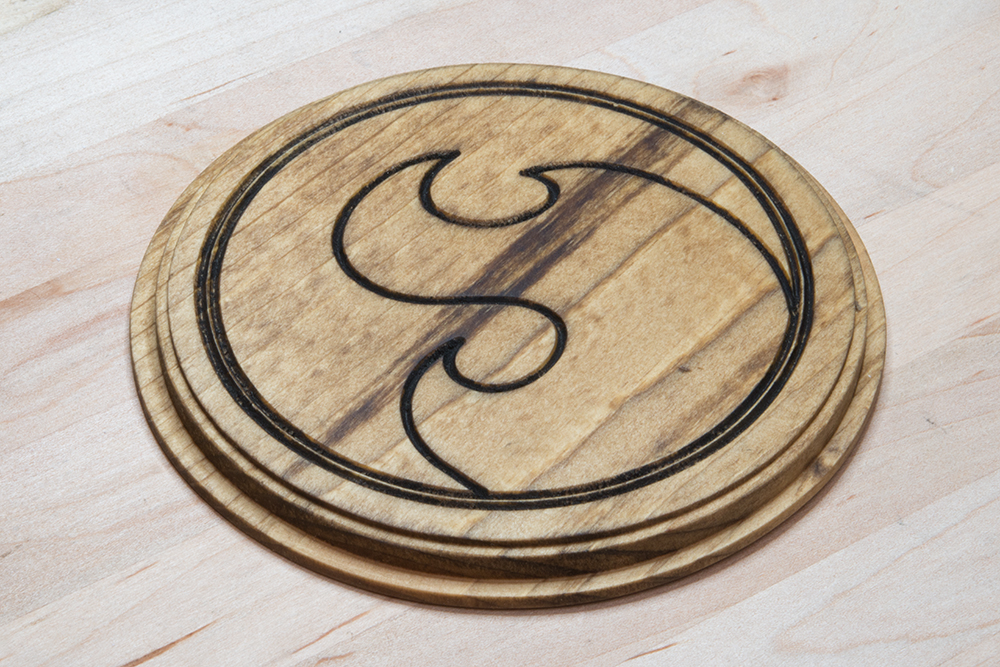
The finished coaster.
Tools needed
- Shapeoko mill (prototype shown in pictures), Stepoko controller, and a trim router
- 1/4 inch dual fluted wood router bit (from hardware store)
- 1/4 inch, 45 degree engraver bit (from hardware store)
- Drill for drilling and driving screws
- A drill bit to match screw shaft size
- The router chuck tool and adjustable wrench
- A few screws to hold down the material
- Hearing protection
- A computer that can get sawdust on it
Think about cleanup before you begin too. I operated outside but still had to vacuum down the mill and computer afterwards.
Materials
- Stain -- I chose Watco Danish Oil
- A Sakura brush pen
- A length of 1x6 Common Board
- Sandpaper
- Paper towels
Software
Suggested Reading
If you have not already, we recommend reading the Shapeoko Assembly Guide and the Stepoko Hookup Guide for a better understanding of how this project came together.
Stepoko: Powered by grbl Hookup Guide
Hardware guide for the Stepoko