Setting up Raspbian (and DOOM!)
Prepare the Pi
This page is all about connecting peripherals to your Pi in preparation for installing Raspbian. So preheat your oven and let's get cooking.
Connect Display
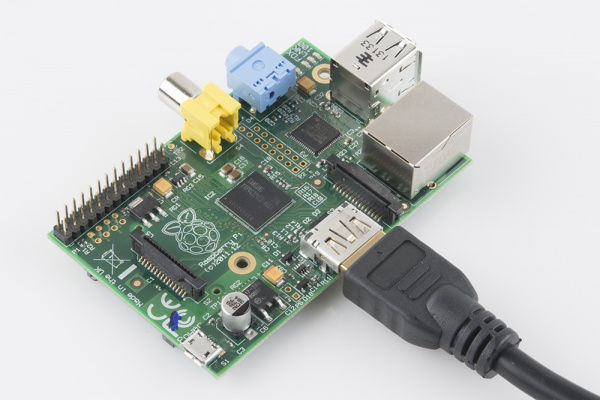
There are two potential places to connect a display on the Pi: either HDMI or component video.
If your monitor has neither of those inputs, a VGA-to-HDMI adapter or HDMI to DVI cable might be what you need.
HDMI does carry audio, if your display can support that. Otherwise you can use the 3.5mm jack on the other side.
Connect USB Peripherals
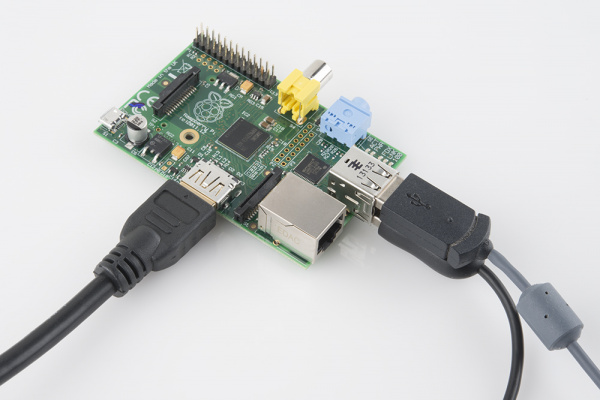
Next up, connect your mouse and keyboard. As long as you don't plan to use any other USB peripherals (flash drives, WiFi cards, etc.) you can use both USB ports on the Pi. Otherwise, you may want to look into adding a USB hub.
Some of these peripherals can use a lot of power (especially optical and wireless mice). If you notice issues with the mouse or keyboard, you may need to use them with a powered USB hub.
Insert SD Card
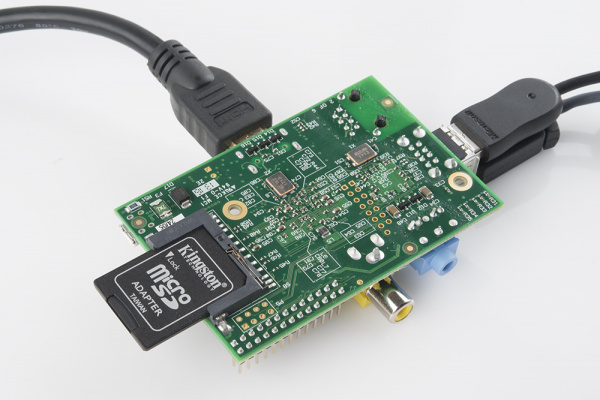
Insert your prepared SD card into the Pi. The SD socket is on the bottom side of the board. When inserting your card, make sure the gold contacts are facing up toward the board.
(Optional, Recommended) Connect Ethernet
In order to download updates and other software for your Pi, it's recommended that you connect it to an Internet-connected network via Ethernet. The Ethernet jack sits right next to the pair of USB sockets.
Connect Power
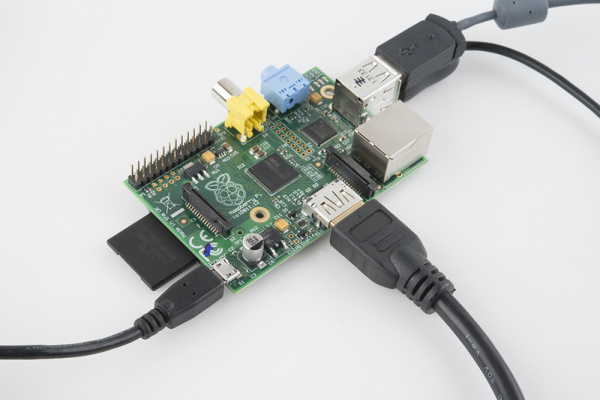
Power time! Plug your micro-B USB cable into your wall adapter, then plug the other end into your Pi's small, micro-B USB port.
The Pi doesn't have a power switch, so make sure everything else is plugged in before connecting power. As soon as power is applied to the Pi, it'll look at the contents of the SD card and begin to boot up.
Quick! As the Pi begins to boot for the first time, head over to the next page for further directions.


