RETIRED - Photon Weather Shield Hookup Guide
This Tutorial is Retired!
This tutorial covers concepts or technologies that are no longer current. It's still here for you to read and enjoy, but may not be as useful as our newest tutorials.
View the updated tutorial: Photon Weather Shield Hookup Guide V11
 Joel_E_B
Example 3: Collecting Weather Data Online
Phant is No Longer in Operation
Printing to the Serial Terminal is fun and all, but let's get this thing on the Internet! One of the most common things you'll want to do with the weather data you're collecting is to store it some place. You're in luck! With our data.sparkfun.com service, aka Phant, you can store all the weather data on the cloud, for free! You can then pull that data into a multitude of programs and websites to manipulate and visualize your weather data however you like.
This example will show you how to store your weather data on data Phant using the SparkFun Phant Particle Library.
Pushing Data to data.sparkfun.com (Phant)
This example builds off the previous two. You should have the previous four libraries added to your app, as well as a new, fifth library, the SparkFun Phant Particle Library.
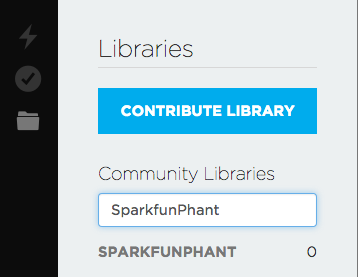
If you're using Particle Dev, there is a project folder labeled SparkFun-Spark-Phant. Add it to Dev to quickly get started with this example. Open the SparkFun-Spark-Phant.ino example sketch.
You'll need to create a data.sparkfun.com stream if you have not done so already. Details on how to do that can be found in our tutorial. Keep track our your** public and private keys** as well as the Field labels you choose.
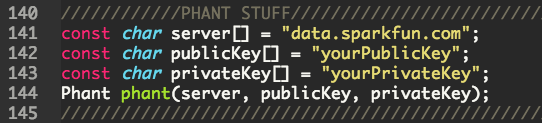
With that info in hand, open the sketch and find the Phant variables. You'll need to change these to match your stream's keys.
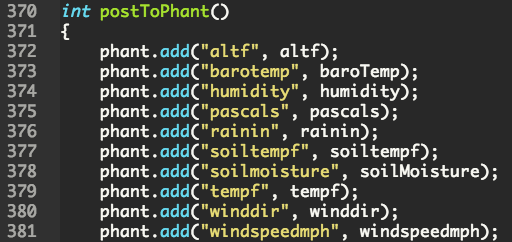
You'll also need to add each of the Fields you added when you created your stream. Make sure these match exactly.
What You Should See
With your stream created and the sketch edited accordingly, you can now upload to the Photon. Once complete, you should begin to see data populate on your stream.
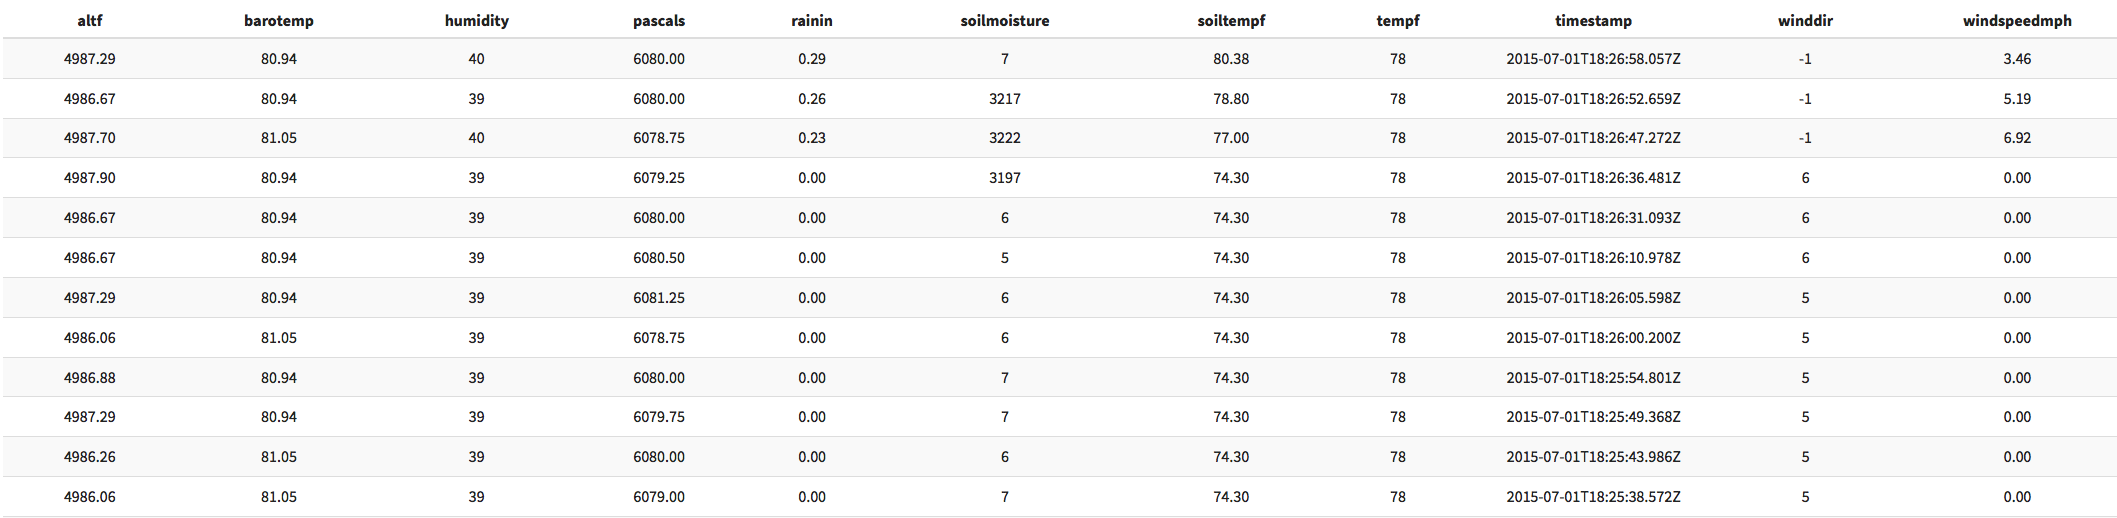
You can now pull that data into any other device or service to organize however you see fit.
Pushing Weather Data to Wunderground
If you would like to upload your weather data to Wunderground, you can follow along with the WIMP Weather Station tutorial to learn how to accomplish the same with your Photon Weather Station.