RETIRED - Photon Weather Shield Hookup Guide
This Tutorial is Retired!
This tutorial covers concepts or technologies that are no longer current. It's still here for you to read and enjoy, but may not be as useful as our newest tutorials.
View the updated tutorial: Photon Weather Shield Hookup Guide V11
 Joel_E_B
Example 1: Getting Started & Reading the On-Board Sensors
For this first example, we're going to keep it simple. This code will get data from the two on-board sensors and print that information to the Serial port. Your Photon will need to be plugged into a USB port on your computer in order to read the input in a Serial Terminal. You'll need a Micro USB cable, which you should have if you bought Photon kit.
This first example will detail how to use each version of the Particle IDE. Each example after this will assume you know how to navigate each.
Particle Dev
Open Particle Dev. Click File -> Add Project Folder. Navigate to where you downloaded the SparkFun Photon Weather Shield repo, and select the 'SparkFun_Photon_Weather_Basic' folder. Click open, and the folder will be added to the left hand sidebar. You can also drag and drop folders into the IDE. The .ino file along with the library files will be avaialble here. Double-click the SparkFun_Photon_Weather_Basic.ino file to see the sketch.
Explore the sketch. Read the comments. Make any changes you want. Once you're ready to upload, you'll need to first select your target device. Click the crosshair looking symbol on the left hand menu to select your device.

You'll be presented with a list of all your Particle devices. Select the correct target. Click the circle with a check mark to compile your code and check for any errors.

If everything compiles without error, click the lightning bolt symbol to upload you code.

Particle Build
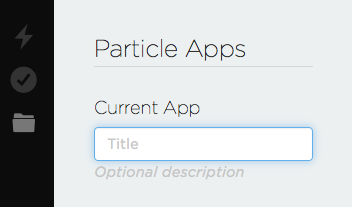
Create a new App by typing a name in the 'Current App' field and pressing 'Enter'.
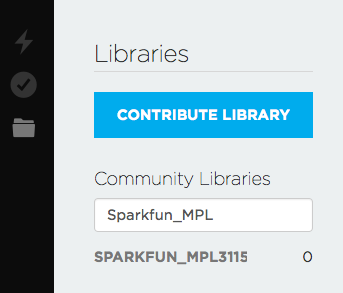
When using Particle Build, you'll need to add each library individually. Search for 'sparkfun_mpl' in the "Libraries" tab to find the SparkFun MPL3115A2 Particle Library. Once found, click on the library.
Select INCLUDE IN APP, and add it to your desired code file.
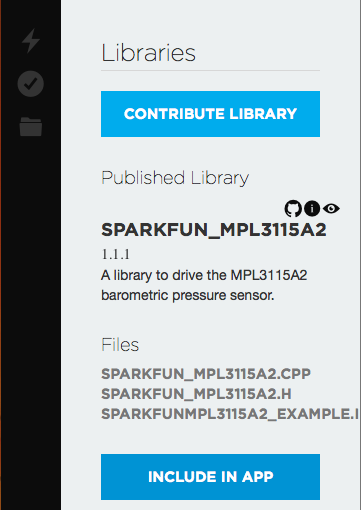
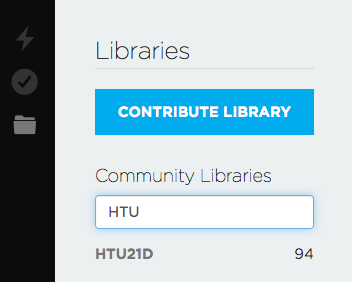
Repeat the same process for the HTU21D Particle Library.
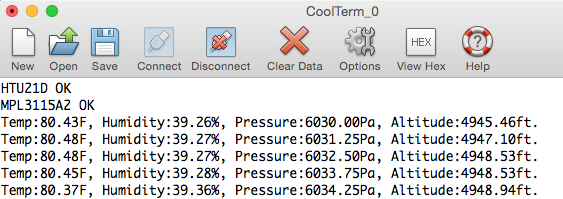
What You Should See
Once everything has uploaded correctly, open your favorite Serial Terminal program at 9600-8-N-1-NONE. Select the serial port your Photon has showed up as, and click connect. You should see something like the following print out in the window.