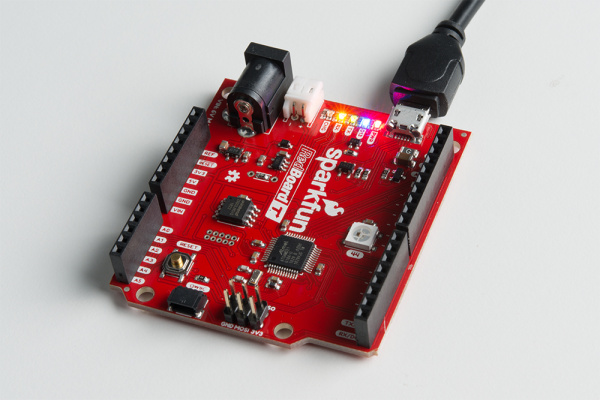
RedBoard Turbo Hookup Guide
Example: Blink
As with any development board, if you can blink an LED, you're well on your way to controlling the rest of the world. Since the RedBoard Turbo has 3 user-controllable LEDs, let's blink them all!
The RX and TX LEDs are on pins 25 and 26, respectively, a couple pre-defined macros (PIN_LED_RXL and PIN_LED_TXL) can be used to access those pins, just in case you forget the numbers.
Here's a quick example sketch to blink the LEDs and make sure your environment is properly set up. Copy and paste from below, and upload!
language:c
const int BLUE_LED = 13; // Blue "stat" LED on pin 13
const int RX_LED = PIN_LED_RXL; // RX LED on pin 25, we use the predefined PIN_LED_RXL to make sure
const int TX_LED = PIN_LED_TXL; // TX LED on pin 26, we use the predefined PIN_LED_TXL to make sure

bool ledState = LOW;

void setup()
{
  pinMode(BLUE_LED, OUTPUT);
  pinMode(RX_LED, OUTPUT);
  pinMode(TX_LED, OUTPUT);
  digitalWrite(RX_LED, HIGH);
  digitalWrite(TX_LED, HIGH);
  digitalWrite(BLUE_LED, LOW);
}

void loop()
{
  digitalWrite(RX_LED, LOW); // RX LED on
  delay(333);
  digitalWrite(RX_LED, HIGH); // RX LED off
  digitalWrite(TX_LED, LOW); // TX LED on
  delay(333);
  digitalWrite(TX_LED, HIGH); // TX LED off
  digitalWrite(BLUE_LED, HIGH); // Blue LED on
  delay(333);
  digitalWrite(BLUE_LED, LOW); // Blue LED off
}
After hitting the "Upload" button, wait a handful of seconds while the code compiles and sends. While the code uploads, you should see the blue LED flicker. Once you've verified that the IDE is all set up, you can start exploring the world of the ATSAMD21!
