Red Hat Co.Lab Conversation Machine Kit Experiment Guide
 D___Run___
Part 2: Designing a Device and Communicating Ideas
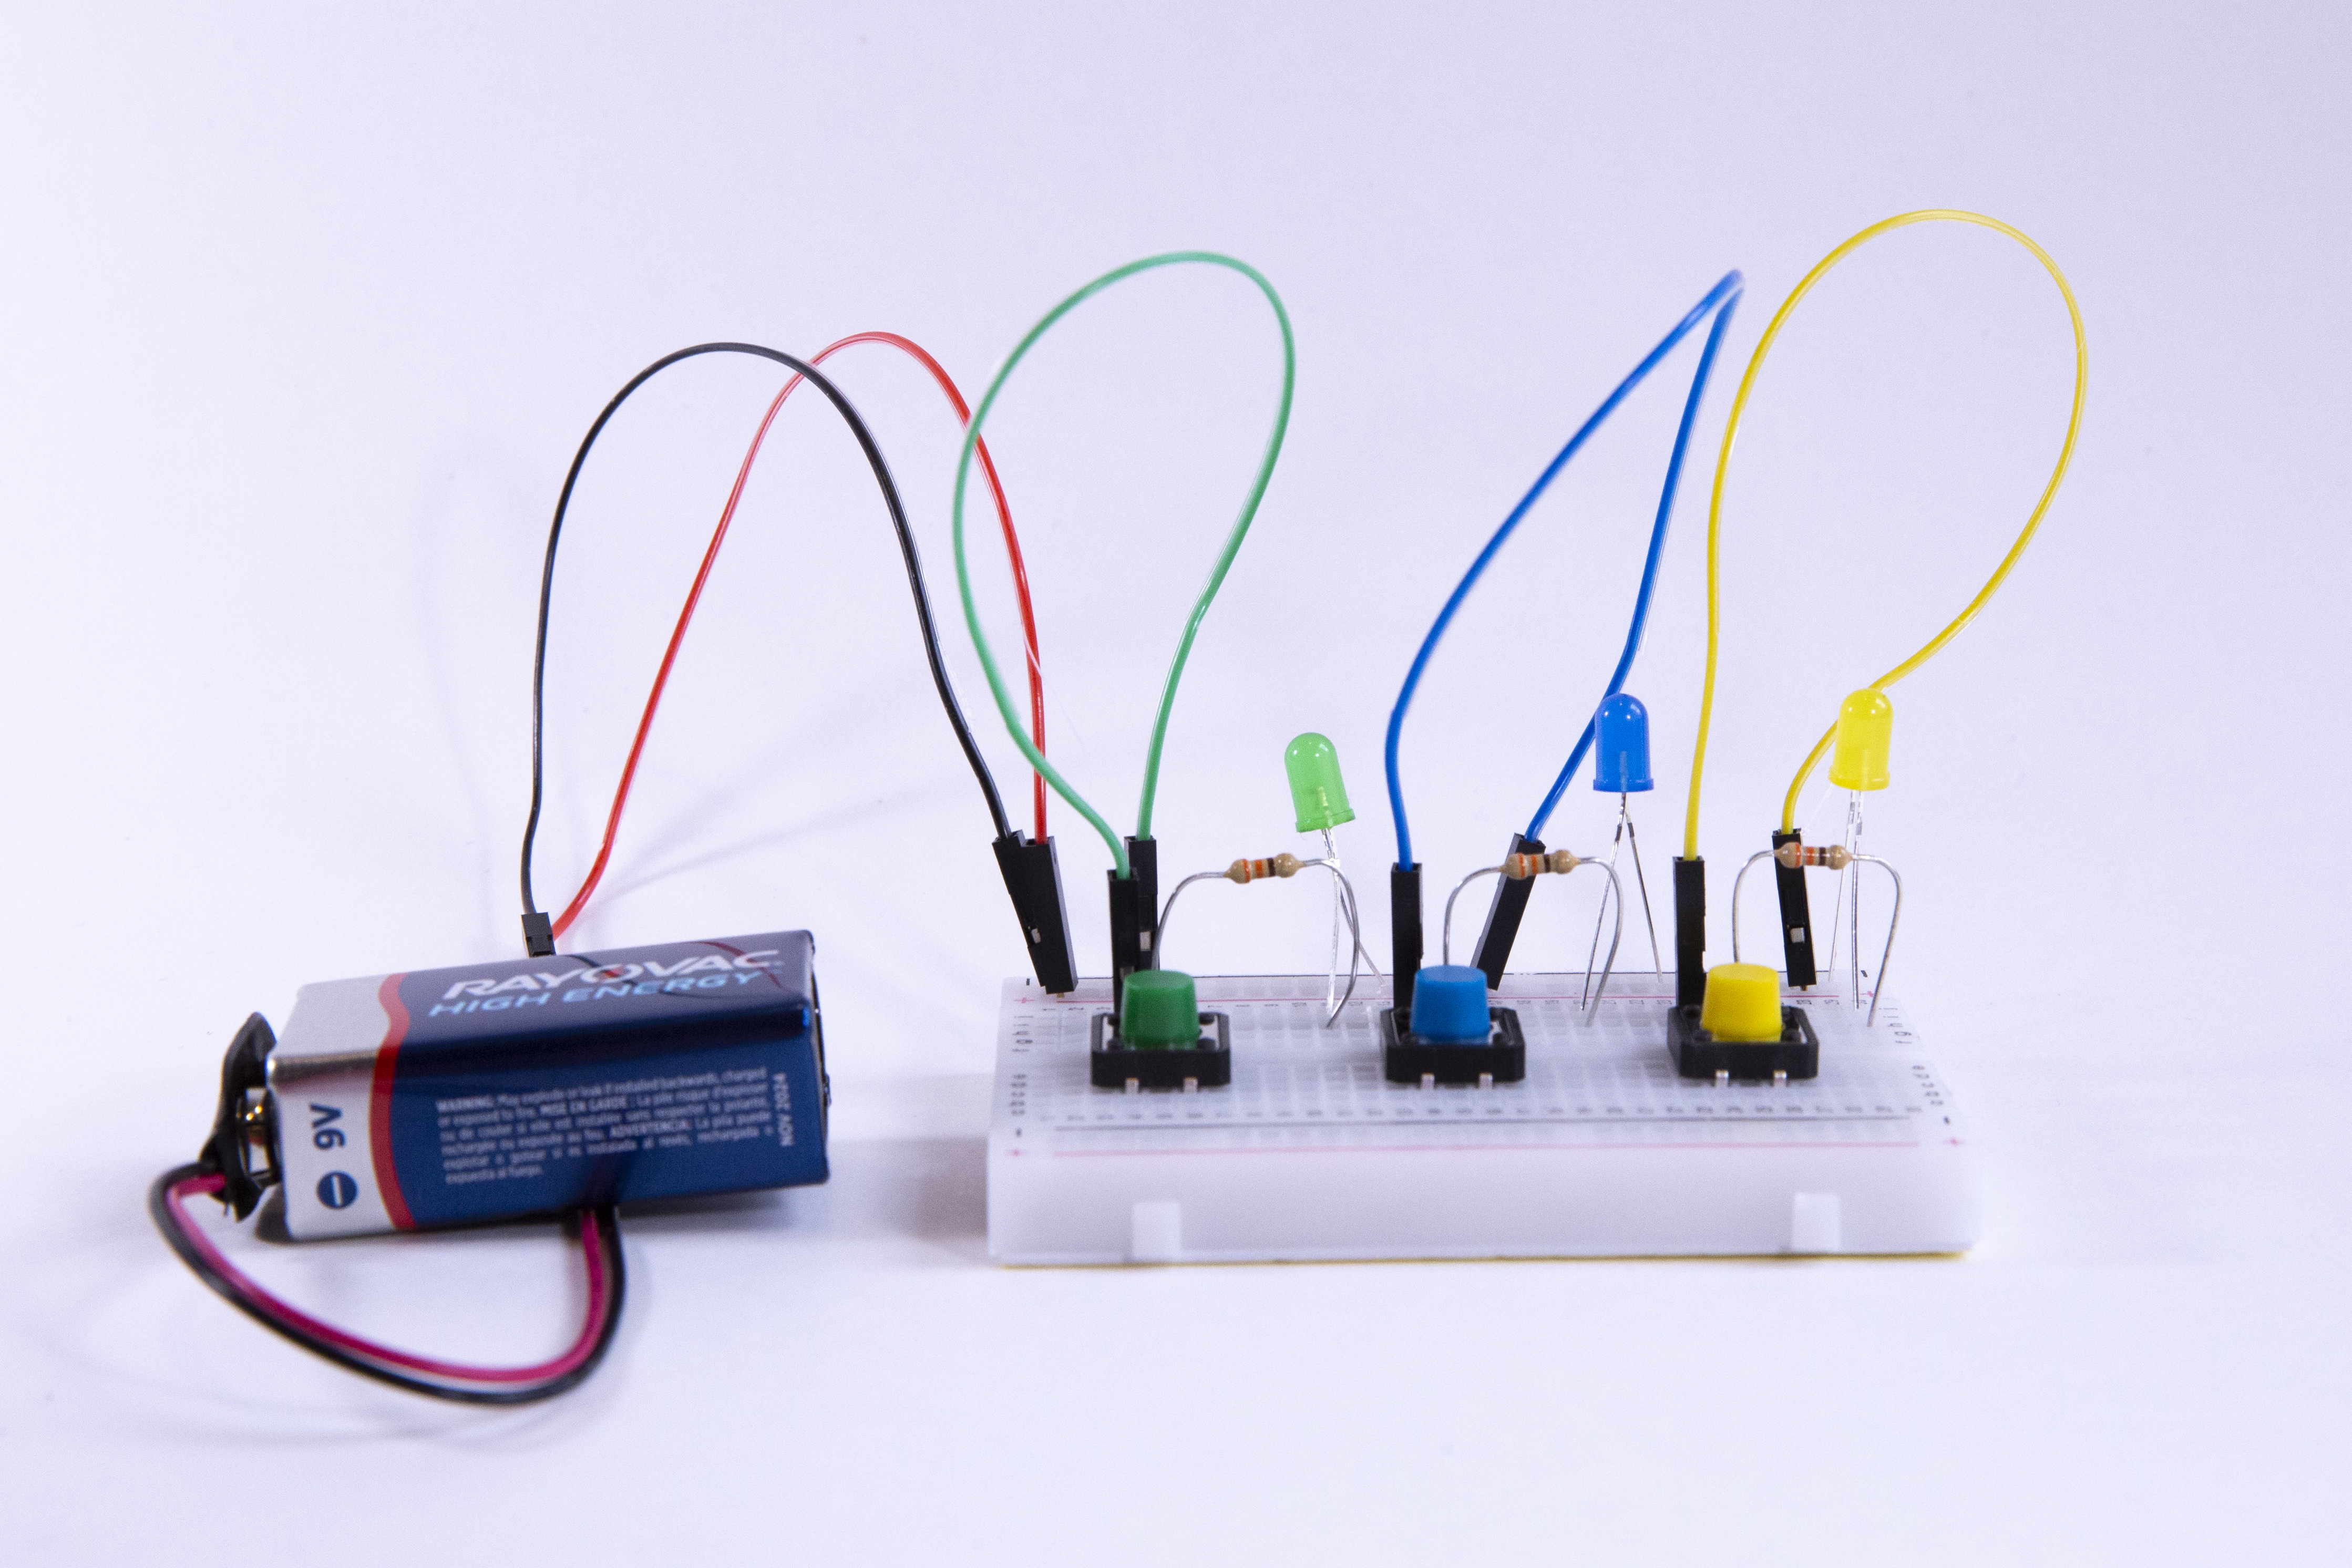
Testing
Once you complete the steps above and place the battery into the pack, you can light your LEDs! To test your build, simply press a button and the corresponding LED should emit light.
Starting to Speak
Now that we have assembled the circuit, we can start to think about WHY we made this circuit. In building this kit, we have made it possible to turn lights on and off. Kind of obvious, right? But what can we TELL people by turning this colored LED on and off?
We encounter objects and tools every day that use colors to communicate ideas. From use of red to indicate ‘stop’ to companies using green to show that a product is environmentally-friendly, we can see how colors give us directions and make us feel different emotions. Take a moment now and brainstorm ideas or objects that you associate with the colors red, green, blue, and yellow.
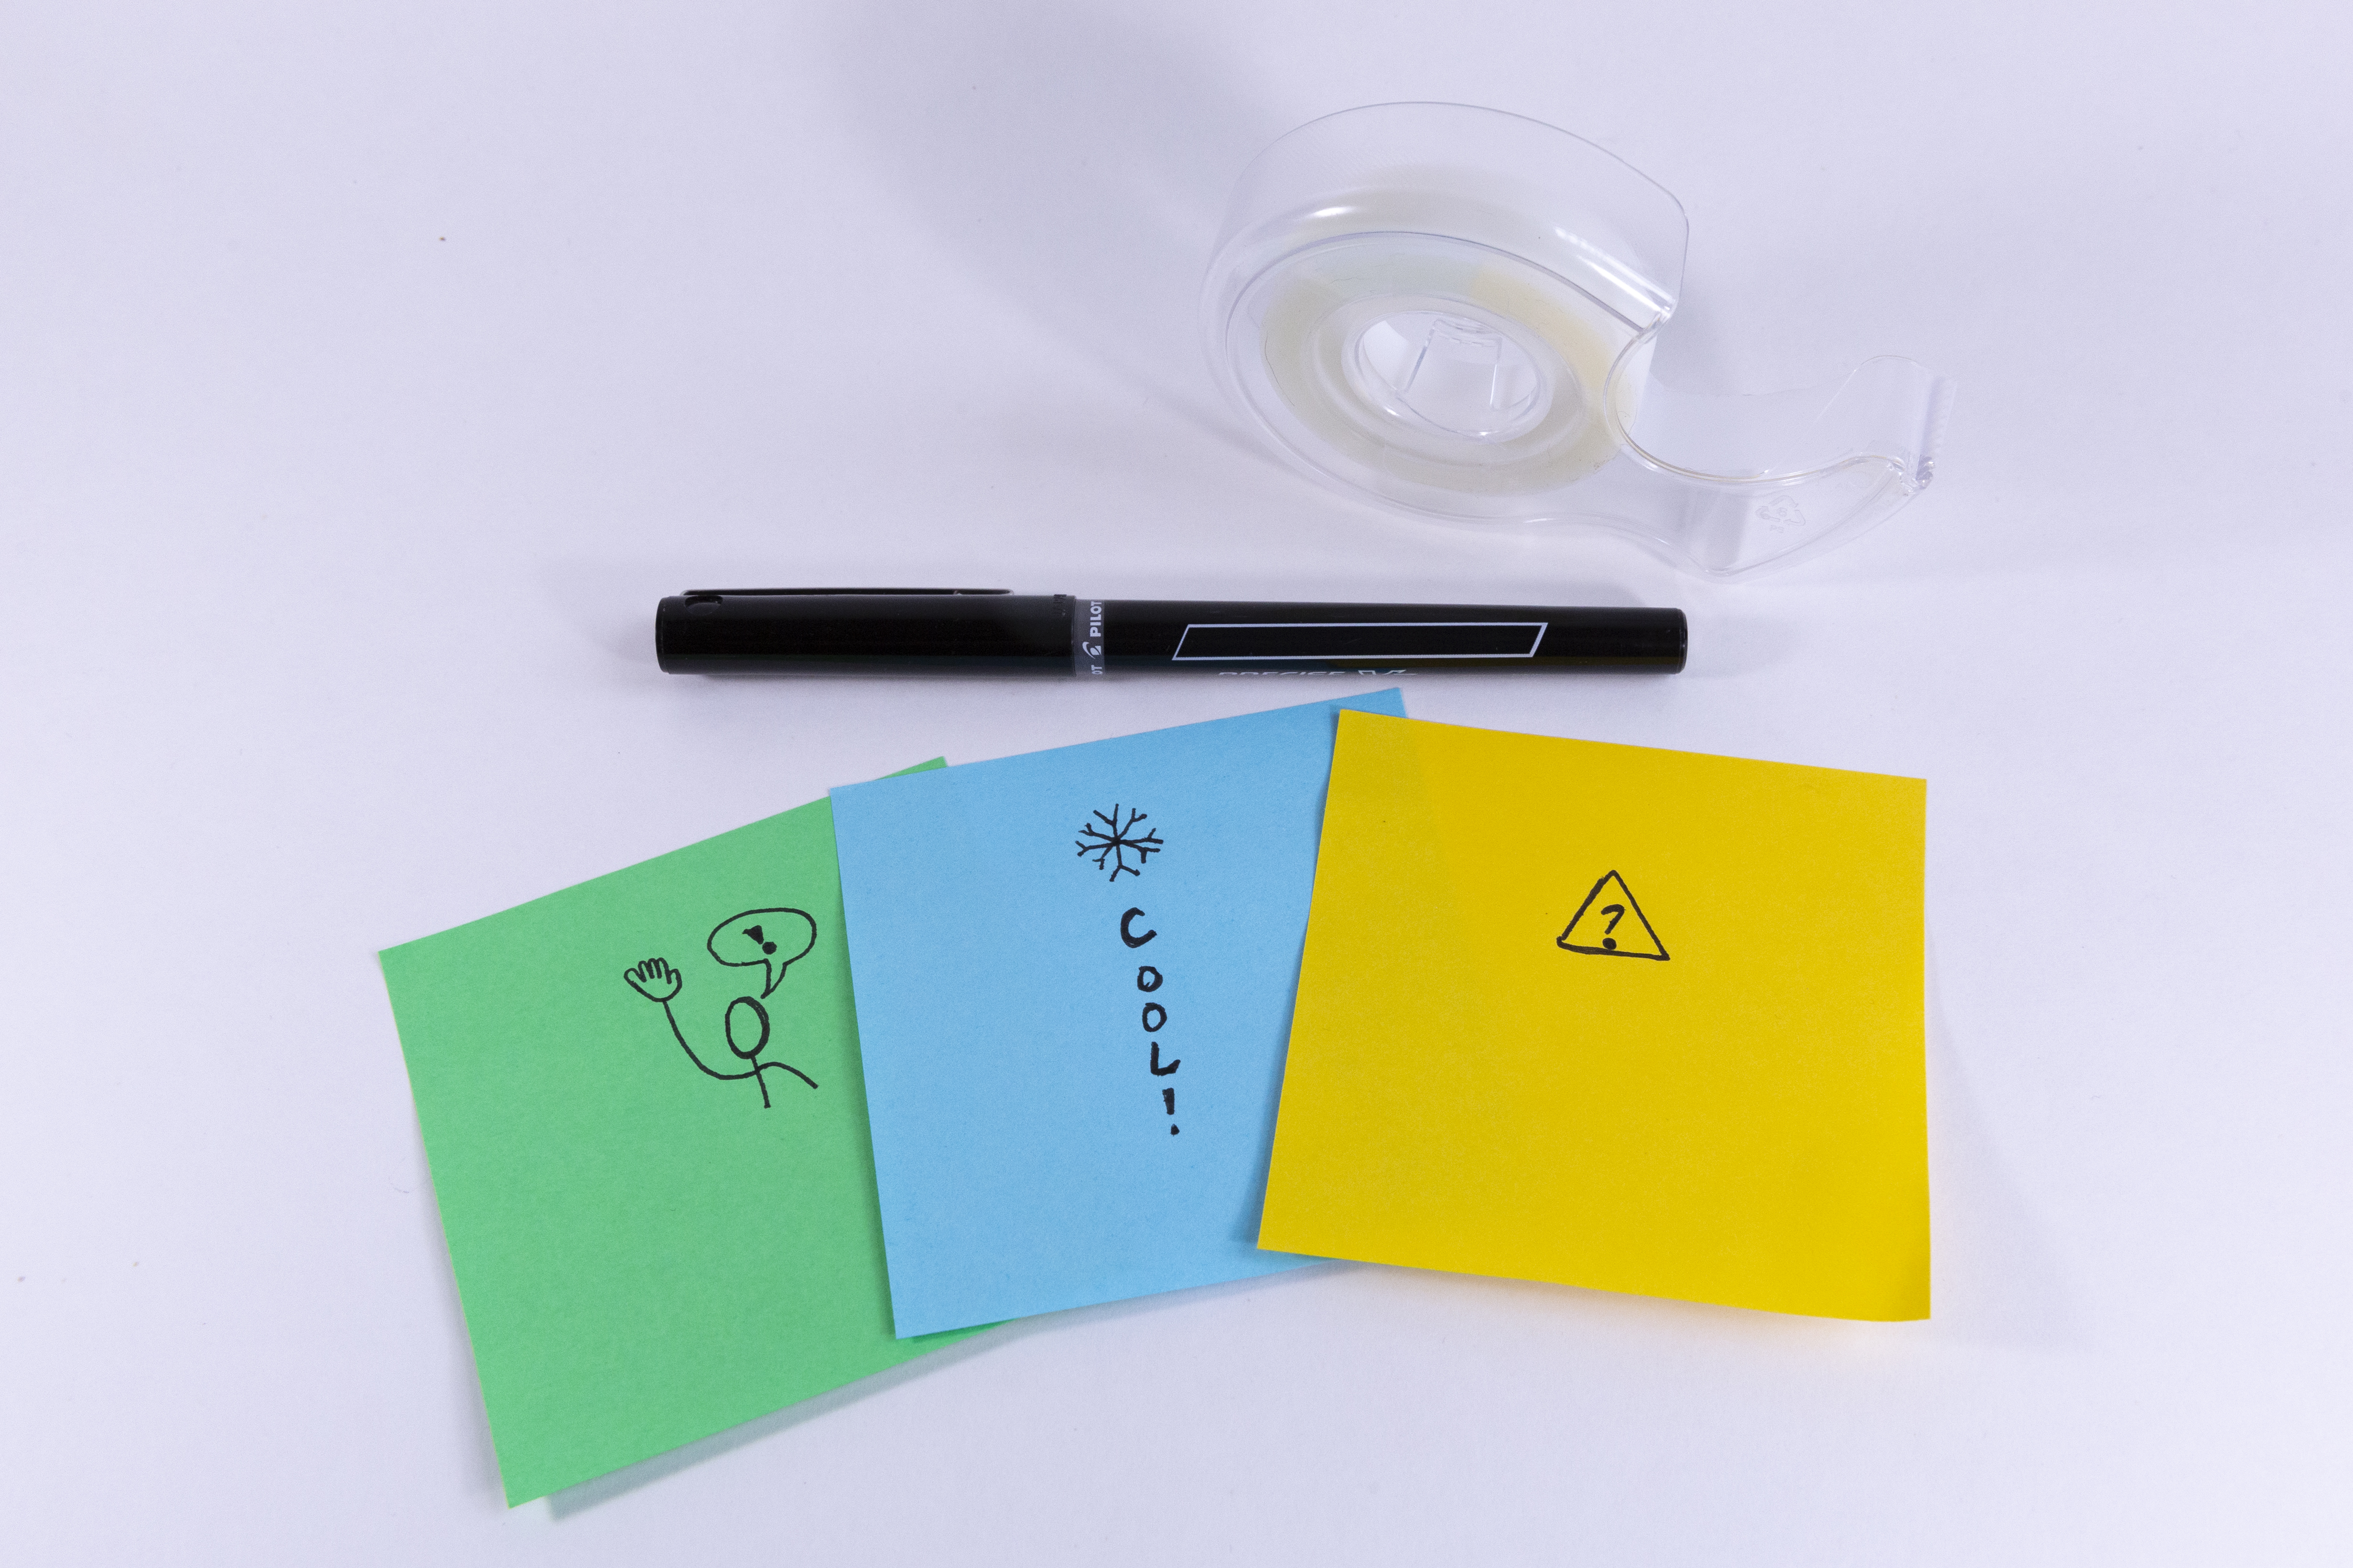
You can either take some of those ideas or brainstorm some new ones and write them in BOLD TEXT on the sticky note that matches the color of the corresponding LED. If you want to draw an image that matches your idea instead, you can try to do that, too!
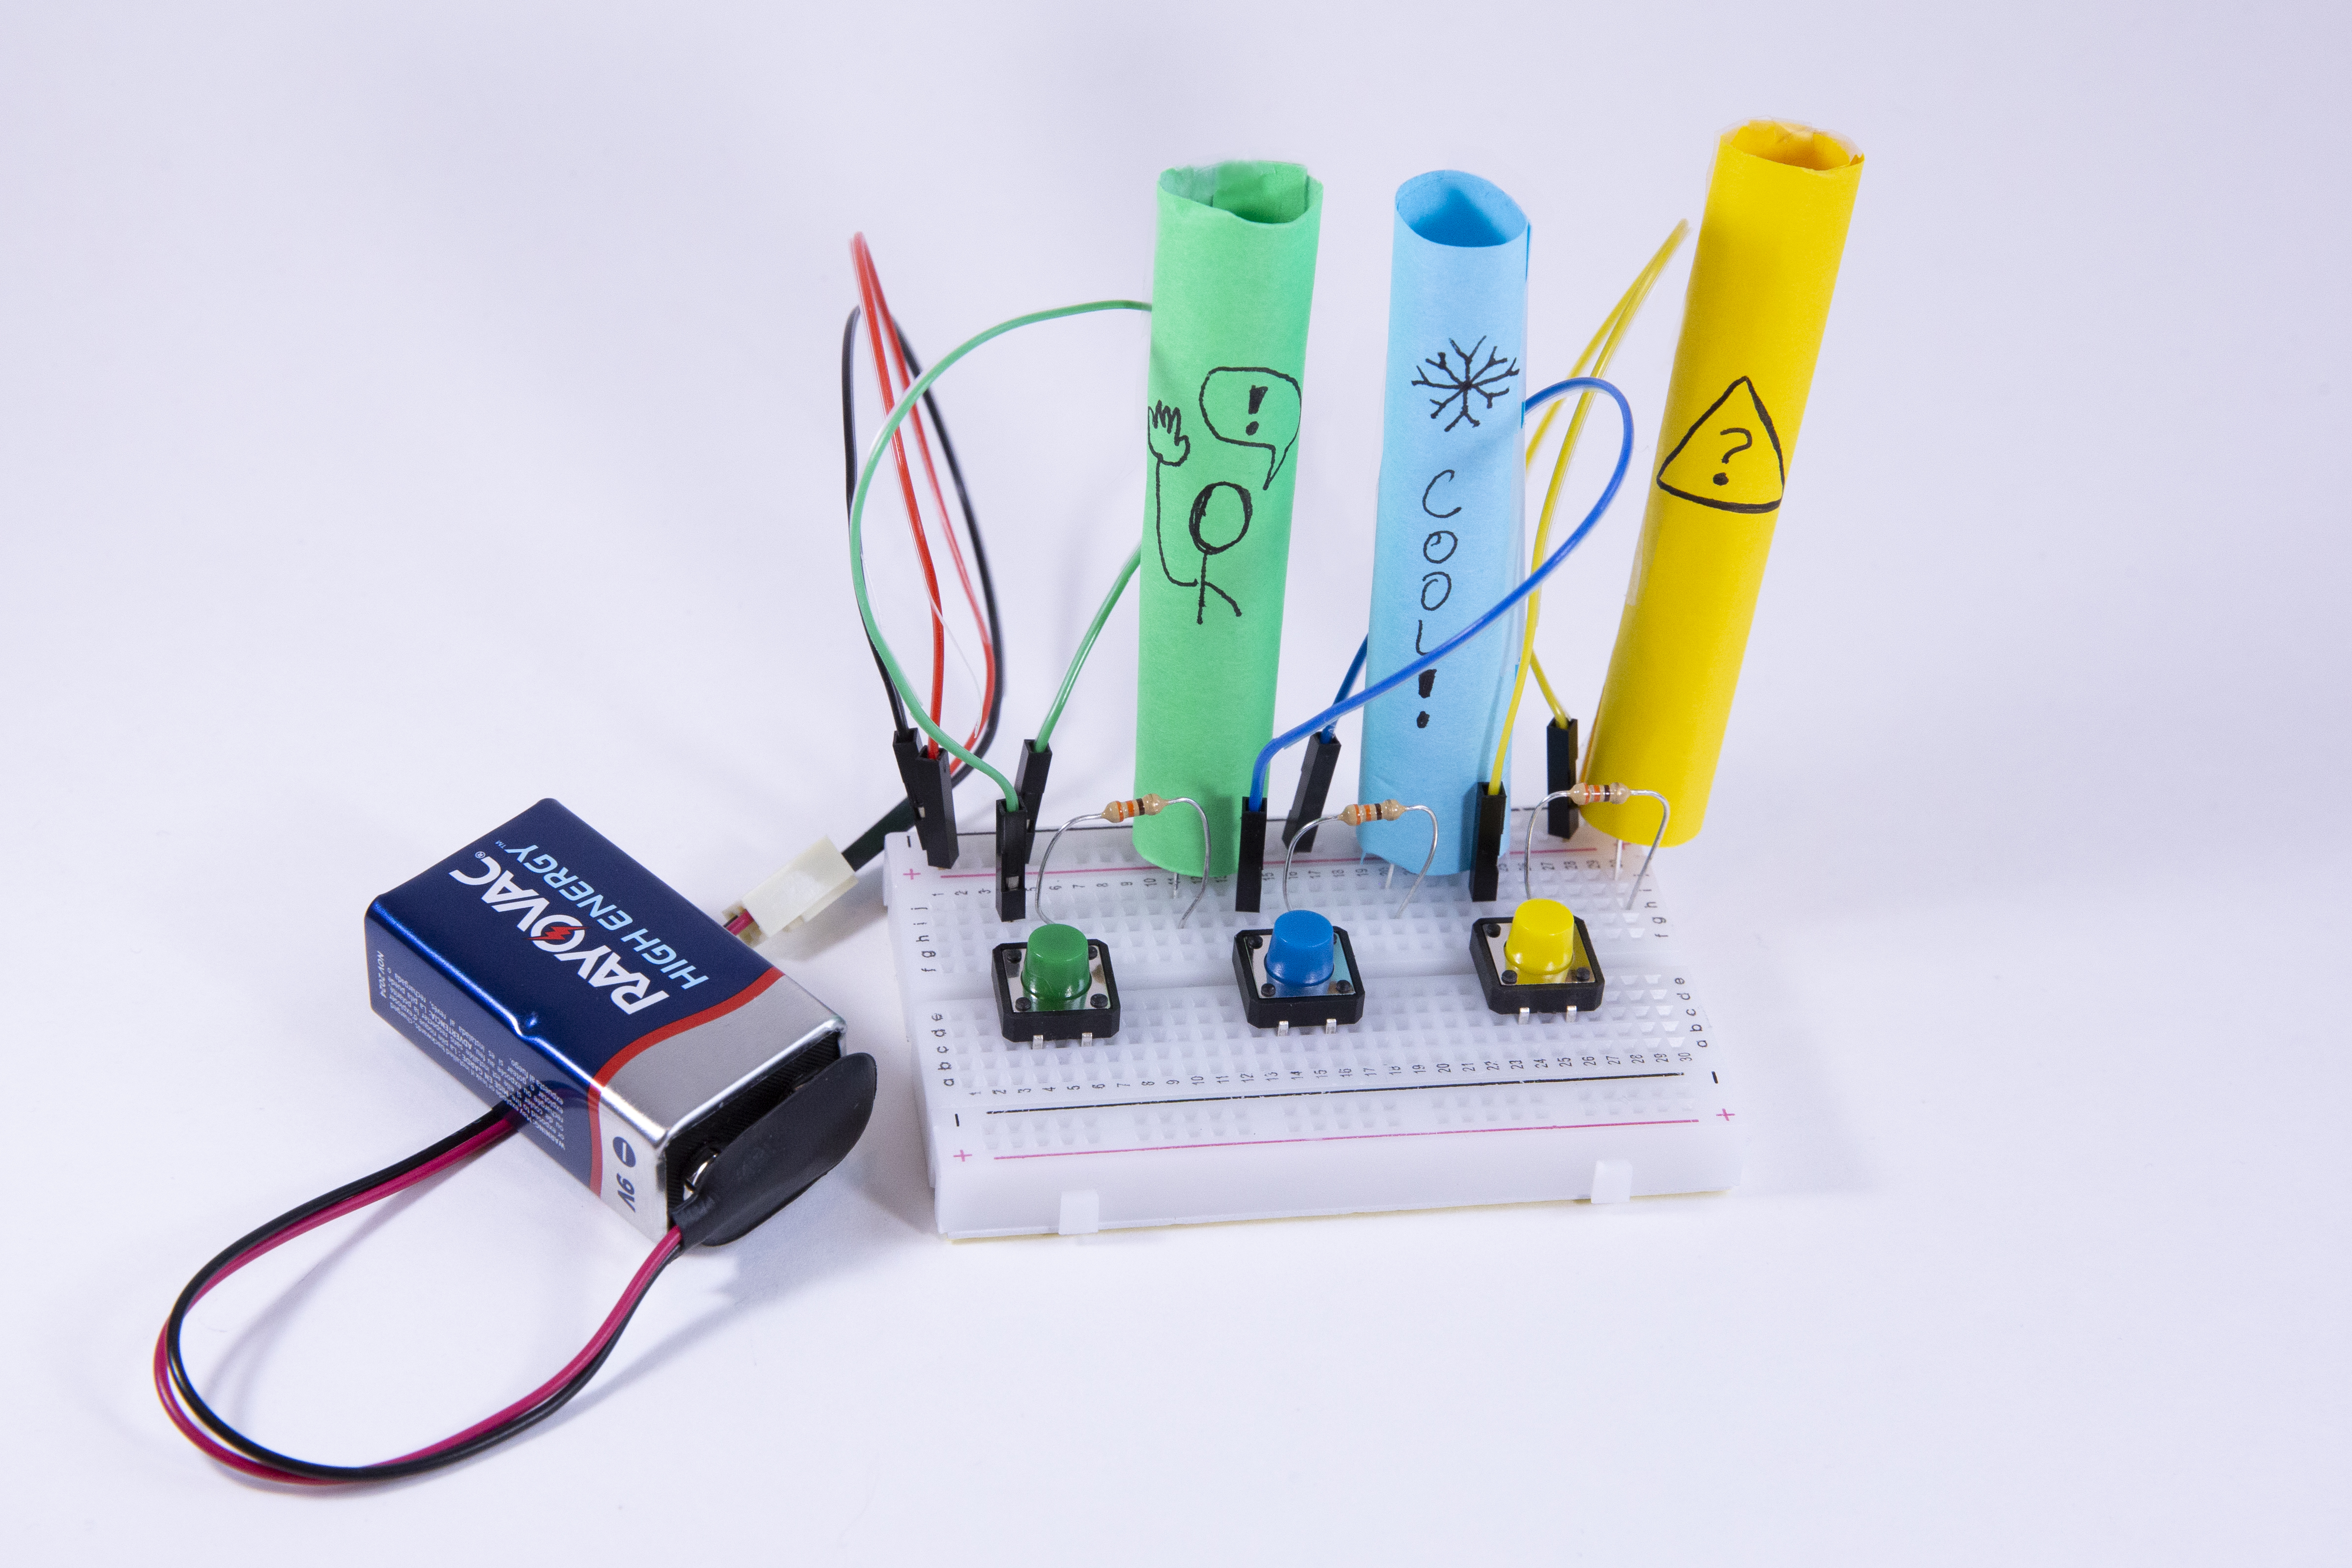
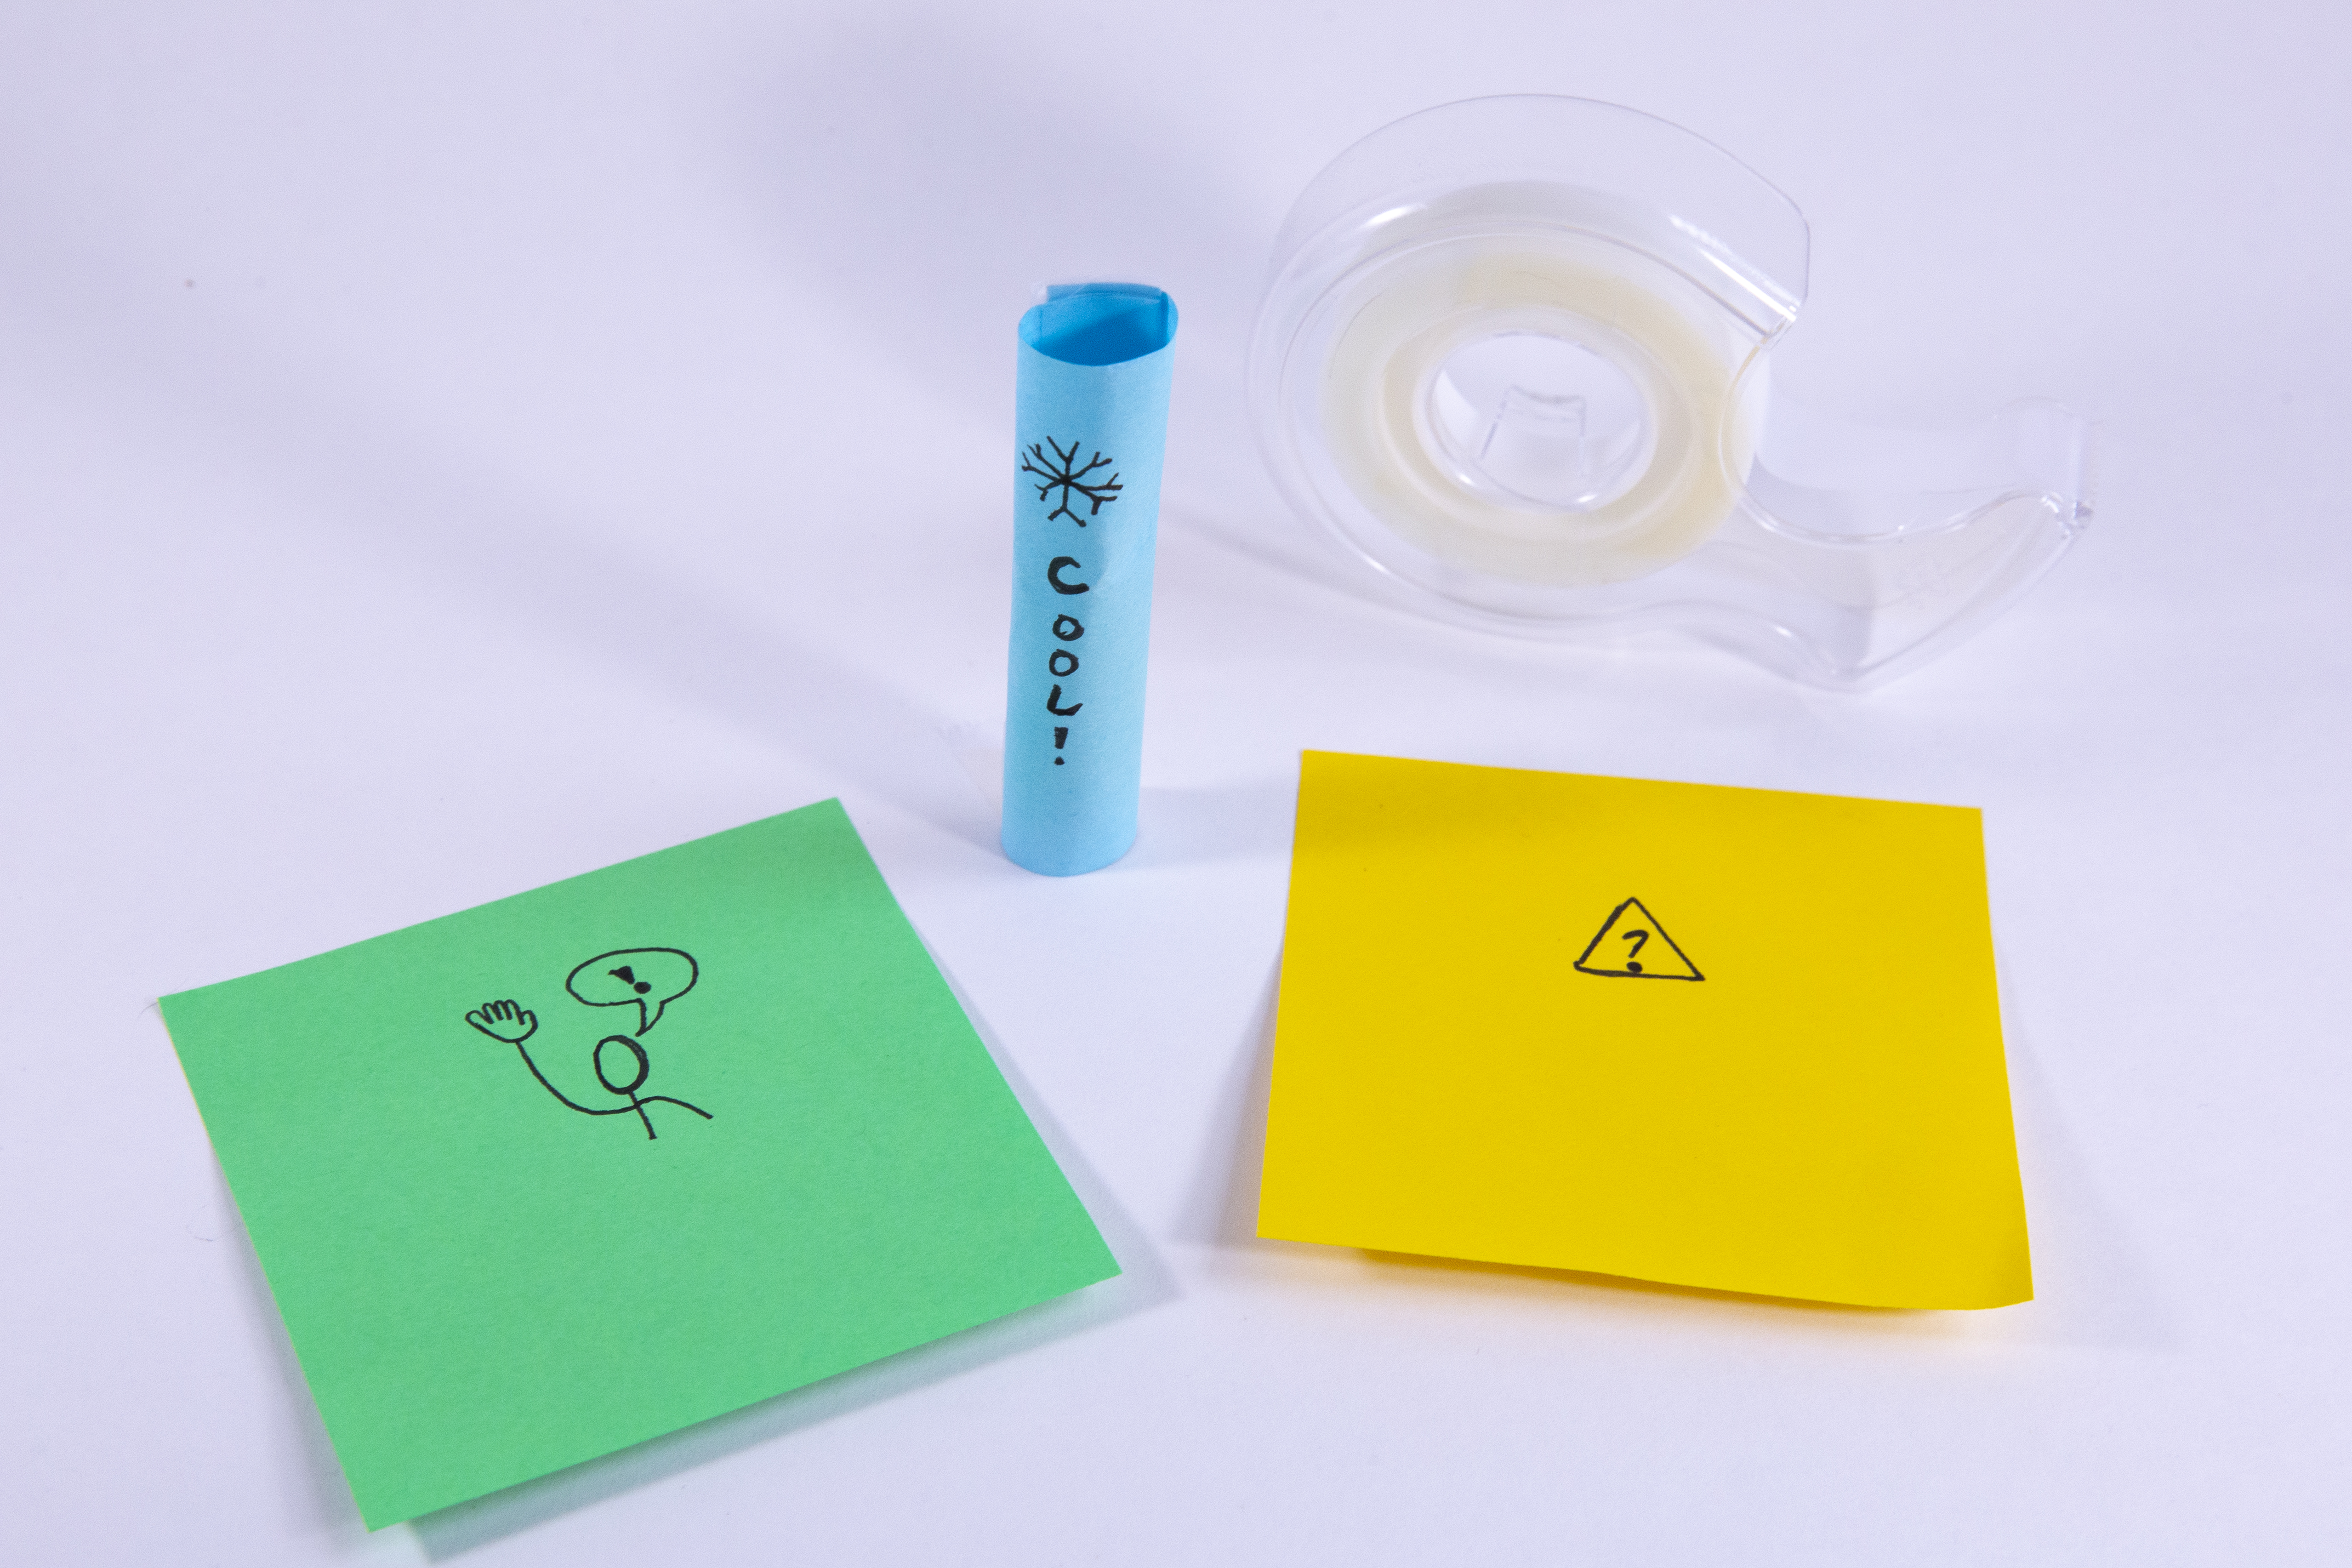
Now roll the sticky note so you can see the text or image down the front of the paper. Tape it so you have a tube.
Now place them on top of the lights that they correspond to. You’ve created a Conversation Machine—you’re communicating whole ideas without even saying a word!