Real Time Clock Module - RV-8803 (Qwiic) Hookup Guide
 El Duderino,
  Englandsaurus
Hardware Assembly
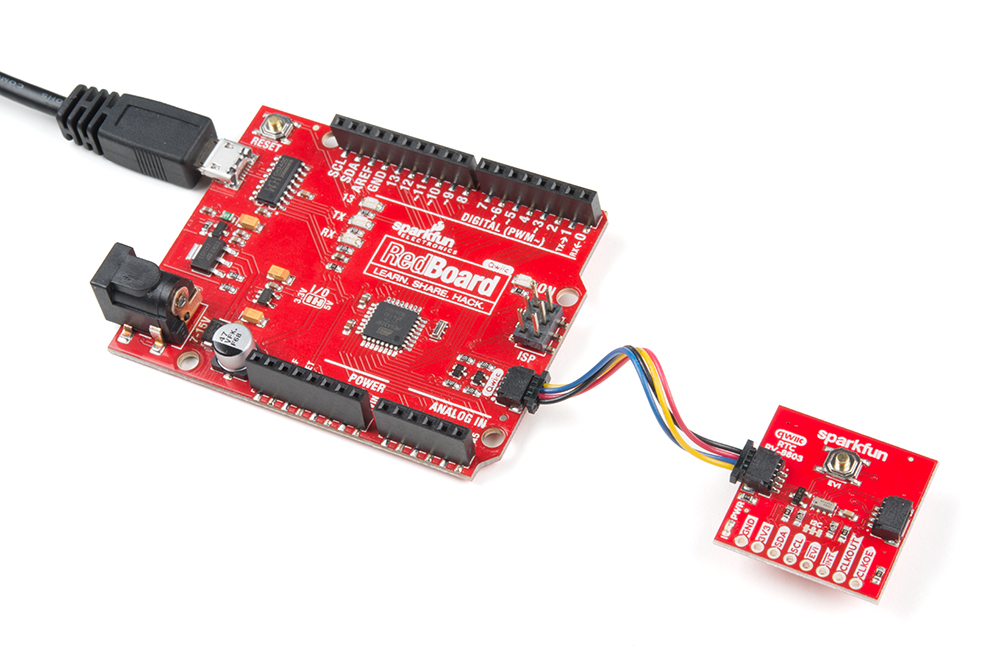
Using the Qwiic system, assembling the hardware is simple. All you need to do is connect your Real Time Clock Module - RV-8803 (Qwiic) to your chosen development board with a Qwiic cable or adapter cable. Otherwise, you can use the I2C pins broken out if you do not have a Qwiic connector on your development board. If you are not using a Qwiic-enabled board, make sure your input voltage and logic are either running at 3.3V or you are running both controller and RTC at the same logic level.
In order to use the full functionality of the RV-8803, you will want to solder to the EVI, INT, CLKOUT and CLKOE pins broken out on this board. If you are not familiar with through-hole soldering, take a look at this tutorial:
How to Solder: Through-Hole Soldering
With everything connected properly, we're ready to move on to uploading a sketch and start keeping track of time!