Qwiic SHIM for Raspberry Pi Hookup Guide
 El Duderino, Ell C
Hardware Hookup
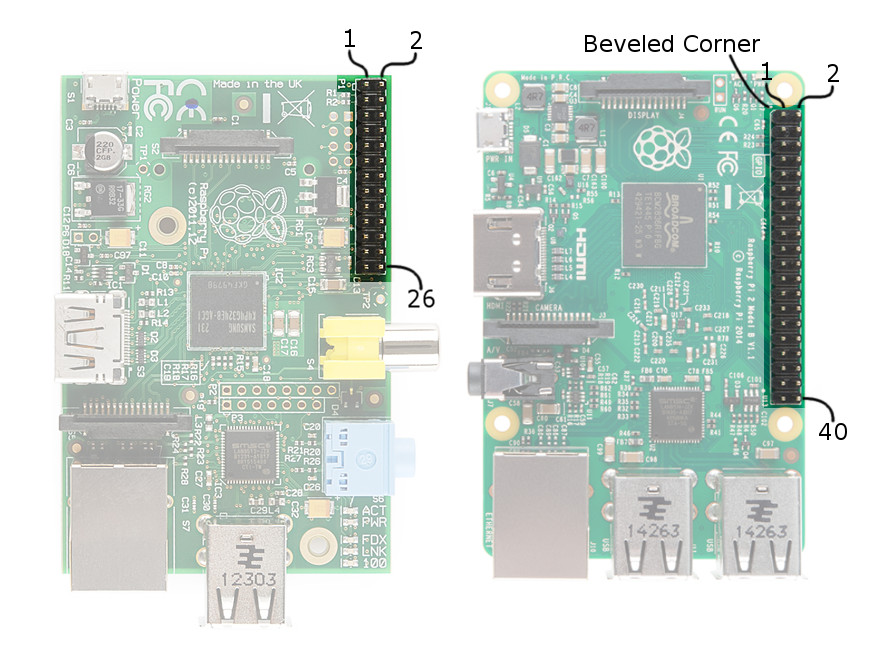
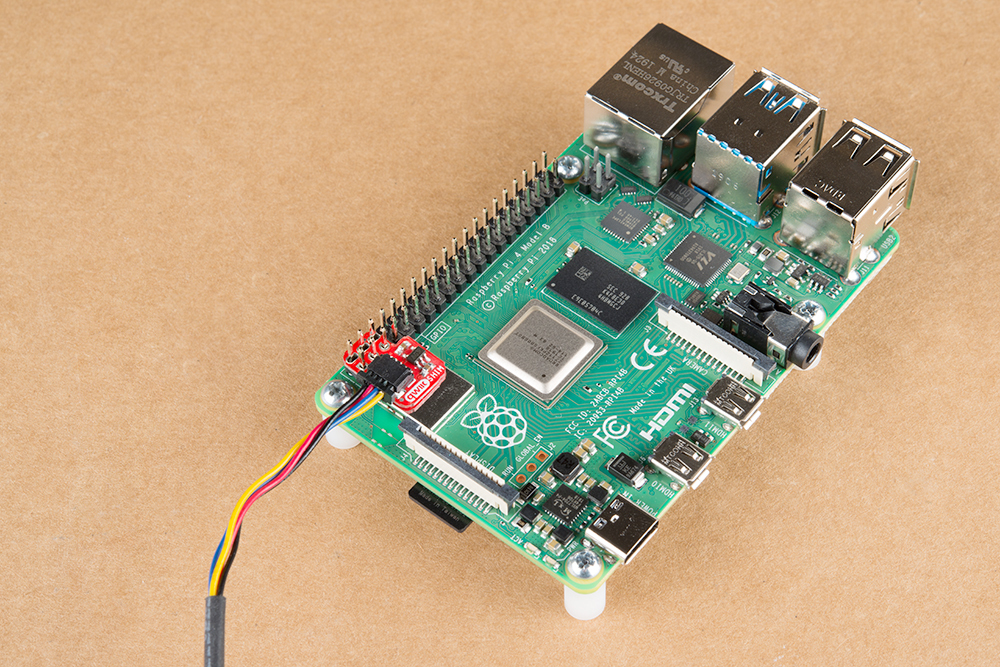
Getting started with the Qwiic SHIM is a snap (well, actually it's more like a push but you get the idea). Making sure to align the Qwiic SHIM's Pin 1 with Pin 1 on your Pi's GPIO header, press the Qwiic SHIM down onto the header. Pin 1 on both the Qwiic SHIM and the Pi GPIO will be marked with a square pin. There is also a beveled corner on the Pi GPIO header indicating Pin 1 from the top of your Pi. That's it! With the SHIM in place you can now attach all your Qwiic devices to your Pi with space to spare for other Pi HATs.
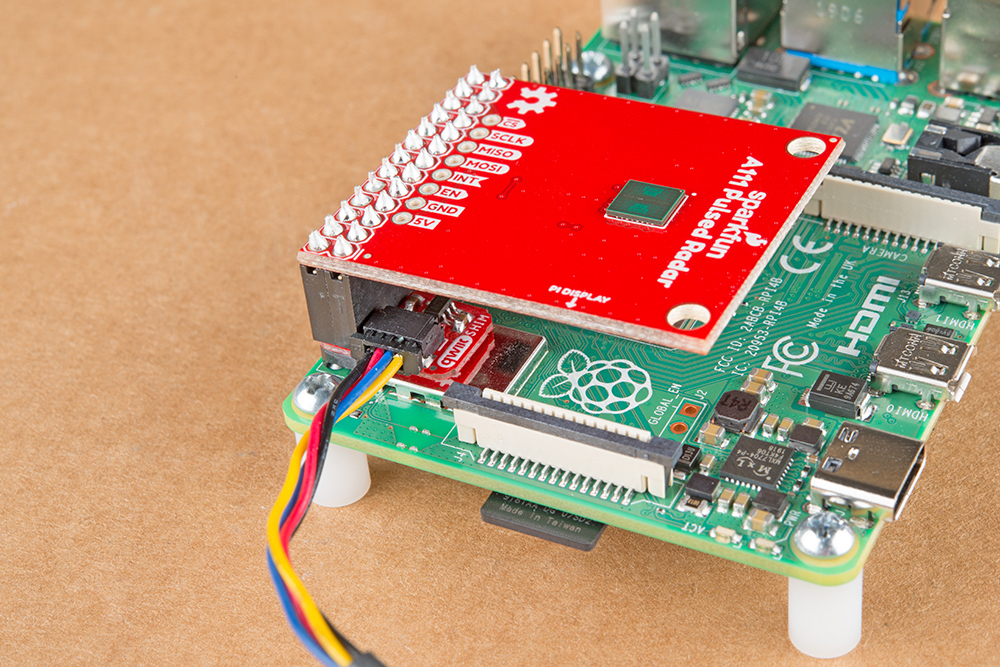
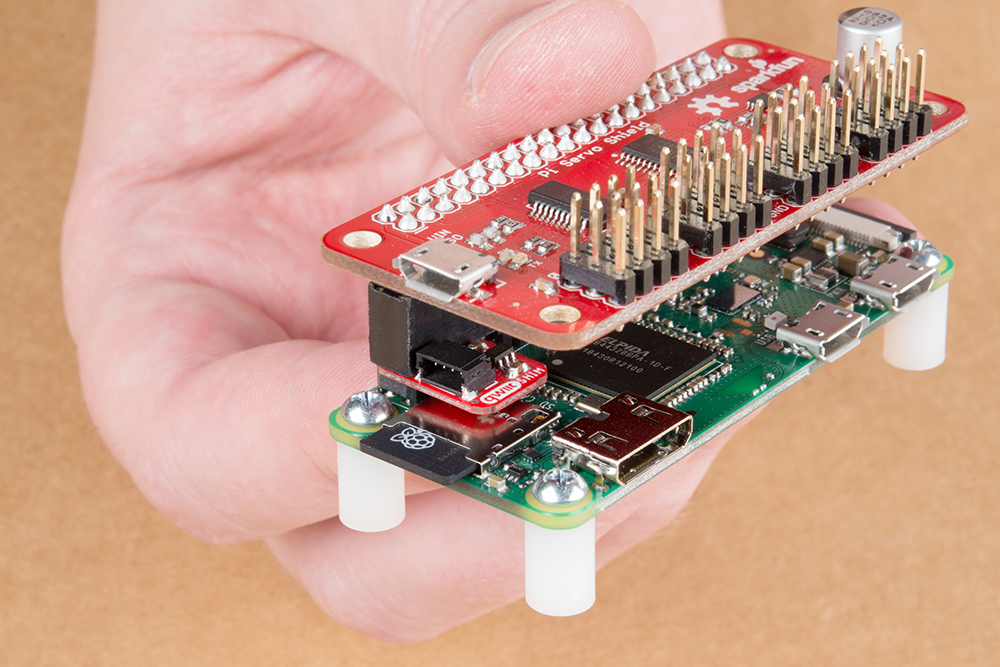
With your Qwiic SHIM mounted on your Pi it should look like this:
 |
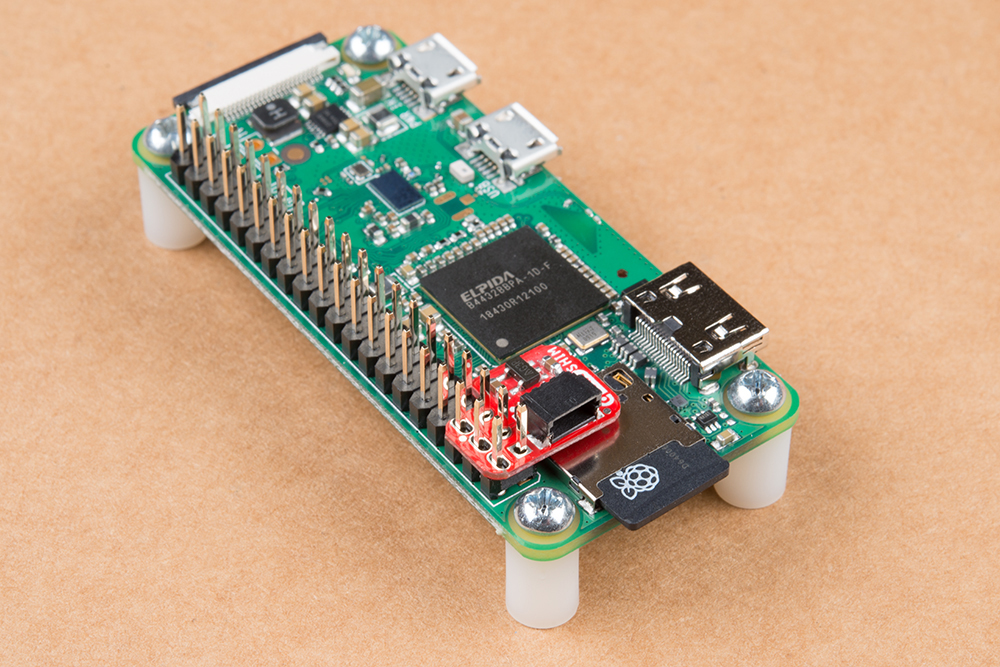 |
| Qwiic SHIM mounted on a Pi 4. | Qwiic SHIM mounted on a Pi Zero W. |
With the Qwiic SHIM in place, you can now stack all the HATs you would like on top. With a HAT on top of the SHIM, the press fit header will make an even better connection and the thin PCB allows any HAT to still connect fully to the GPIO header.