Qwiic pHAT Extension for Raspberry Pi 400 Hookup Guide
 bboyho,
  Elias The Sparkiest
 Introduction
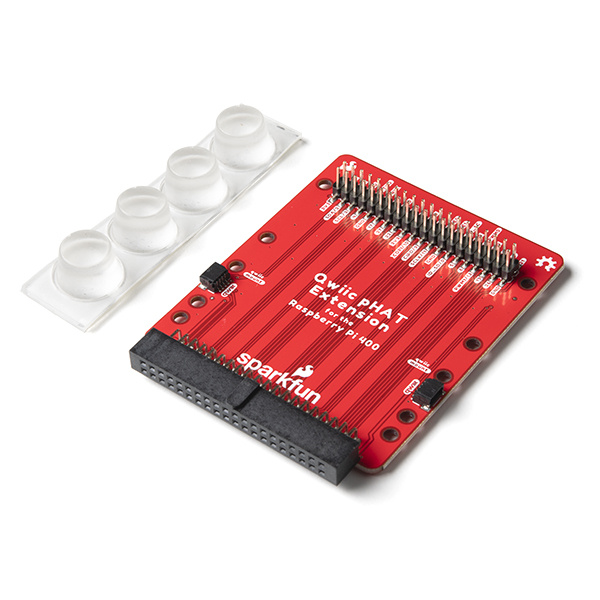
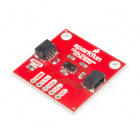
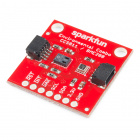
The SparkFun Qwiic pHAT extension for the Raspberry Pi 400 is the quick and easy solution to access the GPIO, stack your favorite pHAT right-side up, or connect a Qwiic-enabled device to the I2C bus (GND, 3.3V, SDA, and SCL).
Required Materials
To follow along with this tutorial, you will need the following materials. You may not need everything though depending on what you have. Add it to your cart, read through the guide, and adjust the cart as necessary.
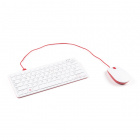
Raspberry Pi 400
You'll need a Raspbery Pi 400s. There are two options available. One that is just the Raspberry Pi 400 sold individually. Another that is sold in a kit with everything but the monitor.

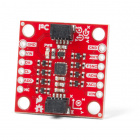
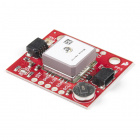
Qwiic-Enabled Device
Now you probably didn't buy the Qwiic pHAT extension if you didn't have any Qwiic products to use with it, right? If you don't have any Qwiic products, the following might not be a bad place to start since they have a Python drivers written for the devices.
You'll need our handy Qwiic cables to easily connect sensors to your Qwiic pHAT. Below are a few options.

Qwiic Cable - 50mm
PRT-14426
Qwiic Cable - 100mm
PRT-14427
Qwiic Cable - 200mm
PRT-14428
Qwiic Cable - 500mm
PRT-14429Required Setup Tools
As a desktop, these devices are required. If you received the Raspberry Pi 400 Kit, you'll just need a display and cable. Depending on your display, you may need an HDMI converter to connect to older monitors and TVs.
- USB Mouse
- HDMI monitor/TV with cable
- Optional: HDMI Converter
- 5V Power Supply
Suggested Reading
If you aren't familiar with the Qwiic system, we recommend reading here for an overview.
| Qwiic Connect System |
We would also recommend taking a look at the following tutorials if you aren't familiar with them.