Qwiic pHAT Extension for Raspberry Pi 400 Hookup Guide
 bboyho,
  Elias The Sparkiest
 Hardware Assembly
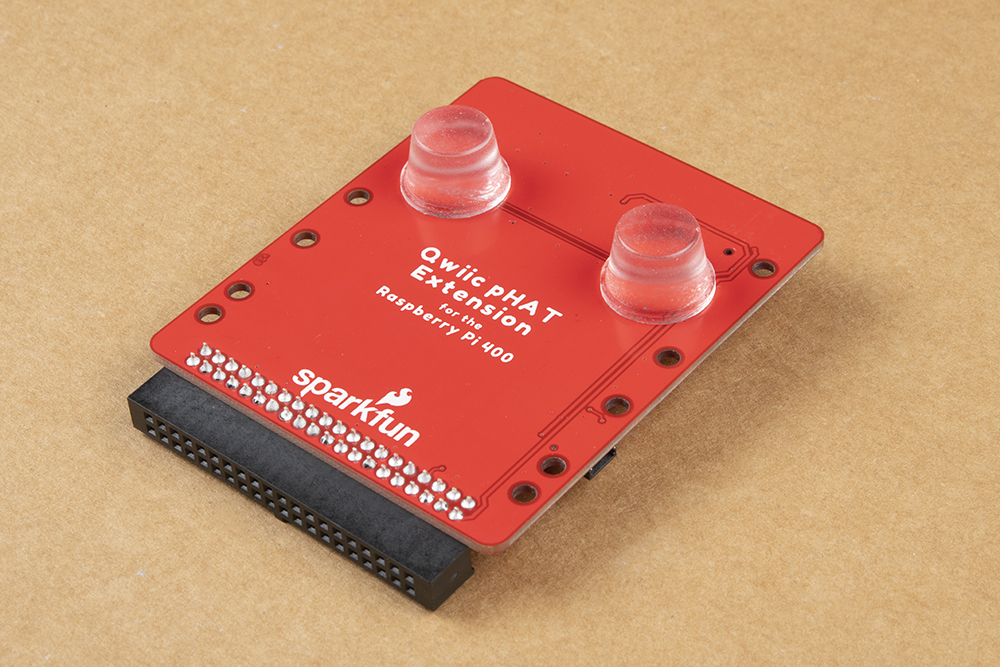
Included with the Qwiic pHAT extension board is a set of large silicone bumpers. These are meant to hold the board up when it is attached to a Raspberry Pi 400 and placed on a table. You only need 2 out of the 4 silicone bumpers so you can use the left over bumpers for other projects.

To attach the two silicone bumpers, peel one bumper and attach it to the bottom of the board between the mounting holes of the Pi Zero's footprint. Repeat for the second bumper. Your setup should look similar to the image below.
At this point, we'll assume that you have flashed an image and inserted the microSD card into the Raspberry Pi 400. With the straight header pins facing up, slide the Qwiic pHAT extension into the Raspberry Pi 400's GPIO port. The right angle connector is keyed so there's only one way to insert the board into the GPIO port.
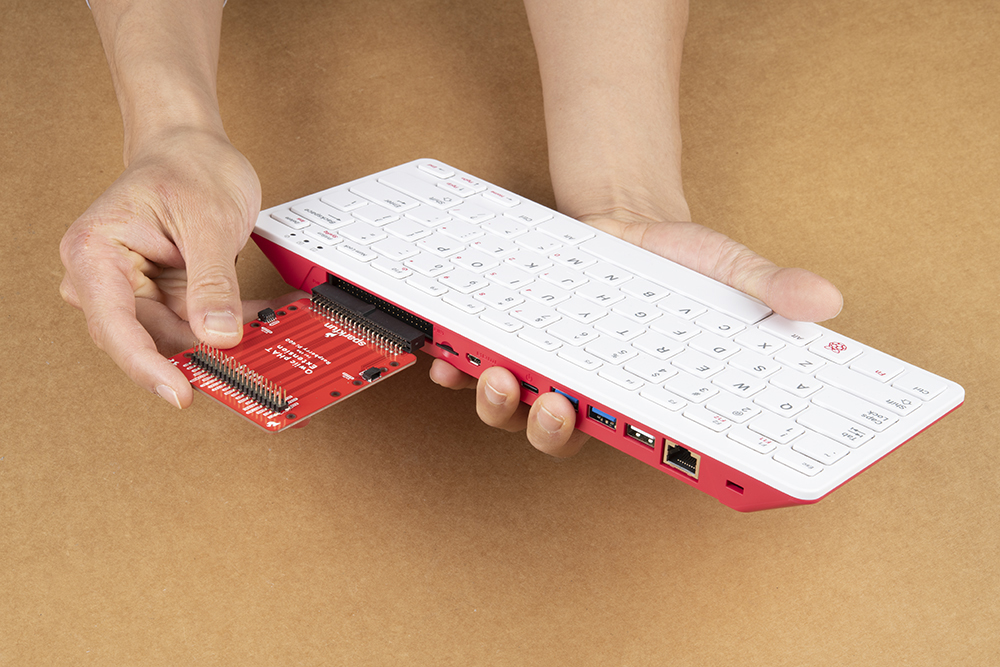
When removing the pHAT extension, simply wiggle the board slowly up and down as the board is being pulled away from the Raspberry Pi 400.
Qwiic-Enabled Devices
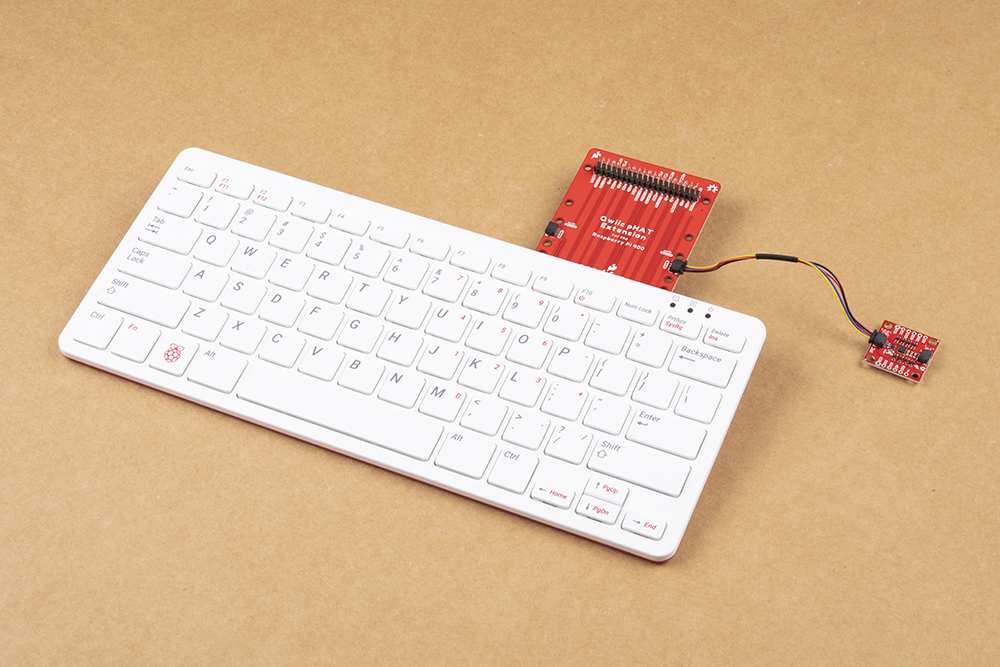
If you have a Qwiic-enabled device, simply insert a Qwiic cable of your choice between the Qwiic board and the Qwiic pHAT extension. While you can connect to either Qwiic connector, the right side of the Qwiic pHAT extension will provide more space since most of the Pi's peripherals will be inserted to the left of the board.
Breadboard Prototyping
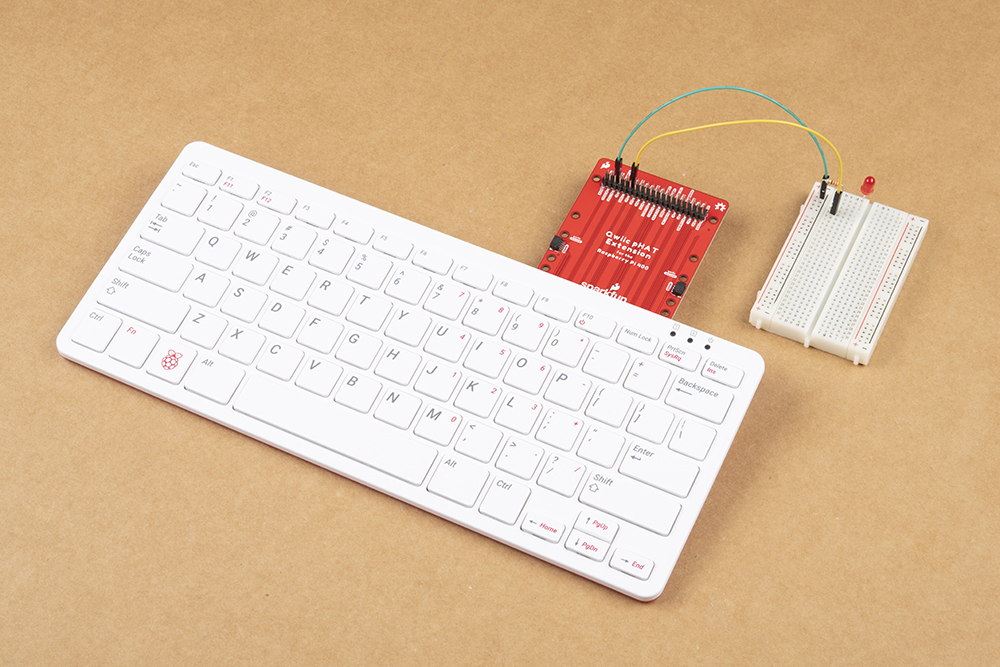
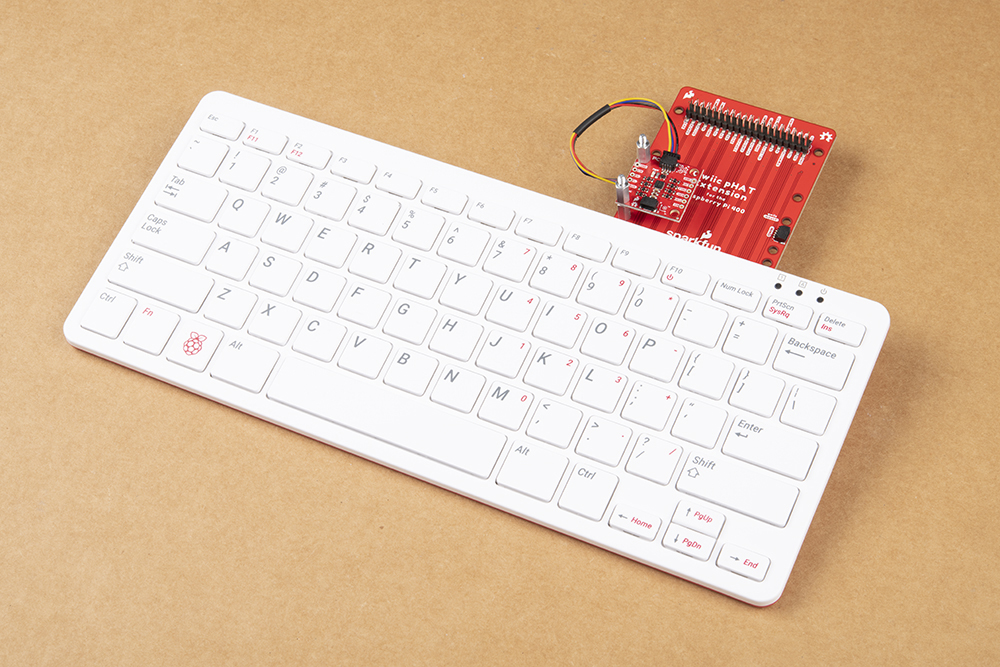
Connecting to the Raspberry Pi 400's GPIO is easy with the pin functions printed on the board for reference. We recommend using M/F jumper wires to connect when prototyping your circuit on a breadboard.
Stacking pHATs
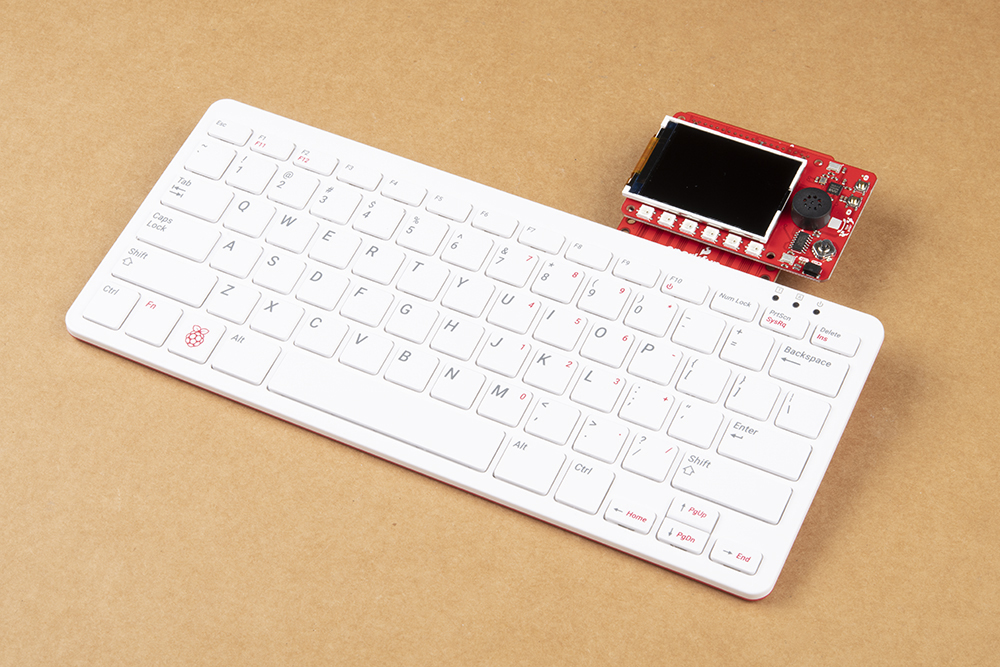
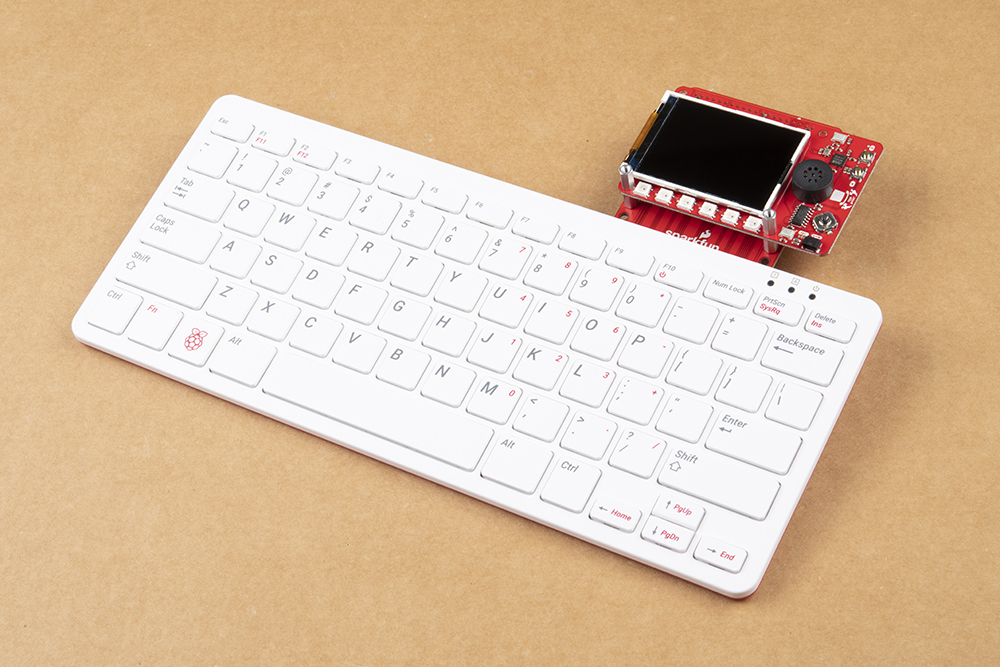
Boards designed with the Raspberry Pi or Pi Zero footprint can be stacked on top of the Qwiic pHAT Extension allowing it to be viewed right-side up. Below is an image of the Top pHAT connected to the Raspberry Pi 400.
Depending on the design of the pHAT, you may require additional height if there are any wires being attached to the bottom of the pHAT. If this is the case, you can add additional height using an extended GPIO headers.
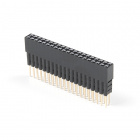
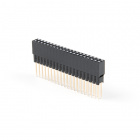
Mounting with Standoffs
You can attach standoffs to two of the Qwiic mounting holes to secure an Qwiic-enabled device.
Got a wobbly pHAT on the Qwiic pHAT extension? You can attach standoffs to two of the mounting holes across from the vertical header pins on the Qwiic pHAT extension. Of course, you can always use all four mounting holes depending on your personal preference. Below is a Top pHAT using the Raspberry Pi's footprint but you can also mount a board that uses a Raspberry Pi Zero's footprint as well.
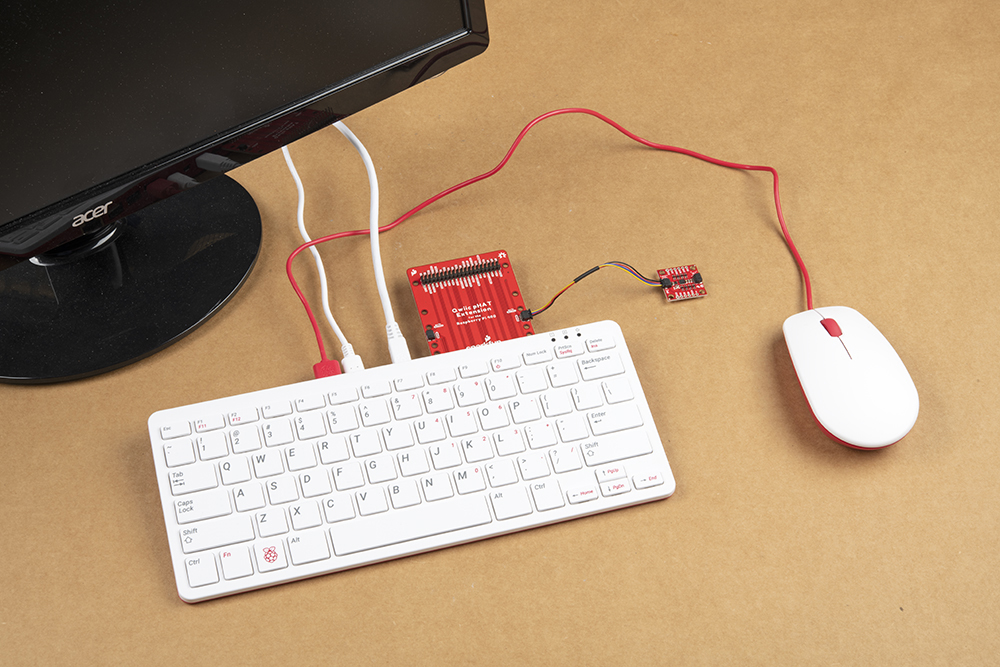
Raspberry Pi 400 Peripherals
If you have not already, connect your peripherals (e.g. display cable, mouse, power, etc) to the Raspberry Pi 400! Your setup will look similar to the image below.