Contributors:
 El Duderino
,
MAKIN-STUFF Introduction
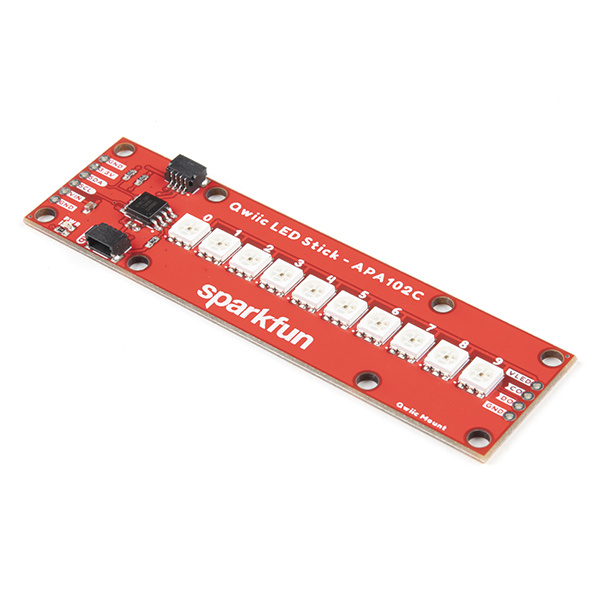
The SparkFun Qwiic LED Stick - APA102C simplifies adding addressable LED control to any I2C project using the SparkFun Qwiic System. The board includes 10 APA102 addressable LEDs controlled by an ATTiny85 on the board to work in tandem with either the SparkFun Qwiic LED Stick Arduino library or Python package..
COM-18354
The SparkFun Qwiic LED Stick features ten addressable APA102 LEDs, making it easy to add full color LED control using I2C.
The Qwiic LED Stick was designed with making large chains of them in mind so with a quick software command, you can change the I2C address of the ATTiny85 so you can control up to 100 LEDs (10 Qwiic LED Sticks) on a single bus! Now, having a hundred LEDs in a circuit significantly increases the required current to drive them and regulators on most development boards are limited to a few hundred mA so we've designed the Qwiic LED Stick to adjust the power input so a dedicated power supply can be used to drive the LED Sticks.
In this tutorial we'll cover the hardware present on the Qwiic LED Stick, how to assemble a basic circuit and to top it off we'll take a close look at the SparkFun Qwiic LED Stick Arduino library and Python package as well as a few of the examples included in them.
Required Materials
In order to follow along with this tutorial you'll need a few items along with the Qwiic LED Stick.
First off, the Qwiic LED Stick needs a controller like an Arduino development board or single-board computer (SBC) like a Raspberry Pi to communicate with the board. Click the button below to toggle to recommended Raspberry Pi and Qwiic Pi products.
Raspberry Pi Materials (Toggle)
Below are a few Arduino development boards SparkFun carries that are Qwiic enabled out of the box:
DEV-15795
The SparkFun Qwiic Pro Micro adds a reset button, Qwiic connector, USB-C, and castellated pads to the miniaturized Arduino bo…
DEV-15123
The SparkFun RedBoard Qwiic is an Arduino-compatible development board with a built in Qwiic connector, eliminating the need …
DEV-15444
The RedBoard Artemis takes the incredibly powerful Artemis module from SparkFun and wraps it up in an easy to use and familia…
DEV-15423
The SparkFun Qwiic Micro is molded to fit our standard 1" x 1" Qwiic board size which makes it our smallest SAMD21 micro-cont…
If your preferred microcontroller does not have a Qwiic connector, you can add one using one of the following products:
DEV-14495
The SparkFun Qwiic Adapter provides the perfect means to make any old I2C board into a Qwiic enabled board.
DEV-14352
The SparkFun Qwiic Shield is an easy-to-assemble board that provides a simple way to incorporate the Qwiic Connect System wit…
DEV-16789
The SparkFun Qwiic Shield for Arduino Nano makes it so you can use SparkFun's Qwiic connect ecosystem with development boards…
DEV-16790
The SparkFun Qwiic Shield for Thing Plus makes it so you can use SparkFun's Qwiic connect ecosystem with development boards t…
If you would prefer to use the Qwiic LED Stick with Python, control the breakout with a single-board computer like the Raspberry Pi's listed below:
DEV-15447
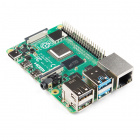
The 4 GB Raspberry Pi 4 features the ability to run two 4k resolution monitors, to run true Gigabit Ethernet operations, all …
DEV-14277
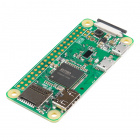
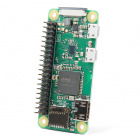
The Raspberry Pi Zero W is still the Pi you know and love, but at a largely reduced size of only 65mm long by 30mm wide and s…
DEV-15470
The Raspberry Pi Zero W is still the Pi you know and love, but at a largely reduced size of only 65mm long by 30mm wide and n…
KIT-16385
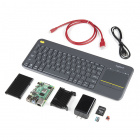
The SparkFun Raspberry Pi 4 Desktop Kit (2GB) includes everything you need to turn any monitor with an HDMI port into a deskt…
Retired
SparkFun offers several options to add Qwiic connectors to single-board computers using the Raspberry Pi's 2x20 header:
DEV-14459
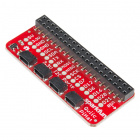
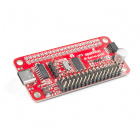
The SparkFun Qwiic HAT for Raspberry Pi is the quickest and easiest way to make your way into the Qwiic ecosystem and still u…
DEV-15945
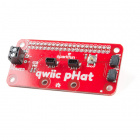
The SparkFun Qwiic pHAT V2 for Raspberry Pi is the quickest and easiest way to make your way into the Qwiic ecosystem and sti…
DEV-15794
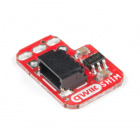
The SparkFun Qwiic SHIM for Raspberry Pi is a small, easily removable breakout that easily adds a Qwiic connector to your Ras…
DEV-15316
The SparkFun Servo pHAT for Raspberry Pi allows your Raspberry Pi to control up to 16 servo motors in a straightforward manne…
Along with a development board or SBC, you'll need at least one Qwiic cable. SparkFun carries a variety of lengths and types of Qwiic cables as seen here:
KIT-15081
To make it even easier to get started, we've assembled this Qwiic Cable Kit with a variety of Qwiic cables from 50mm to 500mm…
PRT-17259
This polarized I2C cable insulation is made from silicon making it more flexible than our original Qwiic cable particularly i…
PRT-14427
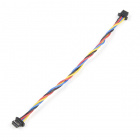
This is a 100mm long 4-conductor cable with 1mm JST termination. It’s designed to connect Qwiic enabled components together…
Retired
PRT-14428
This is a 200mm long 4-conductor cable with 1mm JST termination. It’s designed to connect Qwiic enabled components together…
Retired
Recommended Tools
If you plan to use multiple Qwiic LED Sticks in your project, a few other tools and hardware are needed to assemble and drive your circuit. You may already have some of the products and tools suggested below so adjust your selections as needed.
As mentioned above, using many Qwiic LED Sticks draws a significant amount of current that your microcontroller may not be able to provide. We recommend using a dedicated power supply for the APA102 LEDs on the LED Stick. Select your power supply based on the estimated total current draw of the LEDs in your circuit. Below are a few options that can work with the APA102 LEDs:
PRT-00114
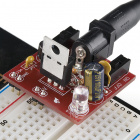
Here is a very simple breadboard power supply kit that takes power from a DC wall wart and outputs a selectable 5V or 3.3V re…
TOL-15352
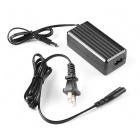
This is a high quality power supply manufactured specifically for SparkFun Electronics packs a lot of power; 20W at 5V and 40…
TOL-14601
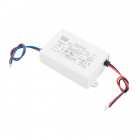
This is a 40W single output switching power supply from Mean Well that has been specifically designed to be with LED applicat…
Retired
TOL-15664
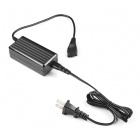
This 2A "laptop brick" supply outputs both 5V and 12VDC and is terminated with a 4-pin ATX connector.
Retired
Along with a dedicated power supply, you may need some tools to solder with. If you need a soldering iron or soldering supplies, take a look at the tools and supplies below:
TOL-14456
This adjustable-temperature soldering iron is a great tool for when you don't want to break the bank but need a reliable iron…
TOL-09325
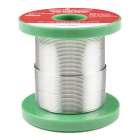
This is your basic spool of lead free solder with a water soluble resin core. 0.031" gauge and 100 grams. This is a good spoo…
TOL-10242
We don't say this lightly: this might be the best solder on the market! There, we said it. This "Special Blend" wasn't just p…
TOL-14228
The WLC100 from Weller is a versatile 5 watt to 40 watt soldering station that is perfect for hobbyists, DIYers and students.…
Retired
Recommended Reading
In case you are not familiar with the Qwiic System, we recommend reading here for an overview:
We also recommend taking a look at the following tutorials if you aren't familiar with the concepts covered in them:
Logic Levels
Learn the difference between 3.3V and 5V devices and logic levels.
I2C
An introduction to I2C, one of the main embedded communications protocols in use today.
Serial Terminal Basics
This tutorial will show you how to communicate with your serial devices using a variety of terminal emulator applications.

