Qwiic LED Stick - APA102C Hookup Guide
 El Duderino, MAKIN-STUFF
Hardware Assembly
Assembling a basic Qwiic LED Stick circuit is easy with the Qwiic system so we'll cover that assembly as well as a few things to be aware of when assembling a larger string of Qwiic LED Sticks or when using other APA102Cs on the end of the stick.
Basic Qwiic/I2C Assembly
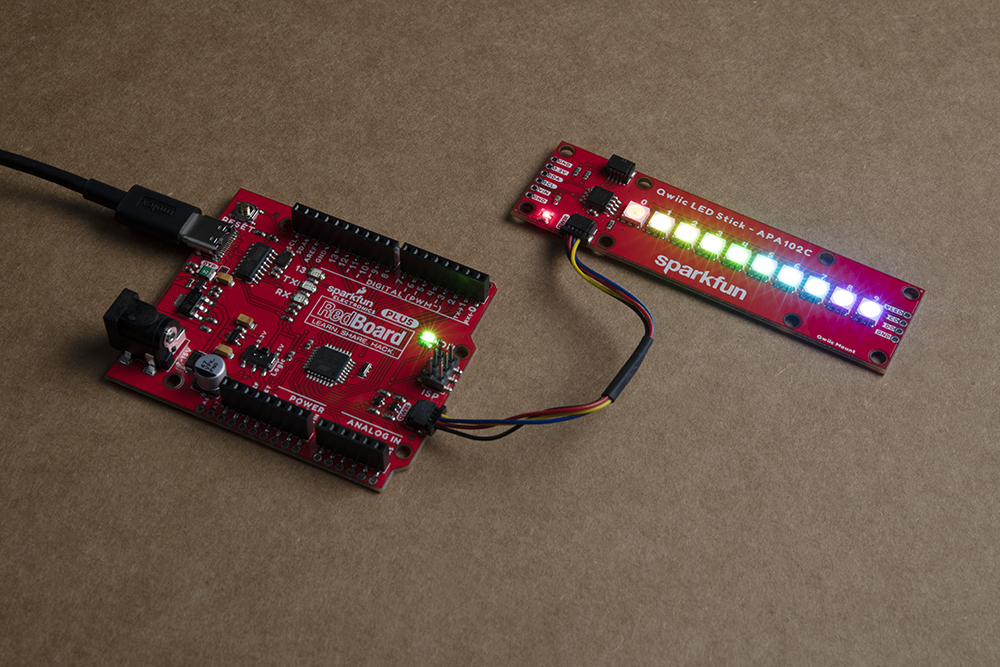
For a basic Qwiic LED Stick circuit with a board like the SparkFun RedBoard Qwiic Plus all you need to do is plug the two boards together with a Qwiic cable.
Multiple Qwiic LED Sticks and APA102C Extensions
Users who wish to use multiple Qwiic LED Sticks chained together or even with an external APA102C LED Strip connected to the LED PTH header on the side of the board will need to do some minor soldering assembly as well as adjusting solder jumpers.
First, take into account the max current draw the LED Stick chain will pull. At full power, each APA102C can draw as much as 40mA when set to white (full Red, Green and Blue) at full brightness so we recommend testing the current draw of your LED chain prior to wiring up long chains of LED Sticks (or adding an extra LED strip) to avoid damaging your controller. In our testing, while running all 10 LEDs at full brightness and White color, the strip only pulled ~65mA@3.3V so you should be safe powering a few of these from your microcontroller but note that most Qwiic development boards use a 3.3V/600mA regulator to power devices connected to the Qwiic connector.
For detailed assembly instructions and tips for building APA102 LED circuits, take a look at our APA102 Addressable LED Hookup Guide:
If using a separate power supply to power the LEDs, adjust the VLED jumper to the VIN side and connect a supply voltage between 3.0 to 5.5 to the VIN and GND pins capable of supplying enough current to power the LED chain. After making your power supply connections, plug the Qwiic LED Stick to the controller using a Qwiic cable or the I2C PTH pins.
Now that our Qwiic LED Stick circuit is assembled, let's take a look at the software packages we use to control them over I2C.