PIC-Based Serial Enabled Character LCD Hookup Guide
 bboyho,
  MikeGrusin
 Hardware Hookup
Assembling the SerLCD Backpack
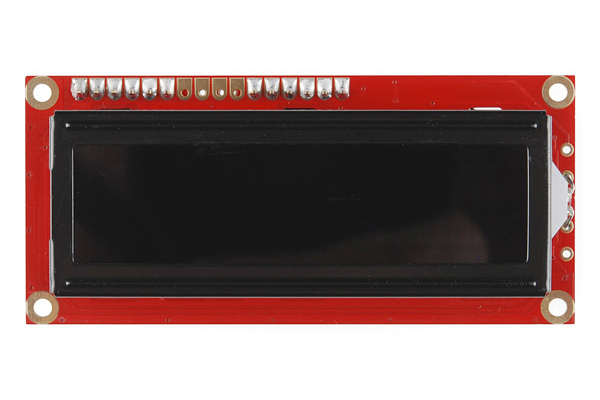
Insert the SerLCD backpack's long end of the headers through the back of a basic LCD. Solder the header on the top side of the LCD. The LCD should look like the images below after the terminals are cleaned (assuming that you are using water-soluble flux). If you are using the through holes under the screw terminals, make sure to solder to the pins before assembling the backpack to the basic LCD.
 |
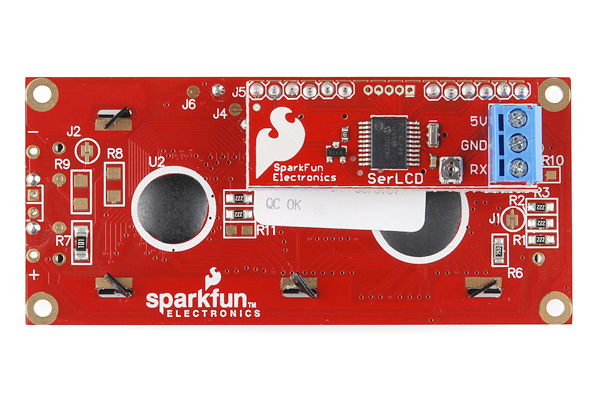 |
| Top View | Bottom View |
Connecting to an Arduino
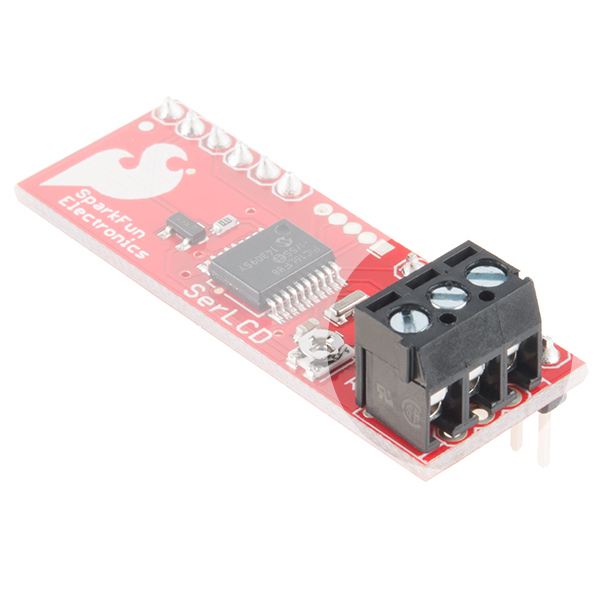
To power and control a serial enabled LCD, you will need three pins. There are two rows of headers broken out on the backpack and built-in serial enabled LCDs. They are electrically identical, so you can use either one. The SerLCD backpack comes pre-populated with a 3-pin screw terminal. Simply insert M/M jumper wire to each of the screw terminals and tighten. You can also solder directly to the plated through holes on the bottom of the backpack.
 |
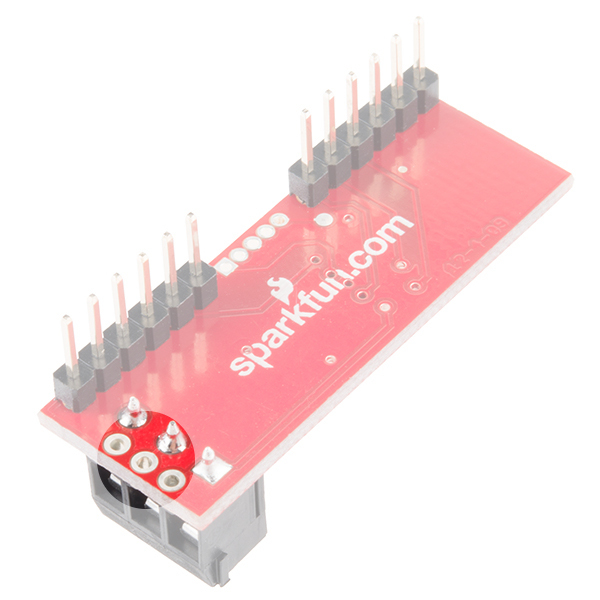 |
| Screw Terminals | Plated Through Holes |
Instead of a screw terminal, the built-in serial enabled LCDs come pre-populated with a 3-pin polarized JST connector. The JST to breadboard jumper would be the easiest to connect to an Arduino. The cable only connects one way; press it in until it clicks. JST connectors are designed to be very snug; don't pull on the wires to disconnect it, see our tutorial on the proper way to disconnect JST cables.
 |
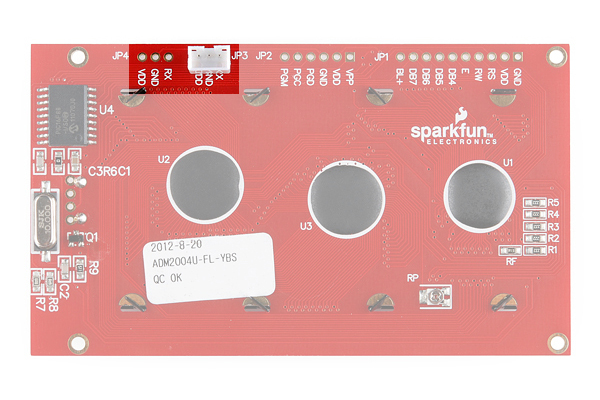 |
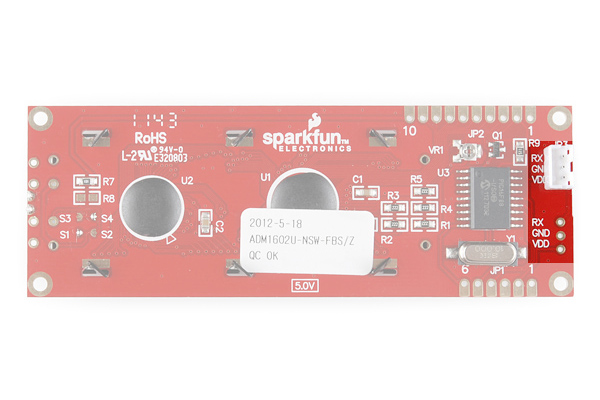
| Input for Serial Enabled LCD 16x2 | Input for Serial Enabled LCD 20x4 |
Hookup Table
There are only three connections you need to make to the LCD. Check your LCD's pinout before connecting to your Arduino. If you look closely at the LCD's with the JST connector, the input voltage (VDD) and Rx are in different locations on the board depending on how it was populated.
| Serial Enabled LCD Pinout | Arduino Pin | Description |
|---|---|---|
| RX | D11 | Serial UART receive input to the display. 9600 baud (default), 8 bits, 1 stop, no parity. |
| GND | GND | Ground for the power supply. |
| VDD | 3.3V or 5V | Power supply, this should be either +3.3V or +5V depending on the specs of your LCD. |
