pcDuino Hookup Guide
This Tutorial is Retired!
This tutorial covers concepts or technologies that are no longer current. It's still here for you to read and enjoy, but may not be as useful as our newest tutorials.
 SFUptownMaker
 Wireless Networking
The minimalist Linux installation that comes with the pcDuino supports wireless networking, but you'll have to get your hands a little dirty to get it to work. Here's a walkthrough for getting the USB wifi dongle we sell working with your pcDuino:
- Boot the pcDuino.
Plug in the dongle.
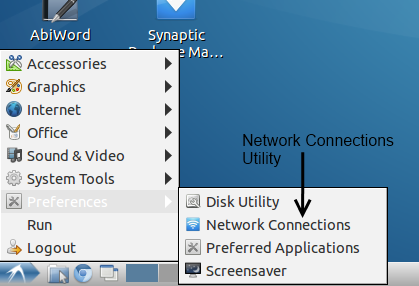
Open the "Network Connections" utility, under the "Preferences" submenu in the system menu.

Under the "Wireless" tab, click the "Add" button.
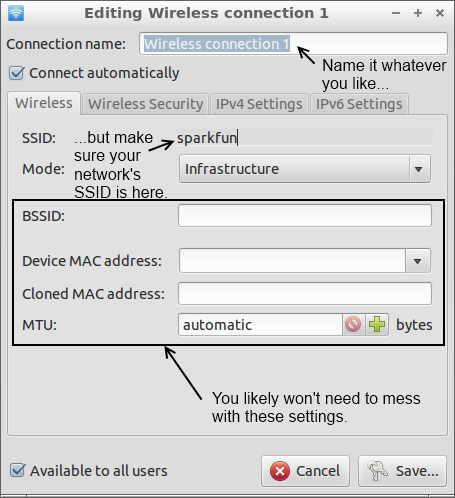
You can put whatever you like in the "Connection name" field, but you'll need to have the SSID of the network you want to connect to in the SSID field. Mode should default to "Infrastructure", which is correct for most networks, and the bottom four fields can be ignored.
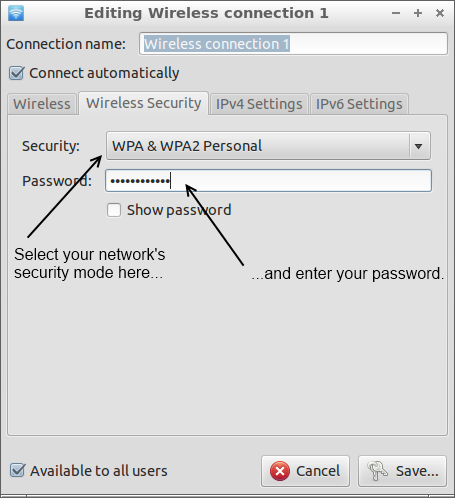
In the "Wireless Security" tab, you can set the network security options for your network. We won't attempt to cover this, because it's too big a topic; the fields should be pretty similar to those on other devices, so copy the settings from something else if necessary.
The last two tabs, "IPV4 Settings" and "IPV6 Settings", you can probably ignore. If you do need to use them, you likely know that you do, and you probably quit reading this page a while ago.
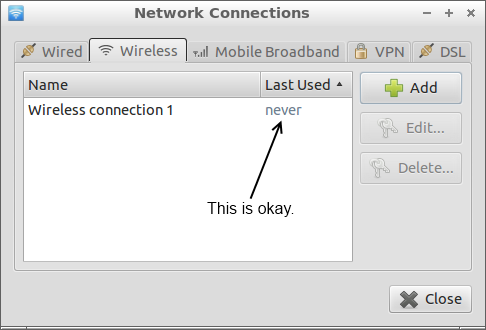
Hit the "Save" button to return to the "Network Connections" utility. You'll see your new connection in the list; the "Last Used" column will say "never" next to this connection. That's okay. Go ahead and close the window and your connection should be ready to go!


