Paper Circuit Pin
 Gella
Gella 
Step 3: Prepare and Place LED
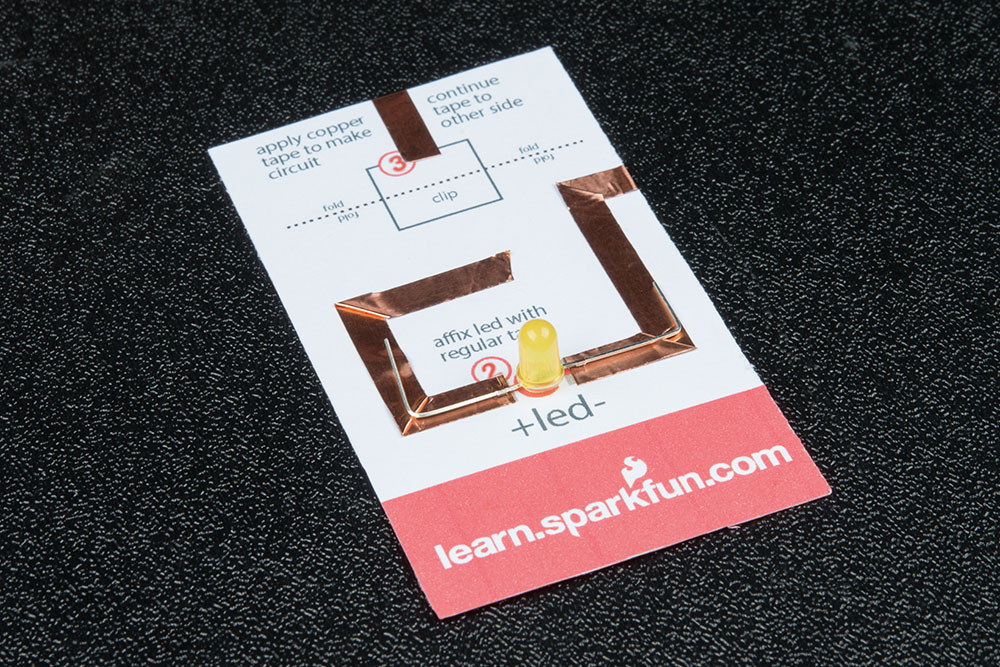
Now that our copper tape is in place, it's time to add the LED. The template has an LED symbol on the front. We'll be bending the LED to fit over the red circle icon.
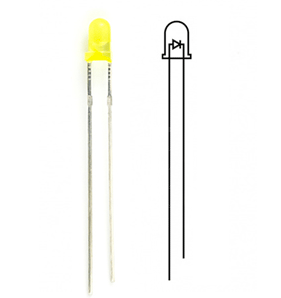
LEDs are polarized, which means they can only be installed one way. There is a positive and negative side to each LED -- the longer leg is positive and shorter is negative. There is also a flat side on the bulb itself; this is the negative side.
Read more about LED polarity in our Light-emitting Diodes (LEDs) Tutorial .
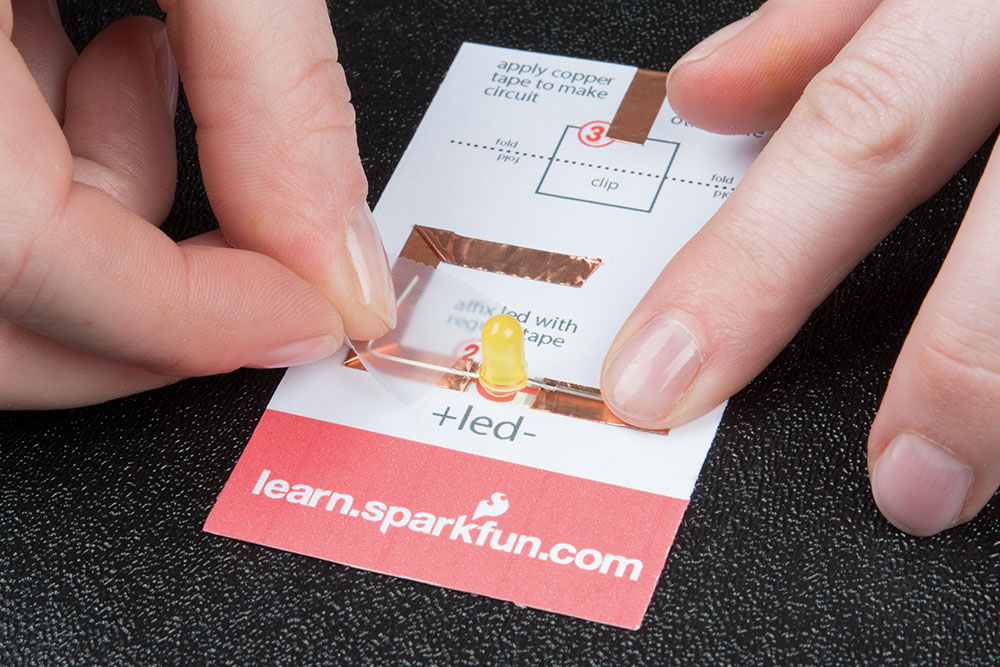
Bend the positive leg of the LED flat, and make a small right angle bend so that it touches the copper tape marked with a + sign. Do the same to the negative side, and place the LED on the space between the tape as shown.
Use clear tape over the wires to hold down to the copper.