micro:bit Breakout Board Hookup Guide
 Shawn Hymel, Ell C
Example: Qwiic Sensor
With the addition of Qwiic connectors on the micro:bit breakout board, you can take advantage of the sensors in our Qwiic Connect System. Let's take a "qwiic" look at how to attach and use Qwiic boards.
You can download the code from the emulator, or check out the project's page here:
Copy the .hex file to your micro:bit drive and you should see the temperature start scrolling by on your micro:bit's LED array!
Reading the sensor
There are a couple of things to point out here. In this example, we've used the Qwiic TMP117 sensor. Somewhat superfluous, given that the micro:bit has an onboard temp sensor but it's easy and I happened to have one handy.
To read the sensor, you need to be able to access the I2C bus. In MakeCode, under Pins->More, you'll find the blocks for reading these pins.
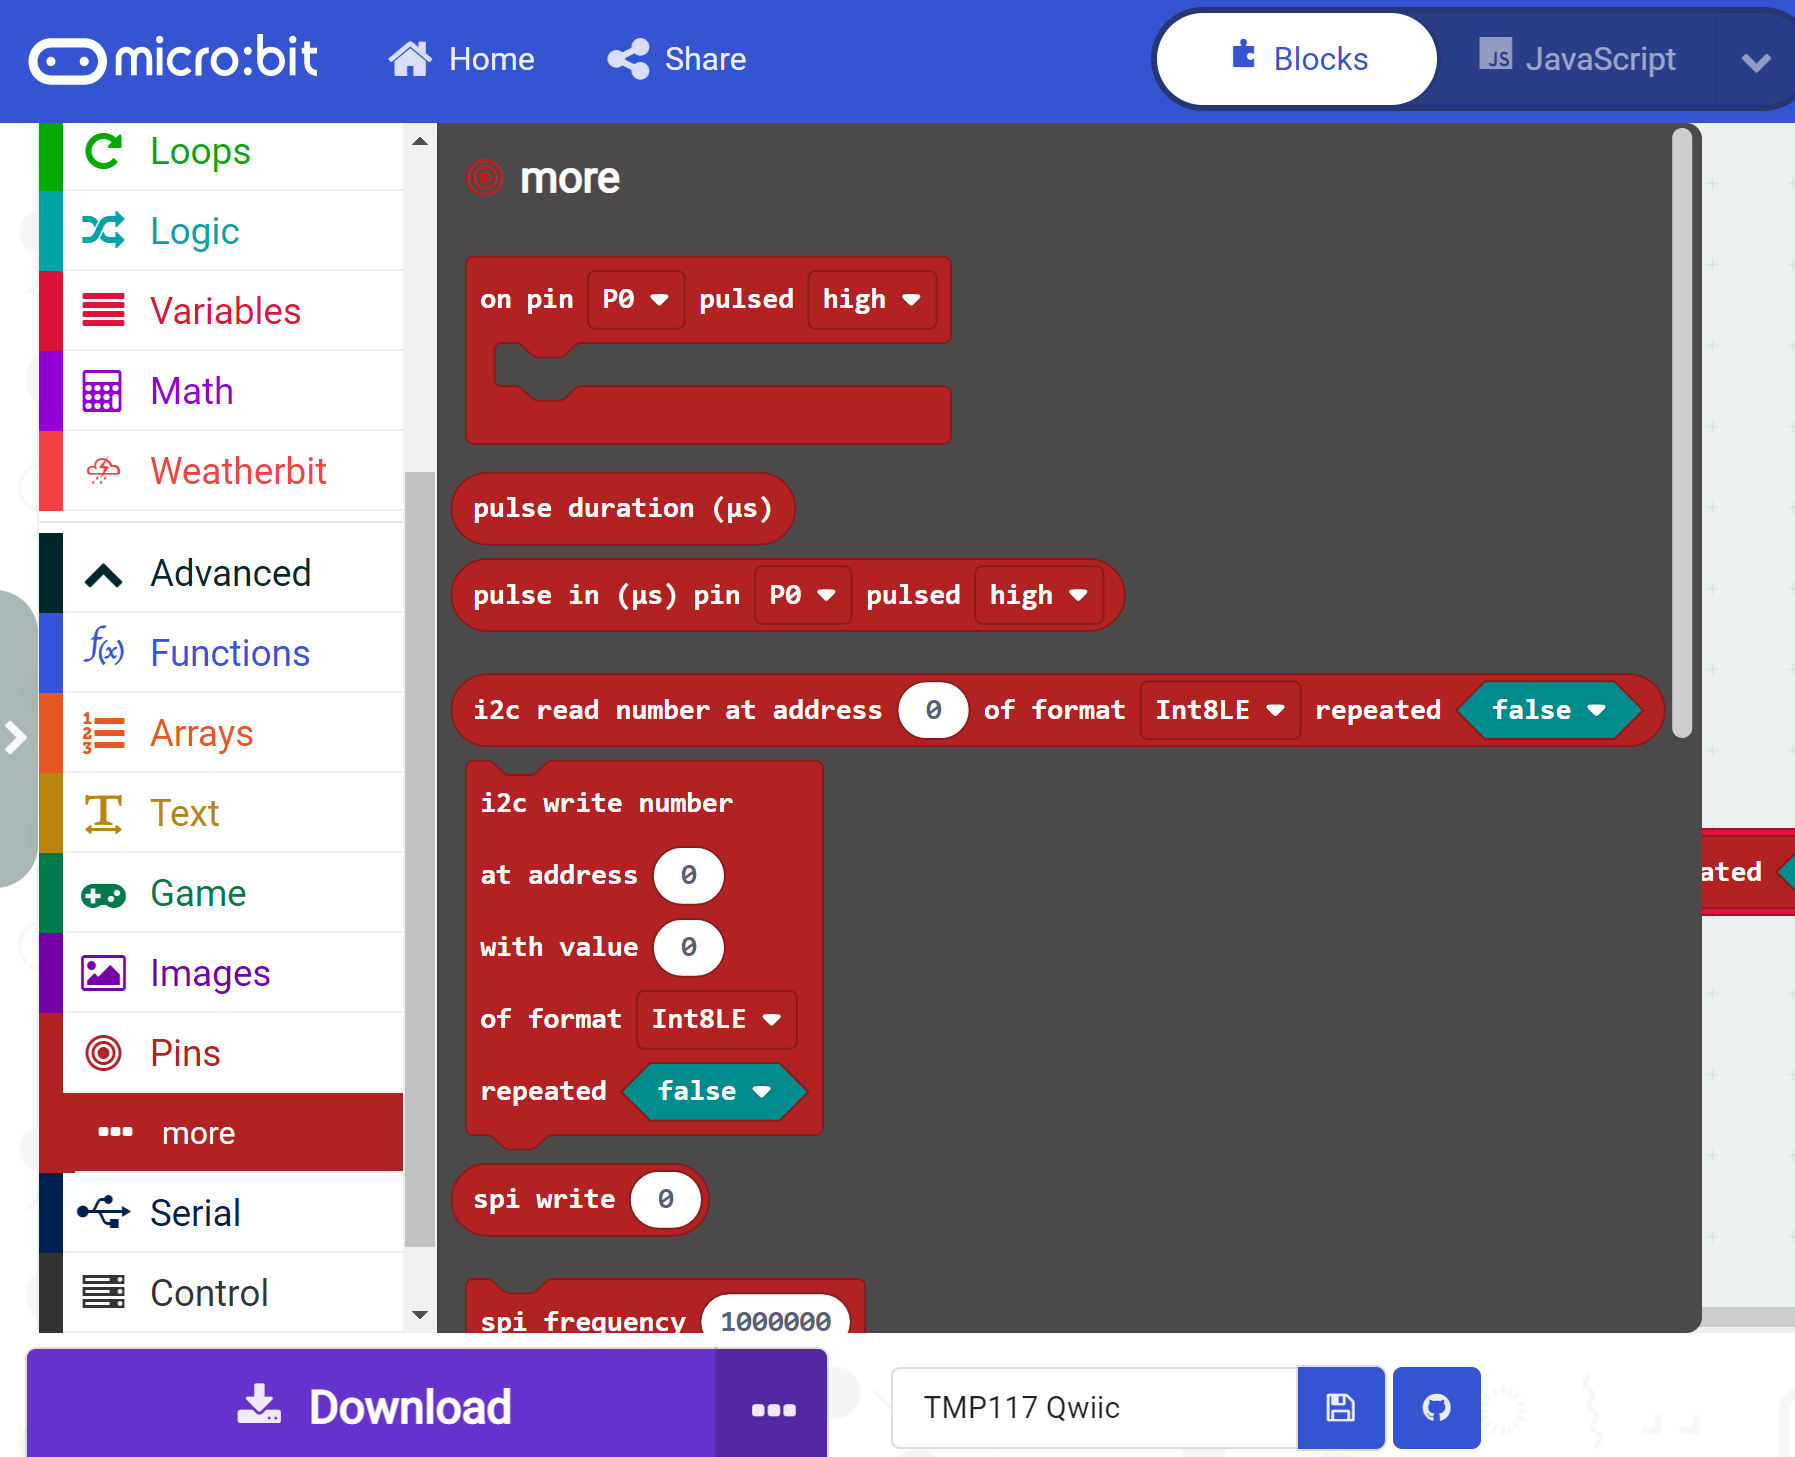
To determine the address, you'll need to find the address of your qwiic sensor (in this case, the TMP117's address is 0x48) and then convert that to decimal. I used a handy dandy calculator here. The hookup guides for each qwiic sensor will have their default address, as well as information on the datatype.
The multiplication step after getting the data from the sensor is specific to the TMP117 and is just a conversion to make the data legible to us mere humans.
Voila! Now grab a qwiic sensor and get to hacking!