Magnetic Levitation
Testing The Hall Effect Sensor
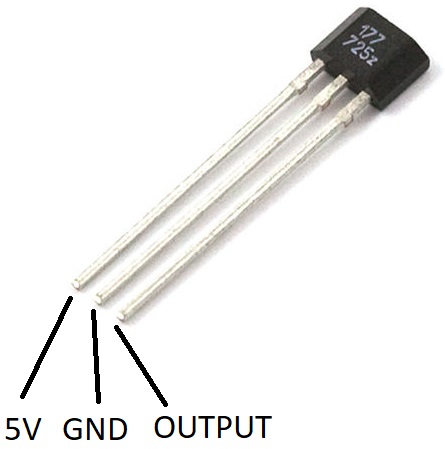
Let's first test to see how the sensor works. With a breadboard, connect 5V to the supply voltage pin, ground to ground, and on the output pin, connect either an oscilloscope probe to watch the voltage change, or we can use a multimeter in voltage mode to watch the voltage change.
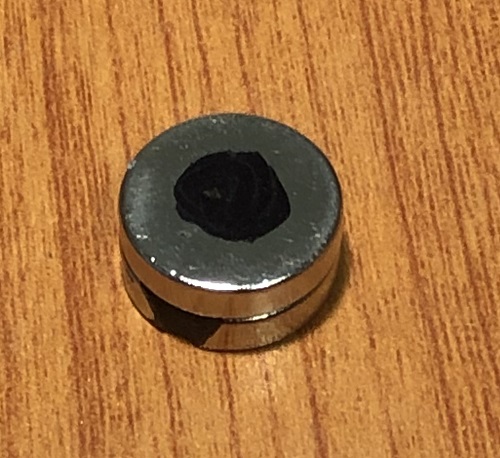
Without a magnet present, the output voltage sits at around 2.5V. With one side of the magnet, as the magnet gets closer to the sensor, the voltage decreases. If you flip the magnet around and bring it closer to the sensor, you'll see output voltage increase. Make note of which side causes the voltage to decrease. It might help to make a mark with a permanent marker, which will be useful in our next test.
Before moving on to the next test, however, we'll need to extend the leads of our sensor by adding some wire. It's a good idea to add heatshrink tubing around each of the solder joints to make sure they don't short together, but a little bit of electrical tape around the leads will work as well. In the image below, the sensor has a red wire for the positive voltage supply, black for the negative, and yellow wire for the analog output.
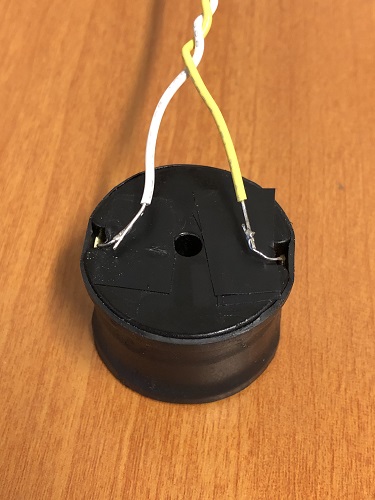
While the soldering iron is hot, now is also a good time solder wire to the inductor as well. Using different colors for the two pins of the inductor may help with troubleshooting later on.


