Machine Learning @ Home Kit Hookup Guide
 asassy
Workshop 3: Power Loads
One of the main use cases we see is automating power loads and electrical systems. Let’s say you forget to turn your oven off and leave you house for a period of time - it’s something that’s happened to most of us, and a real safety concern! Or, you just want to be more conscious of turning your lights off when you leave a room. How about if you only want a light on if you’re at your desk? We can implement projects of these nature with the Machine Learning @ Home Kit because it comes with an IoT Power Relay.
NVIDIA has a Python library specifically for manipulating the Jetson GPIO, either for inputs or outputs. We'll have to first install the package natively on the Nano (outside of JupyterLabs) test it, and then add it to the docker command to containerize the library.
Back in whatever terminal emulator you're using (i.e Serial), we can install the Jetson.GPIO library with the following commands:
sudo pip install Jetson.GPIO
Then, we'll have to set permissions by creating a group and add your username to that group that can access the GPIO. If you don't know your username, just write out the command whoami.
sudo groupadd -f -r gpio
sudo usermod -a -G gpio your_user_name
Finally, for the new rule to take place, either reboot the Nano using the command sudo reboot or reload the udev rules by running:
sudo udevadm control --reload-rules && sudo udevadm trigger
Now that the library is installed, we're almost ready to test it. Connect the your jumper wires to the screw terminals in the green socket, and then connect them to a ground pin and a number pin of your choice on the Nano. Now, open up your python3 interpreter by simply typing python3, and run the script below.
#load in libraries
import Jetson.GPIO as GPIO
import time

#sets the pin getting power sent to
output_pin = 21

#set pin numbering
GPIO.setmode(GPOI.BCM)

#setup GPIO channel with pin, ouput, and what the initial value is
GPIO.setup(output_pin, GPIO.OUT, initial = GPIO.LOW)

#set value of output pin
GPIO.output(output_pin, GPIO.HIGH)

time.sleep(10)

#clean up the channels so that all pins are set in their default state
GPIO.cleanup()
Now you know the drill, it’s time to go into Task, and change the categories and datasets needed. If you only want the lamp to turn on when you’re at your desk, you’ll really only need two datasets: you, and nothing else.
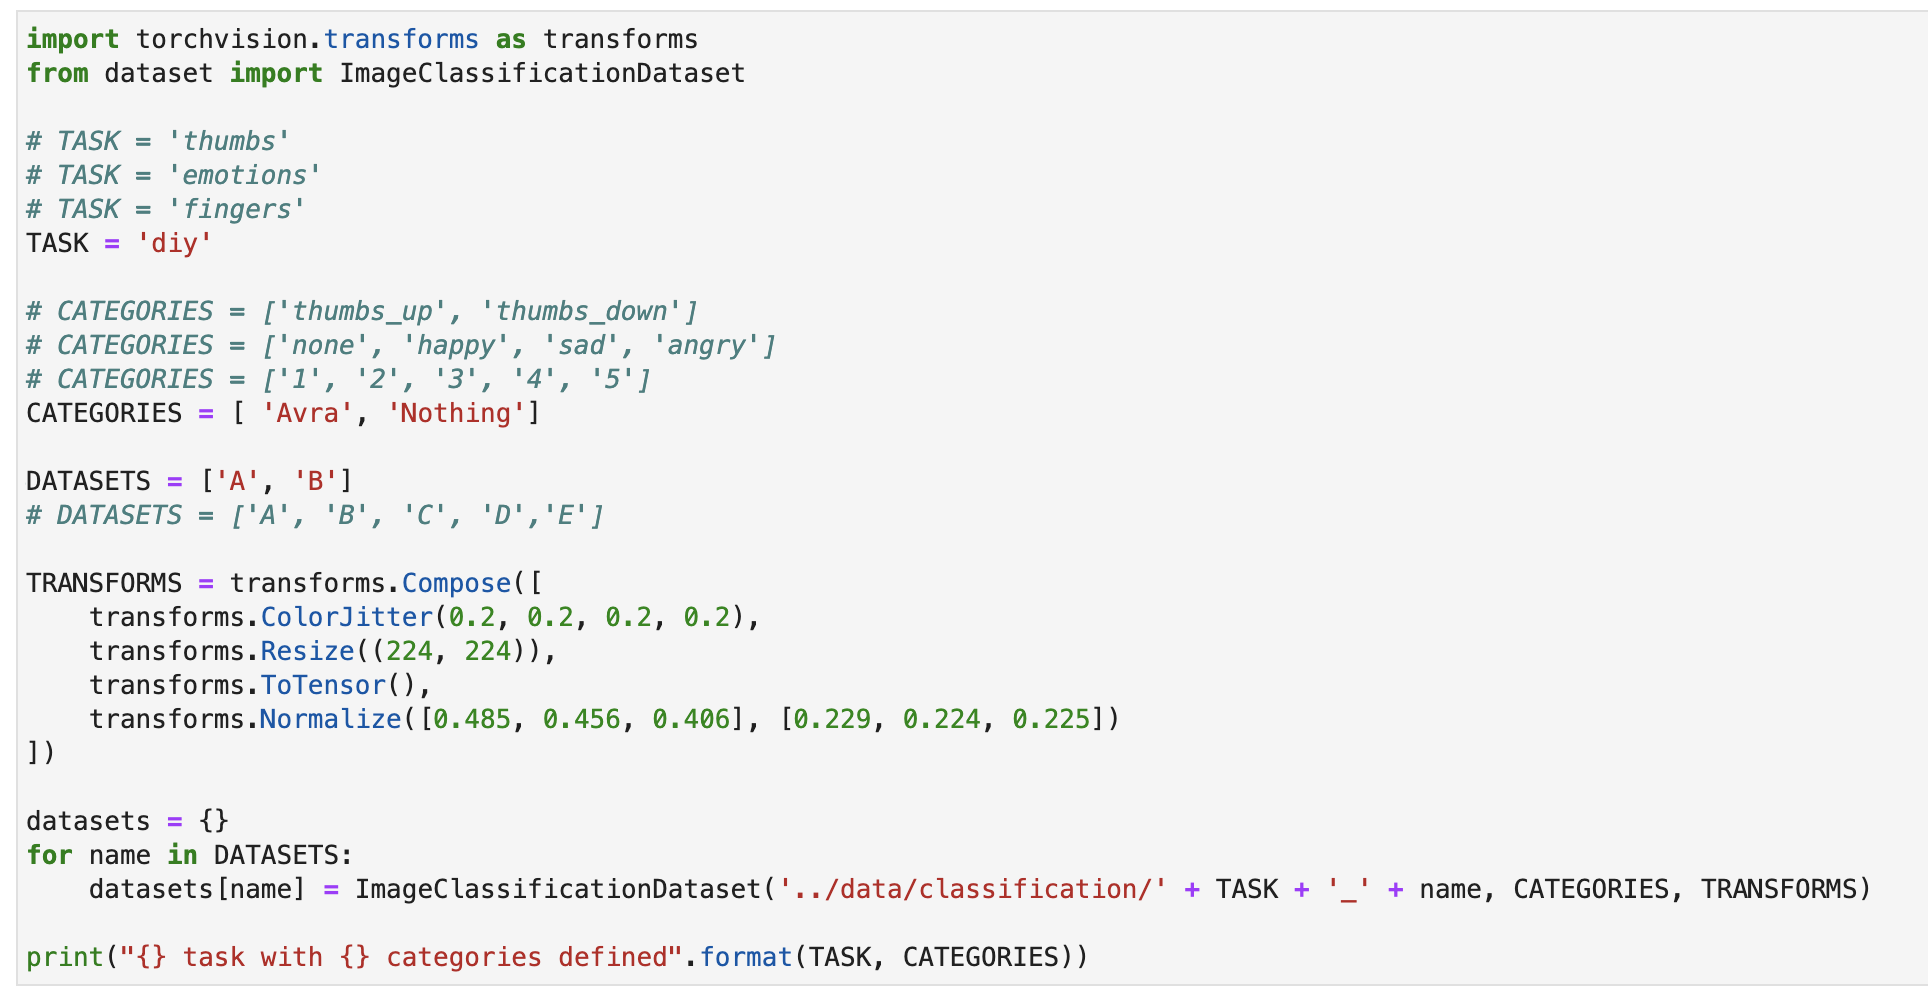
Down in Live Execution, we’ll set the IoT relay to only turn on when the category is set to your face. So the if statement will look very similar to the pet feeder situation…it’ll either be if you are in the frame, else for any other scenario. The full code is set up here.
Nearly any home automation is accessible to you through the Machine Learning @ Home Kit, and now that you know how to go through and train a wide variety of datasets, we can being deploying them as real world applications. That’s what we’ll get to next, as this living hookup guide continues.