LilyPad Buzzer Hookup Guide
 Gella
Gella 
Sewing Into a Project
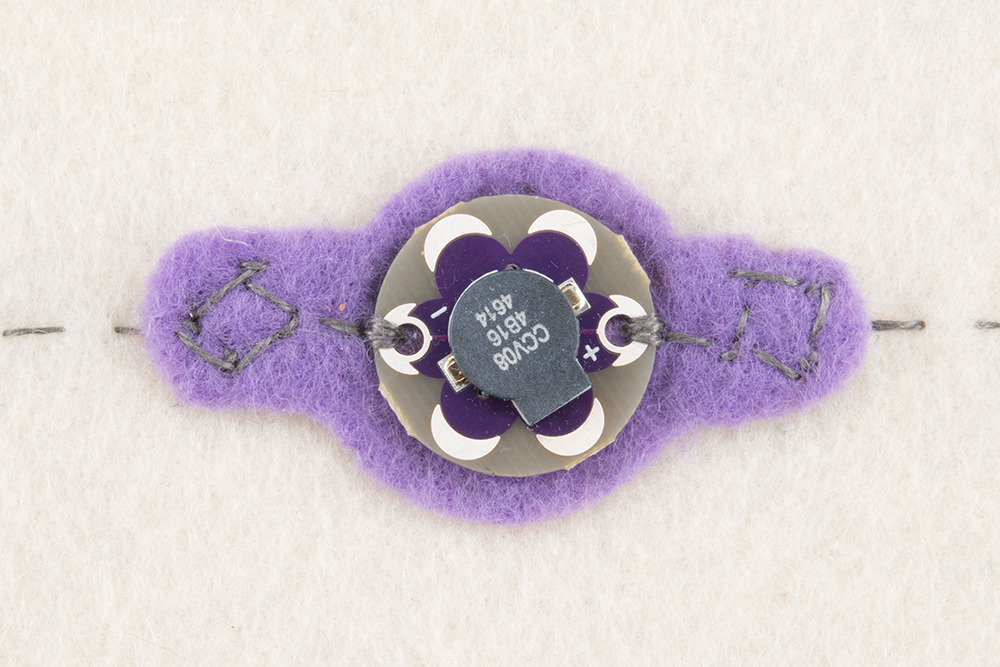
We mentioned at the beginning of this tutorial that the buzzer isn't washable. Here are some methods for adding the buzzer to a project so it is detachable.
Sewable Snaps
Create a detachable buzzer patch by stitching the buzzer to a small piece of cloth or felt with size 1/0 sewable snaps on either side. You will need two pairs of snaps for this method. We used a male snap attached to the positive side of the buzzer and a female snap on the negative side to avoid accidentally plugging the buzzer in backwards. Stitch the snaps with conductive thread as you would any other LilyPad component (3-4 stitches) for a good electrical connection.
Materials needed:
- Small piece of felt/fabric (at least 1" x 2")
- Small needle
- Conductive thread
- (2) pairs of size 1/0 sew-on snaps

Soldered Snaps
Size 4/0 sew-on snaps are the perfect size for soldering directly to the buzzer's sew tabs. Carefully solder the snaps to the tabs and use conductive thread to sew the mating snaps to the project. You will need to use a small needle to get through the small snap holes.
Materials needed:
- Soldering iron and solder
- Small needle
- Conductive thread
- (2) pairs of size 4/0 sew-on snaps

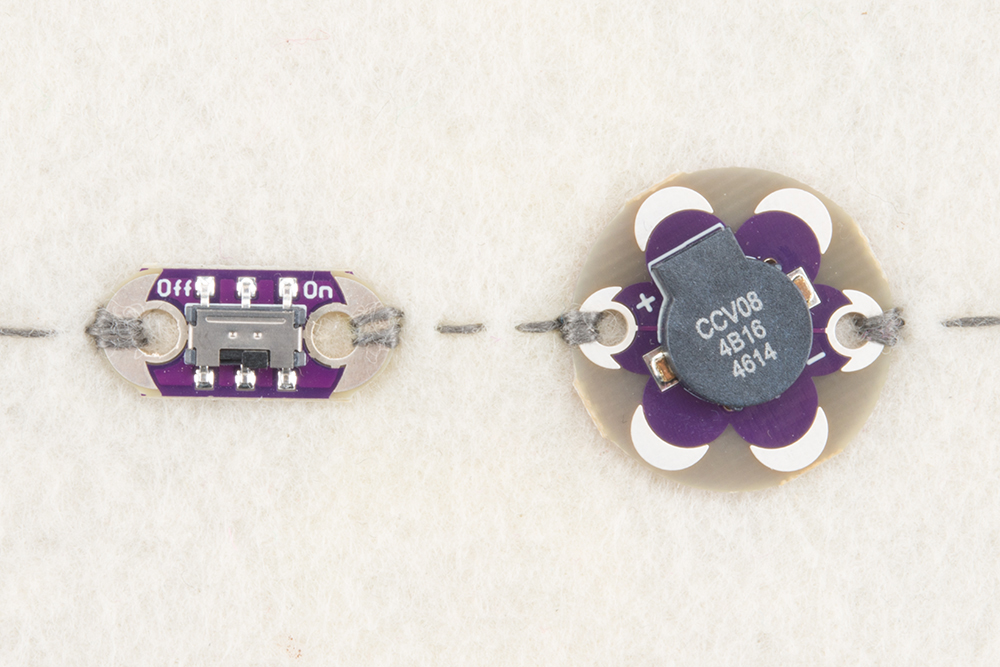
Adding a Switch
To quickly shut off the sound in your project during debugging (or as an optional feature), we recommend adding a switch in line with the buzzer. Stitch the switch in between the assigned pin on the LilyPad Arduino and the positive tab on the buzzer. This allows the other features of the project project to still function while muting the sound from the buzzer.