IOIO-OTG Hookup Guide
Building Your First Android App
Now that we know how to upload a known-good application, let's see what it takes to build our own using Android Studio.
Open Android Studio
Open Android Studio. If this is the first time you're opening it, it may take a few minutes. There may be several setup/first-time-tips windows to navigate through.
You should eventually be presented with the following screen asking what action you'd like to perform:
Choose 'Open an existing Android Studio project.'
Open HelloIOIO Application
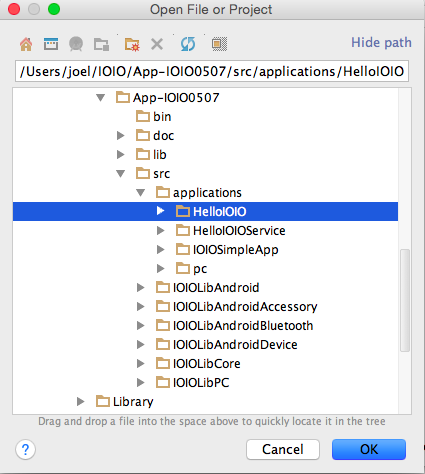
Inside the Android Studio file explorer window, navigate to ~/App-IOIO0507/src/applications, and open the folder titled HelloIOIO.
Keep clicking OK and installing any missing platforms until Android Studio is happy.
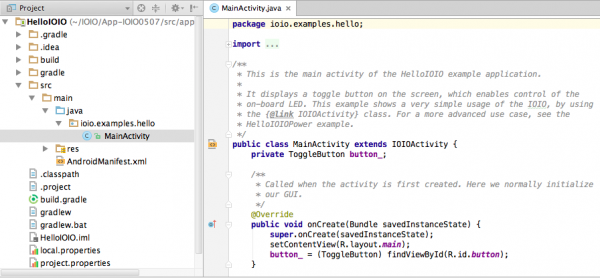
The project tree has many files. The file that contains the Java code for the IOIO is in HelloIOIO → scr → ioio.examples.hello → MainActivity.java. Double click on the MainActivity.java file, and you should see this:
The MainActivity.java file contains the code that talks to the IOIO board. If you want to change the UI (user interface or graphics) of your app, the res → layout → main.xml file is where you make the changes. Here you can start writing code and changing the HelloIOIO sketch, if you desire.
Delete App from Android Device
Though we'll be installing the same app as in the previous section (unless you decided to alter the code), you will need to uninstall the app on your Android device to ensure that Android Studio is working properly.
Make sure that you are uninstalling the app and not just removing it from your home page. On most devices, this requires long tapping the app and dragging it to the Uninstall (trash bin) area at the top of the screen.
Plug in Your Android Device to Your PC
Plug your Android device into your PC.
Upload App to Android Device
With your device connected to your PC, click the 'Run' button:
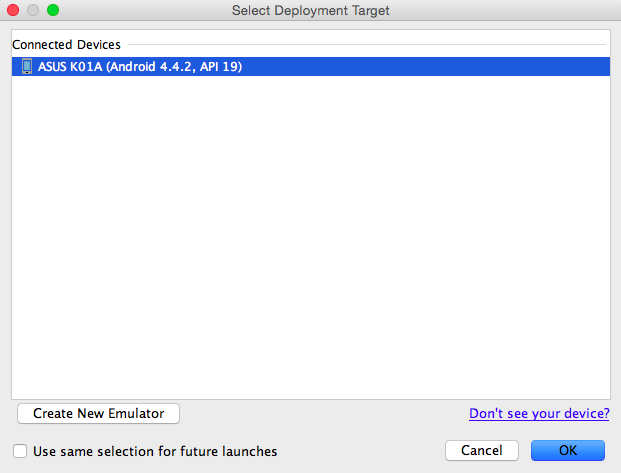
Android Studio will ask to which device you'd like to upload the application. Assuming you only have one device plugged in, there should only be one option. You can also use the Android emulator if you do not have an Android device.
You should see the build status at the bottom of the window. It will say Gradle Build Running, followed by Gradle build finsihed.
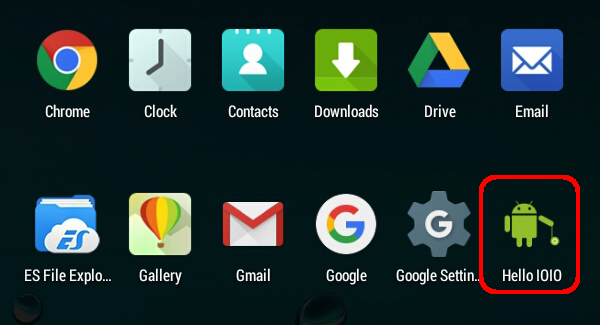
On your Android device, navigate to your applications. You should now see a HelloIOIO app on your device.
Plug in the IOIO to Your Android Device
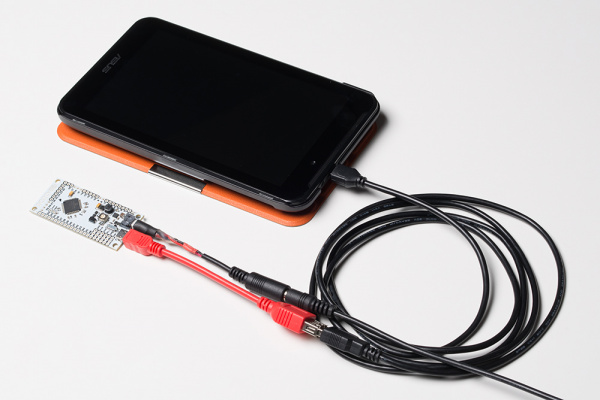
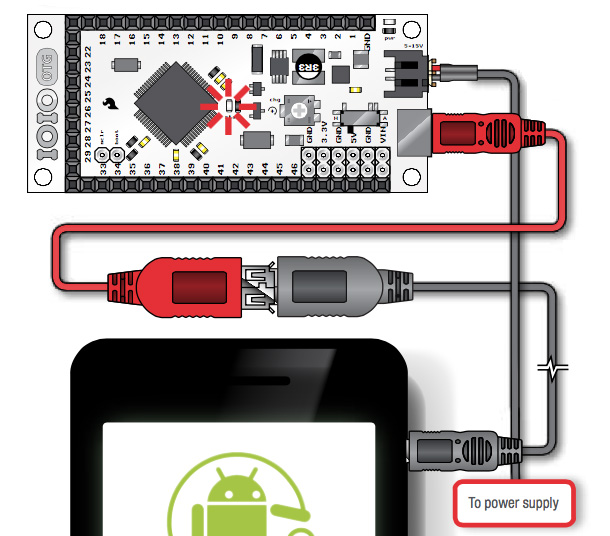
Unplug your device from the PC, keeping the micro USB cable attached to your Android device. Attach the red USB Female A to Micro A OTG Cable to the end of the micro USB cable. Then attach the micro A end of the OTG cable to the Micro A-B connector on the IOIO-OTG.
Provide power to your IOIO using the Barrel Jack-to-JST Adapter. The red power LED should illuminate.
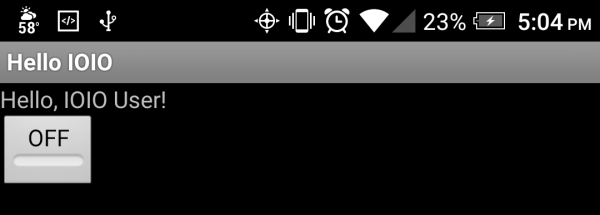
Open the HelloIOIO app, and you should be presented with this now familiar screen:
Press the button on the touchscreen to turn the Stat LED on and off. You've just successfully built, uploaded and used your first IOIO Android application!
For a complete list of all the commands you can issue to the IOIO, go back to the IOIO folder you downloaded from GitHub. Inside that folder is another folder titled doc. Navigate to doc, and open the index.html file in your browser. There you will find a reference of all the IOIO classes. See if you can get an LED to blink on one of the IOIO's digital I/O pins.
Check the Resources and Going Further section for more information and links to IOIO resources.
If you are having trouble getting the app to work, please visit the Troubleshooting section.

