How to Power a Project
 JordanDee
Voltage/Current Considerations
How Much Voltage Do I Need for Project X?
This depends largely on the circuit, so there is no easy answer to this question. However, most microprocessor development boards like the Arduino Uno have a voltage regulator on board. This allows us to supply a voltage in a specified range above the regulated voltage. A lot of microprocessors and IC's on development boards run at 3.3V or 5V but have voltage regulators that can handle anywhere from 6V to 12V.
The power comes from a power supply and is then regulated closely by a voltage regulator so that each chip is powered at a consistent voltage even when the current draw may fluctuate at different times. Here at SparkFun, we use 9V power supplies for many of our products that operate in the 3.3V to 5V range. However, to verify what voltages are safe, it is recommended that you check the datasheet for the voltage regulator on the development board to see what voltage range is recommended by the manufacturer.
How Much Current Do I Need for Project X?
This question also depends on the development board and microprocessor you're using as well as what circuits you plan on connecting to it. If your power supply cannot give you the amount of juice the project needs, the circuit may start acting in a strange, unpredictable way. This is also known as a brown-out.
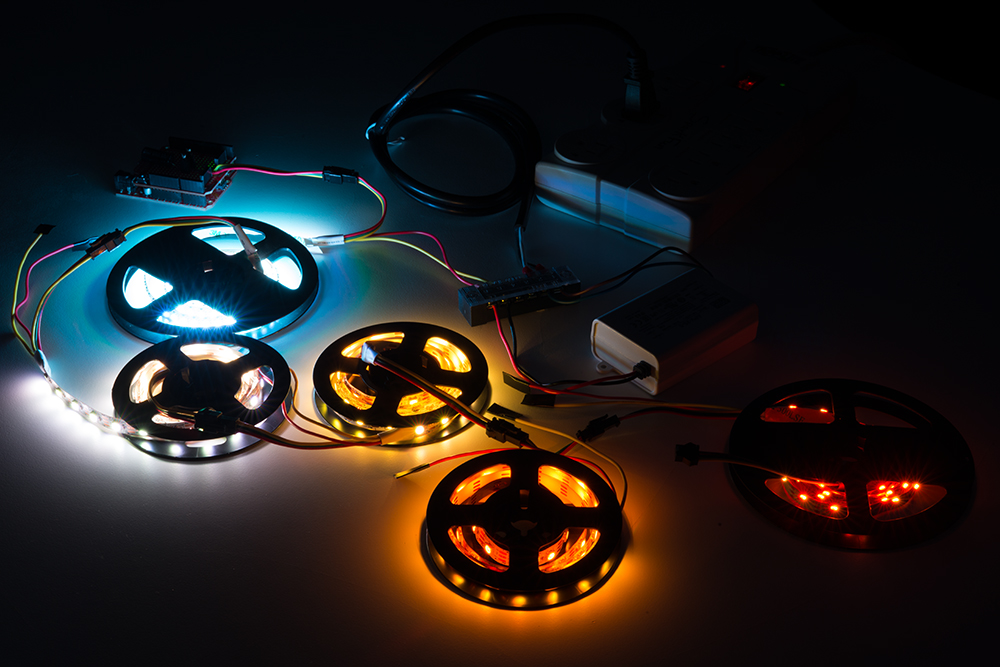
As with voltage, it's recommended to check the datasheets and estimate what the different bits and pieces of the circuit might need. It's also better practice to round up and assume your circuit will need more current than to not provide enough current. If your circuit includes elements that require massive amounts of current, like motors or large amounts of LEDs, you may need a large supply or even separate supplies for the microprocessor and the extra motors. Otherwise, the dips in power may cause the microprocessor to reset, not provide enough torque from your motor, or your LEDs may not fully light up. Again, it's always in your best interest to get a power supply rated for a higher current and not use the extra compared to having a supply that can't provide enough.
Have No Idea How Much Current Your Project Draws?
Once you've been playing with circuits for a while, it will be easier to estimate the amount of current your project requires. However, the common ways to figure it out experimentally are to either use a variable DC benchtop power supply that has a readout for current or to use a digital multimeter to measure the current going to your circuit while it's running. This will give you a general idea of what kind of power supply to choose for your project.
If you don't know how to measure current with a multimeter, please see our multimeter tutorial.
How to Use a Multimeter
We highly recommend having a DMM in your electronics toolbox. It's great for measuring current or voltage.