Hookup Guide for the SparkFun RedBoard Artemis Nano
 Nate, Ell C
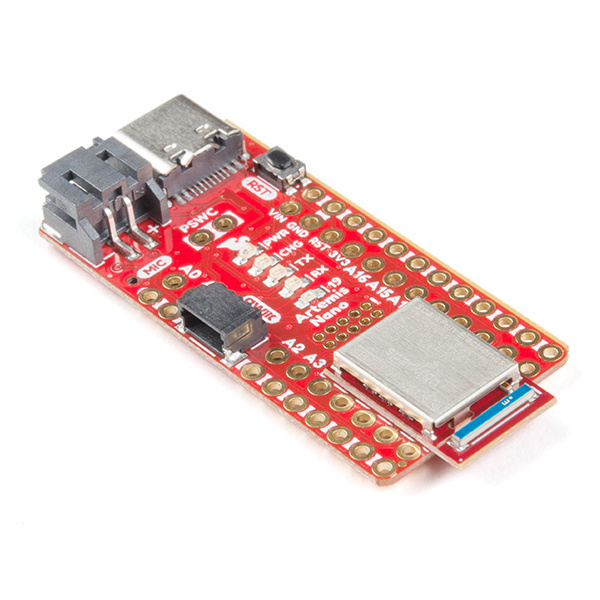
 Introduction
We like to joke that the SparkFun RedBoard Artemis Nano is a party on the front and all business on the rear! A light weight, 0.8mm thick PCB, with on board lipo-battery charging and a Qwiic connector, this board is easy to implement into very small projects. A dual row of ground connections make it easy to add lots of buttons, LEDs, and anything that requires its own GND connection. At the same time, the board is breadboard compatible if you solder the inner rows of pins. Add into that all the bells and whistles of the Artemis module and you've got one heck of a party going on. Let's check it out!
Required Materials
You'll need a USB C cable for programming. Any USB C cable should work including the one that probably came with your phone charger. If you don't already have a USB C cable you can pick one up here or you can get a fancy reversible one.


Suggested Reading
| Qwiic Connect System |
We also recommend checking out these tutorials before continuing: