Hookup Guide for the SparkFun RedBoard Artemis Nano
 Nate, Ell C
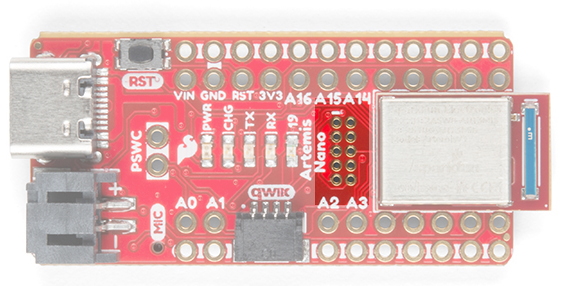
Hardware Overview
Power, GPIOs and GND Connections
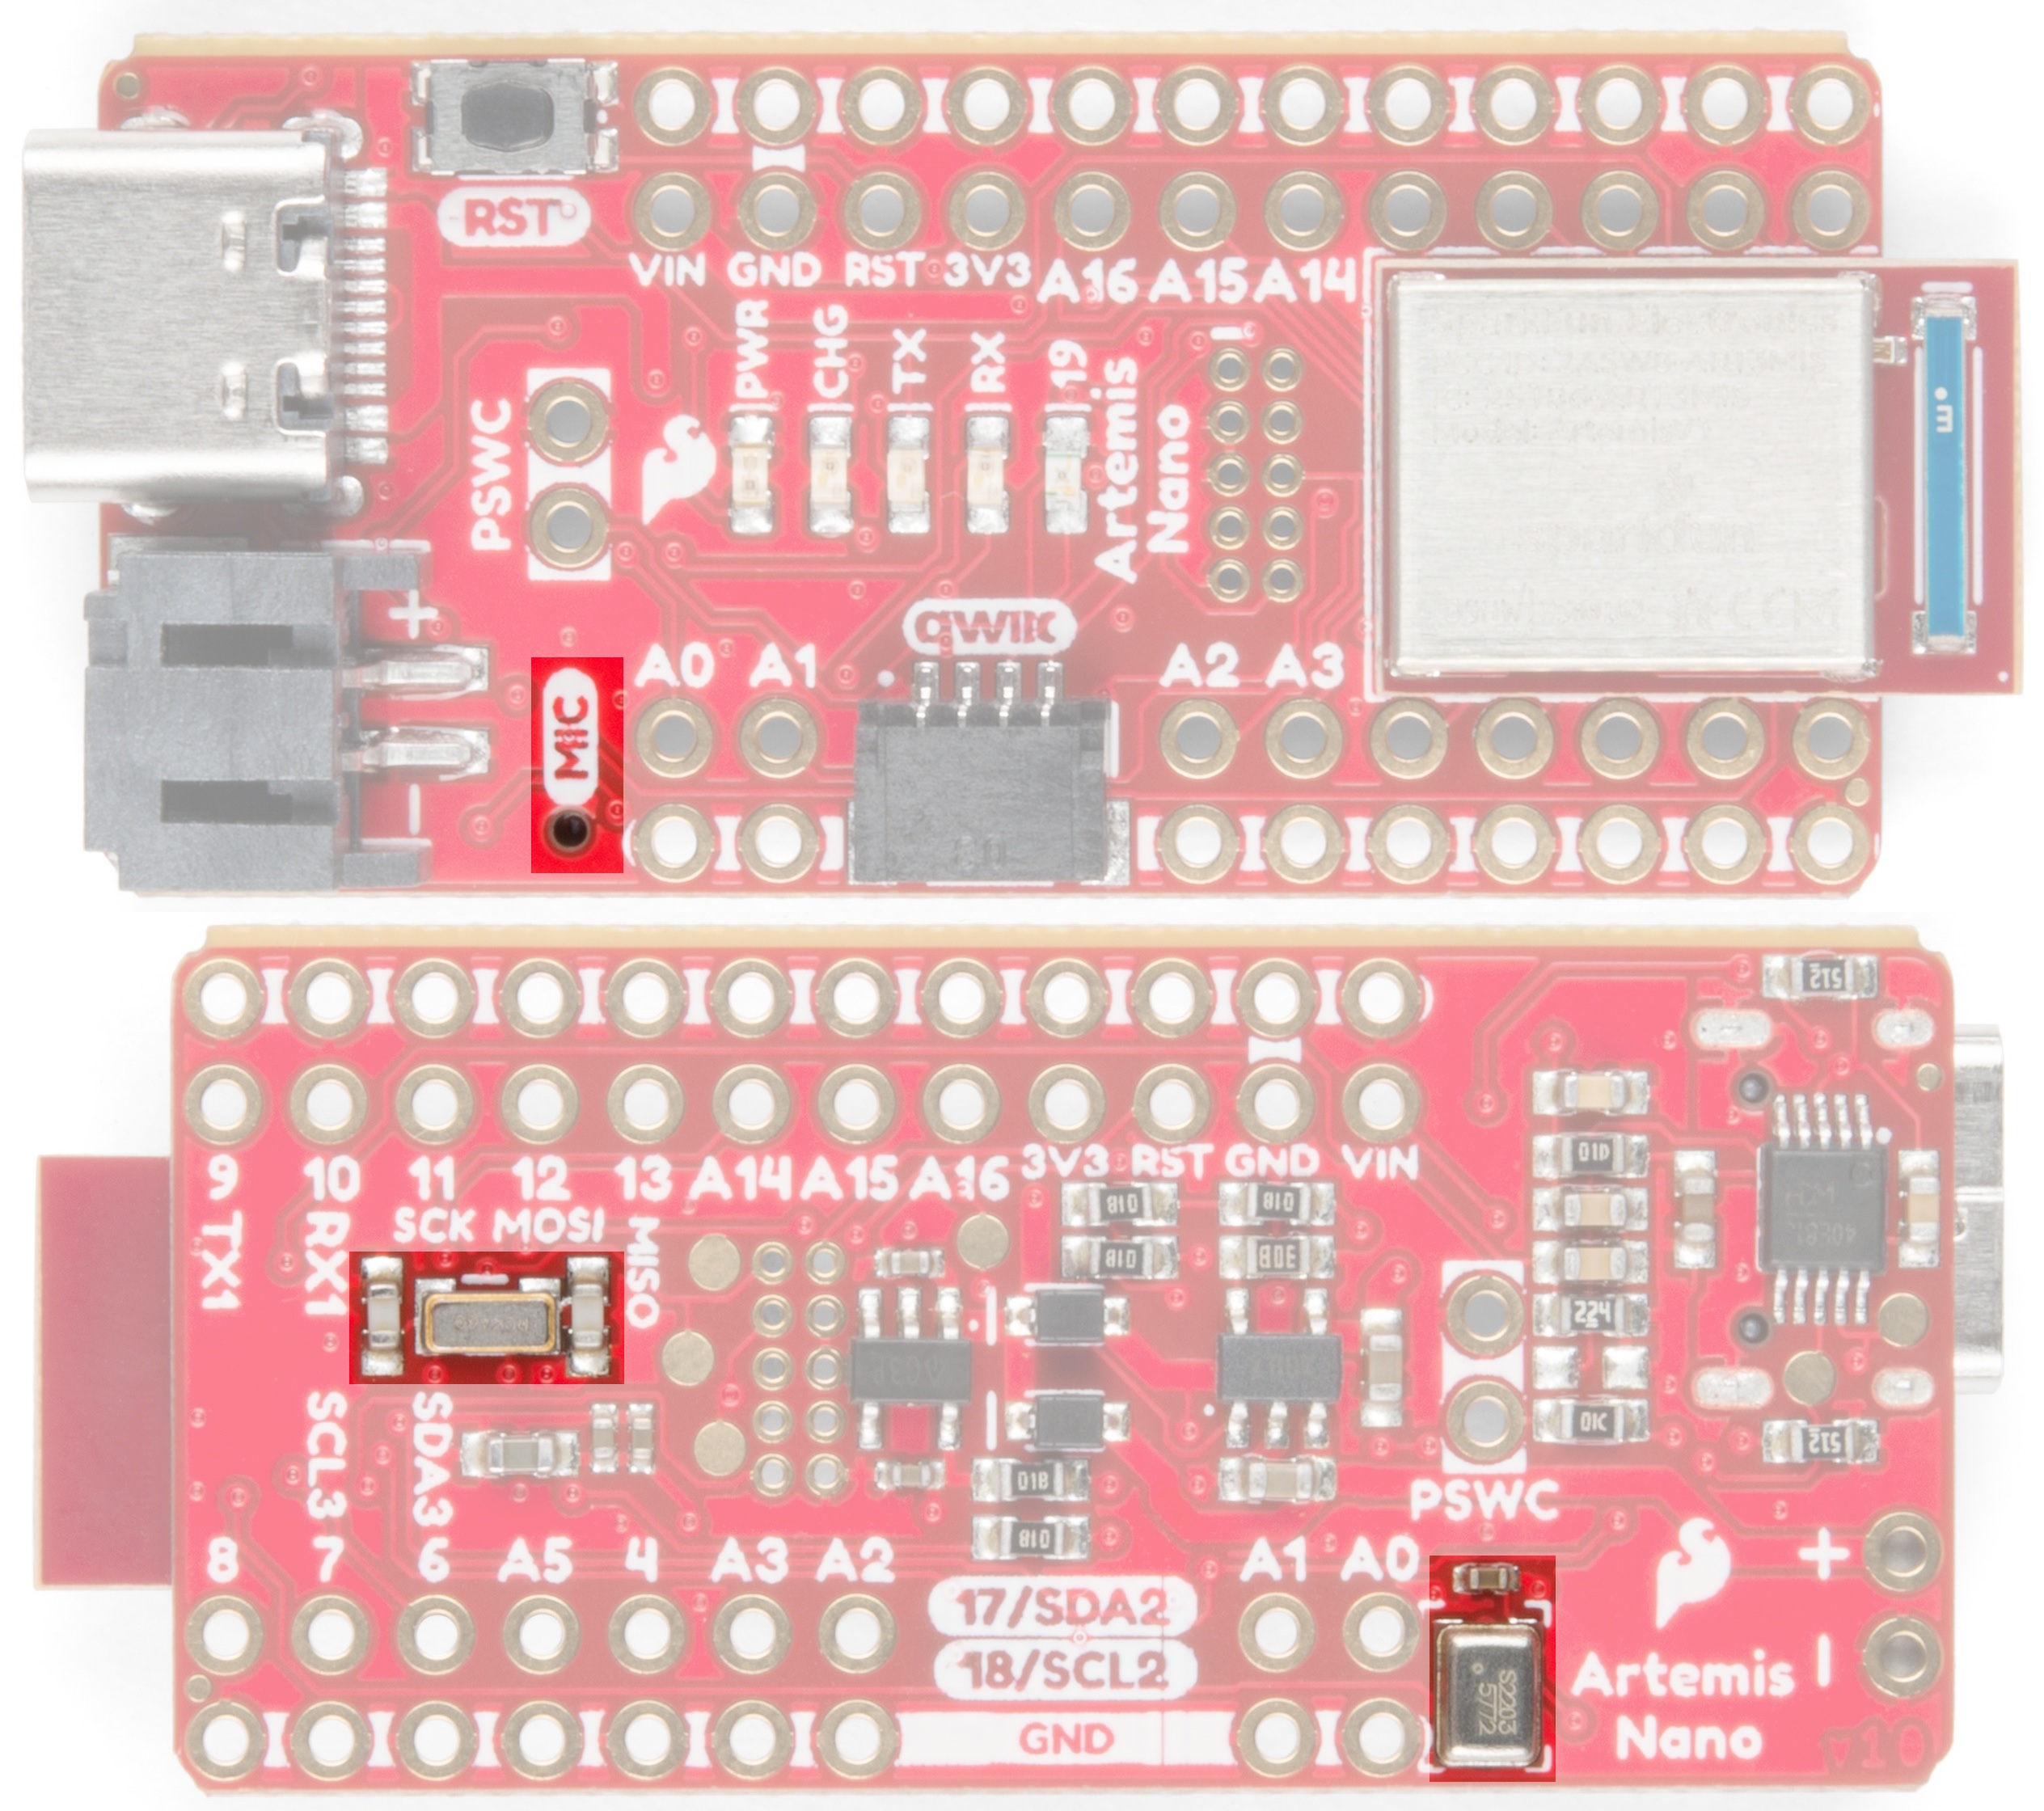
The Nano breaks out 17 GPIO to PTH holes. Each GPIO is paired with a ground connection. We found the extra grounds immeasurably useful when wiring up projects; you'll often need a separate ground for each LED, button, or sensor. The Nano makes it that much easier to prototype an idea.
The Nano is breadboard compatible if you solder headers into only the inner rows of PTH holes. This will give your breadboard access to all GPIO, RST, 3.3V, VIN, and 1 ground pin.
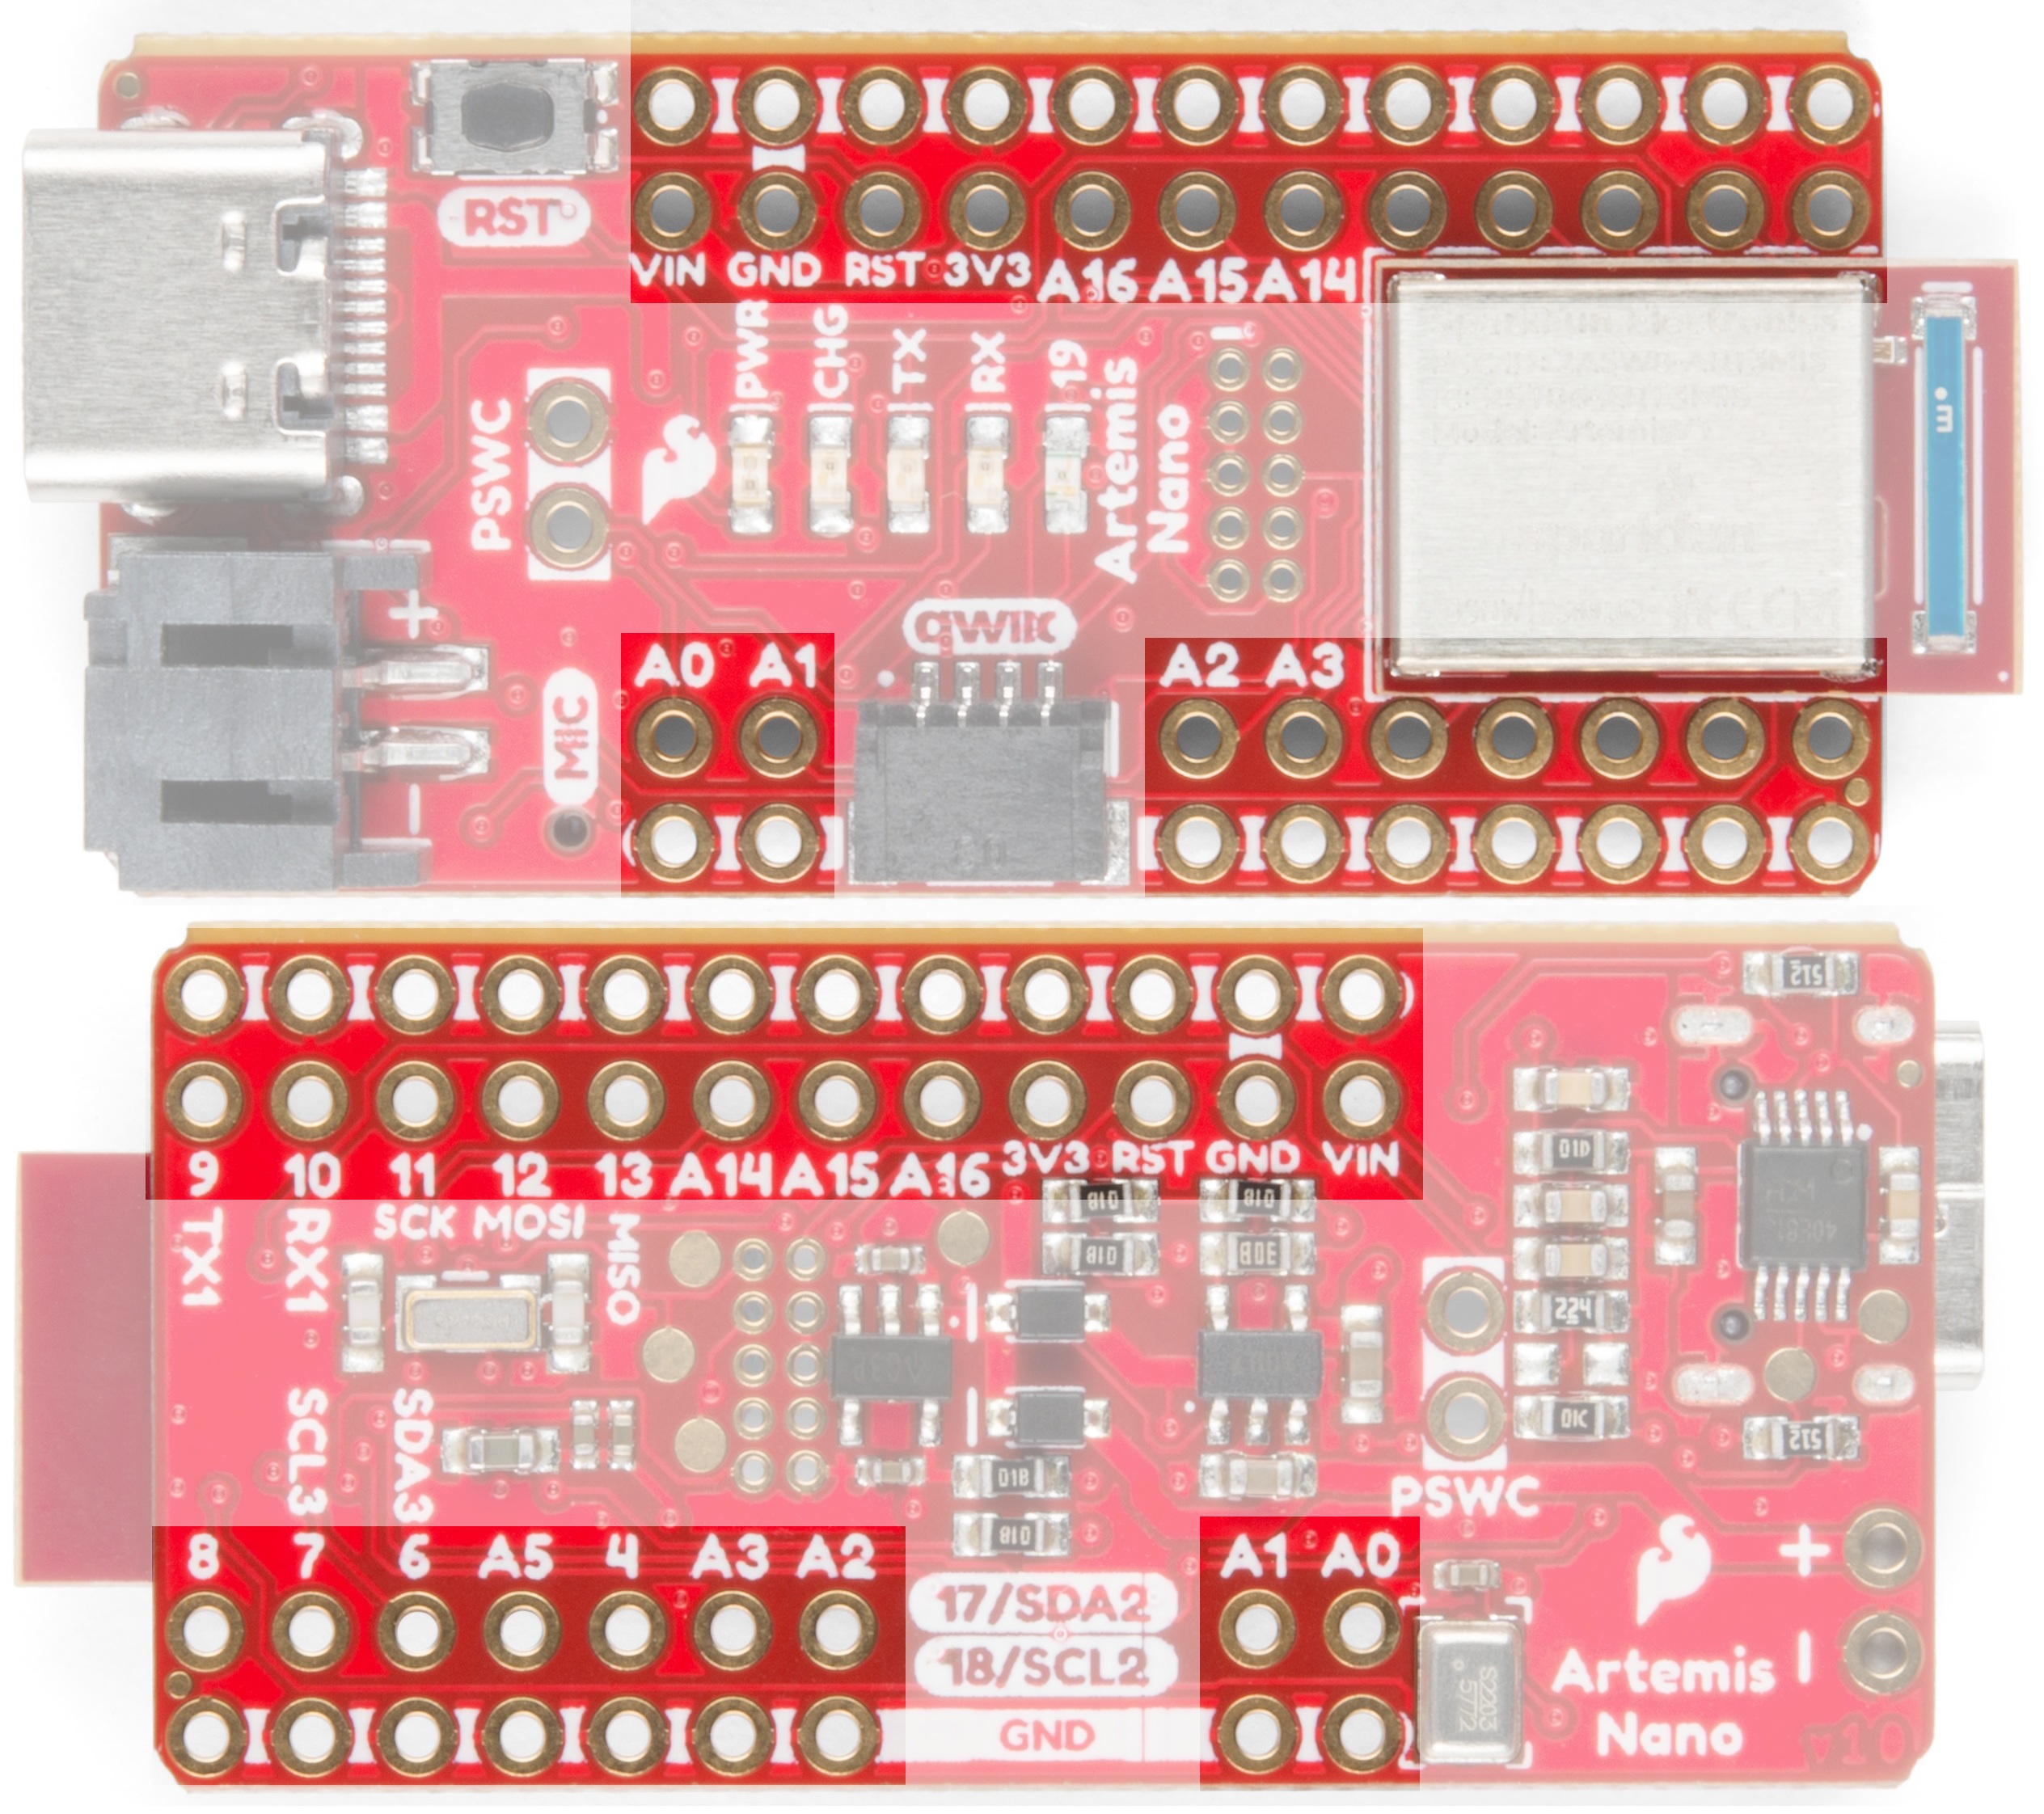
Power is automatically selected between USB, LiPo, and Vin (Vin takes precedence). The VIN pin can handle up to 6V and will be regulated down to 3.3V using the AP2112 voltage regulator (600mA max output). The 3.3V pin can be used to power various 3.3V devices up to 600mA.
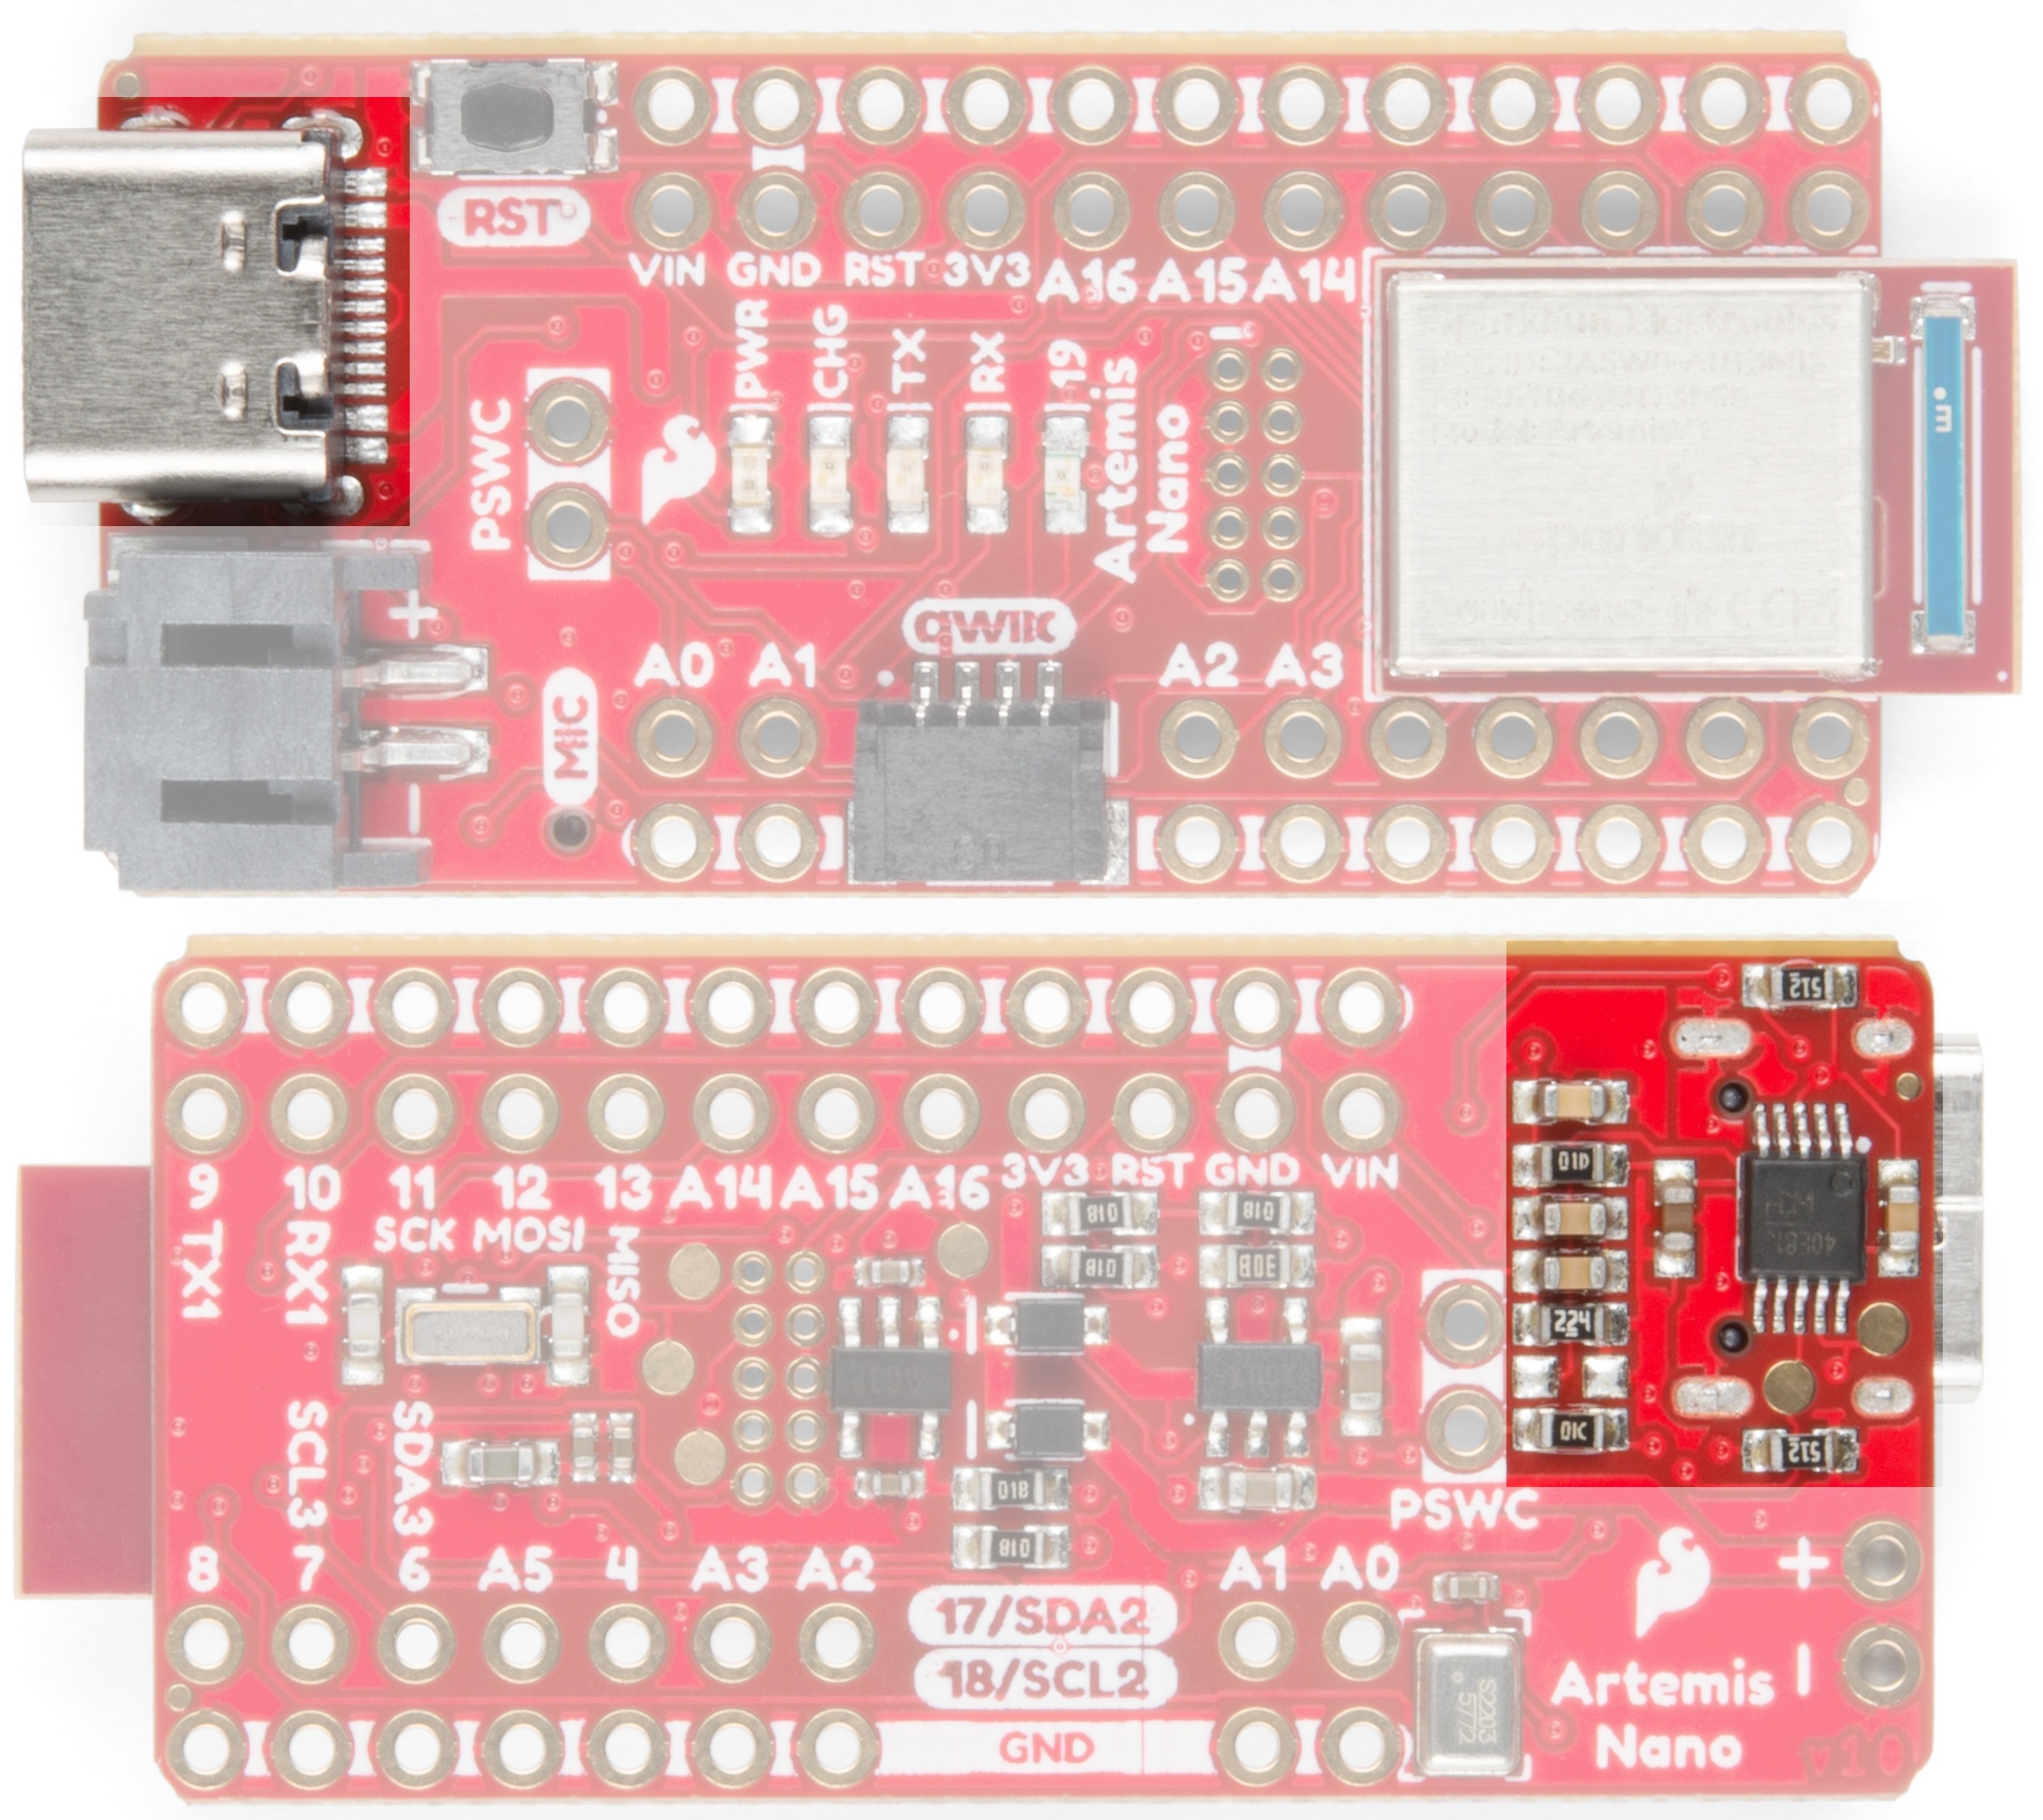
USB C and Serial Bootloading
We've designed the Nano with a reversible USB C connector and the CH340E USB to serial IC. This is an amazing IC that is small enough to fit under the USB C connector.
The driver should automatically install on most operating systems. However, there is a wide range of operating systems out there. You may need to install drivers the first time you connect the chip to your computer's USB port or when there are operating system updates. For more information, check out our How to Install CH340 Drivers Tutorial.
How to Install CH340 Drivers
The current USB C configuration is with two 5.1k Ohm resistors. This will allow up to 2 amps at 5 volts from your USB source. Nearly all modern computers and battery packs have short circuit protection but just be aware that the Nano does not have any short circuit protection.
JTAG Programming
An unpopulated JTAG footprint is available for more advanced users who need breakpoint level debugging. We recommend checking out our JTAG section for the compatible male header and a compatible JTAG programmer and debugger.
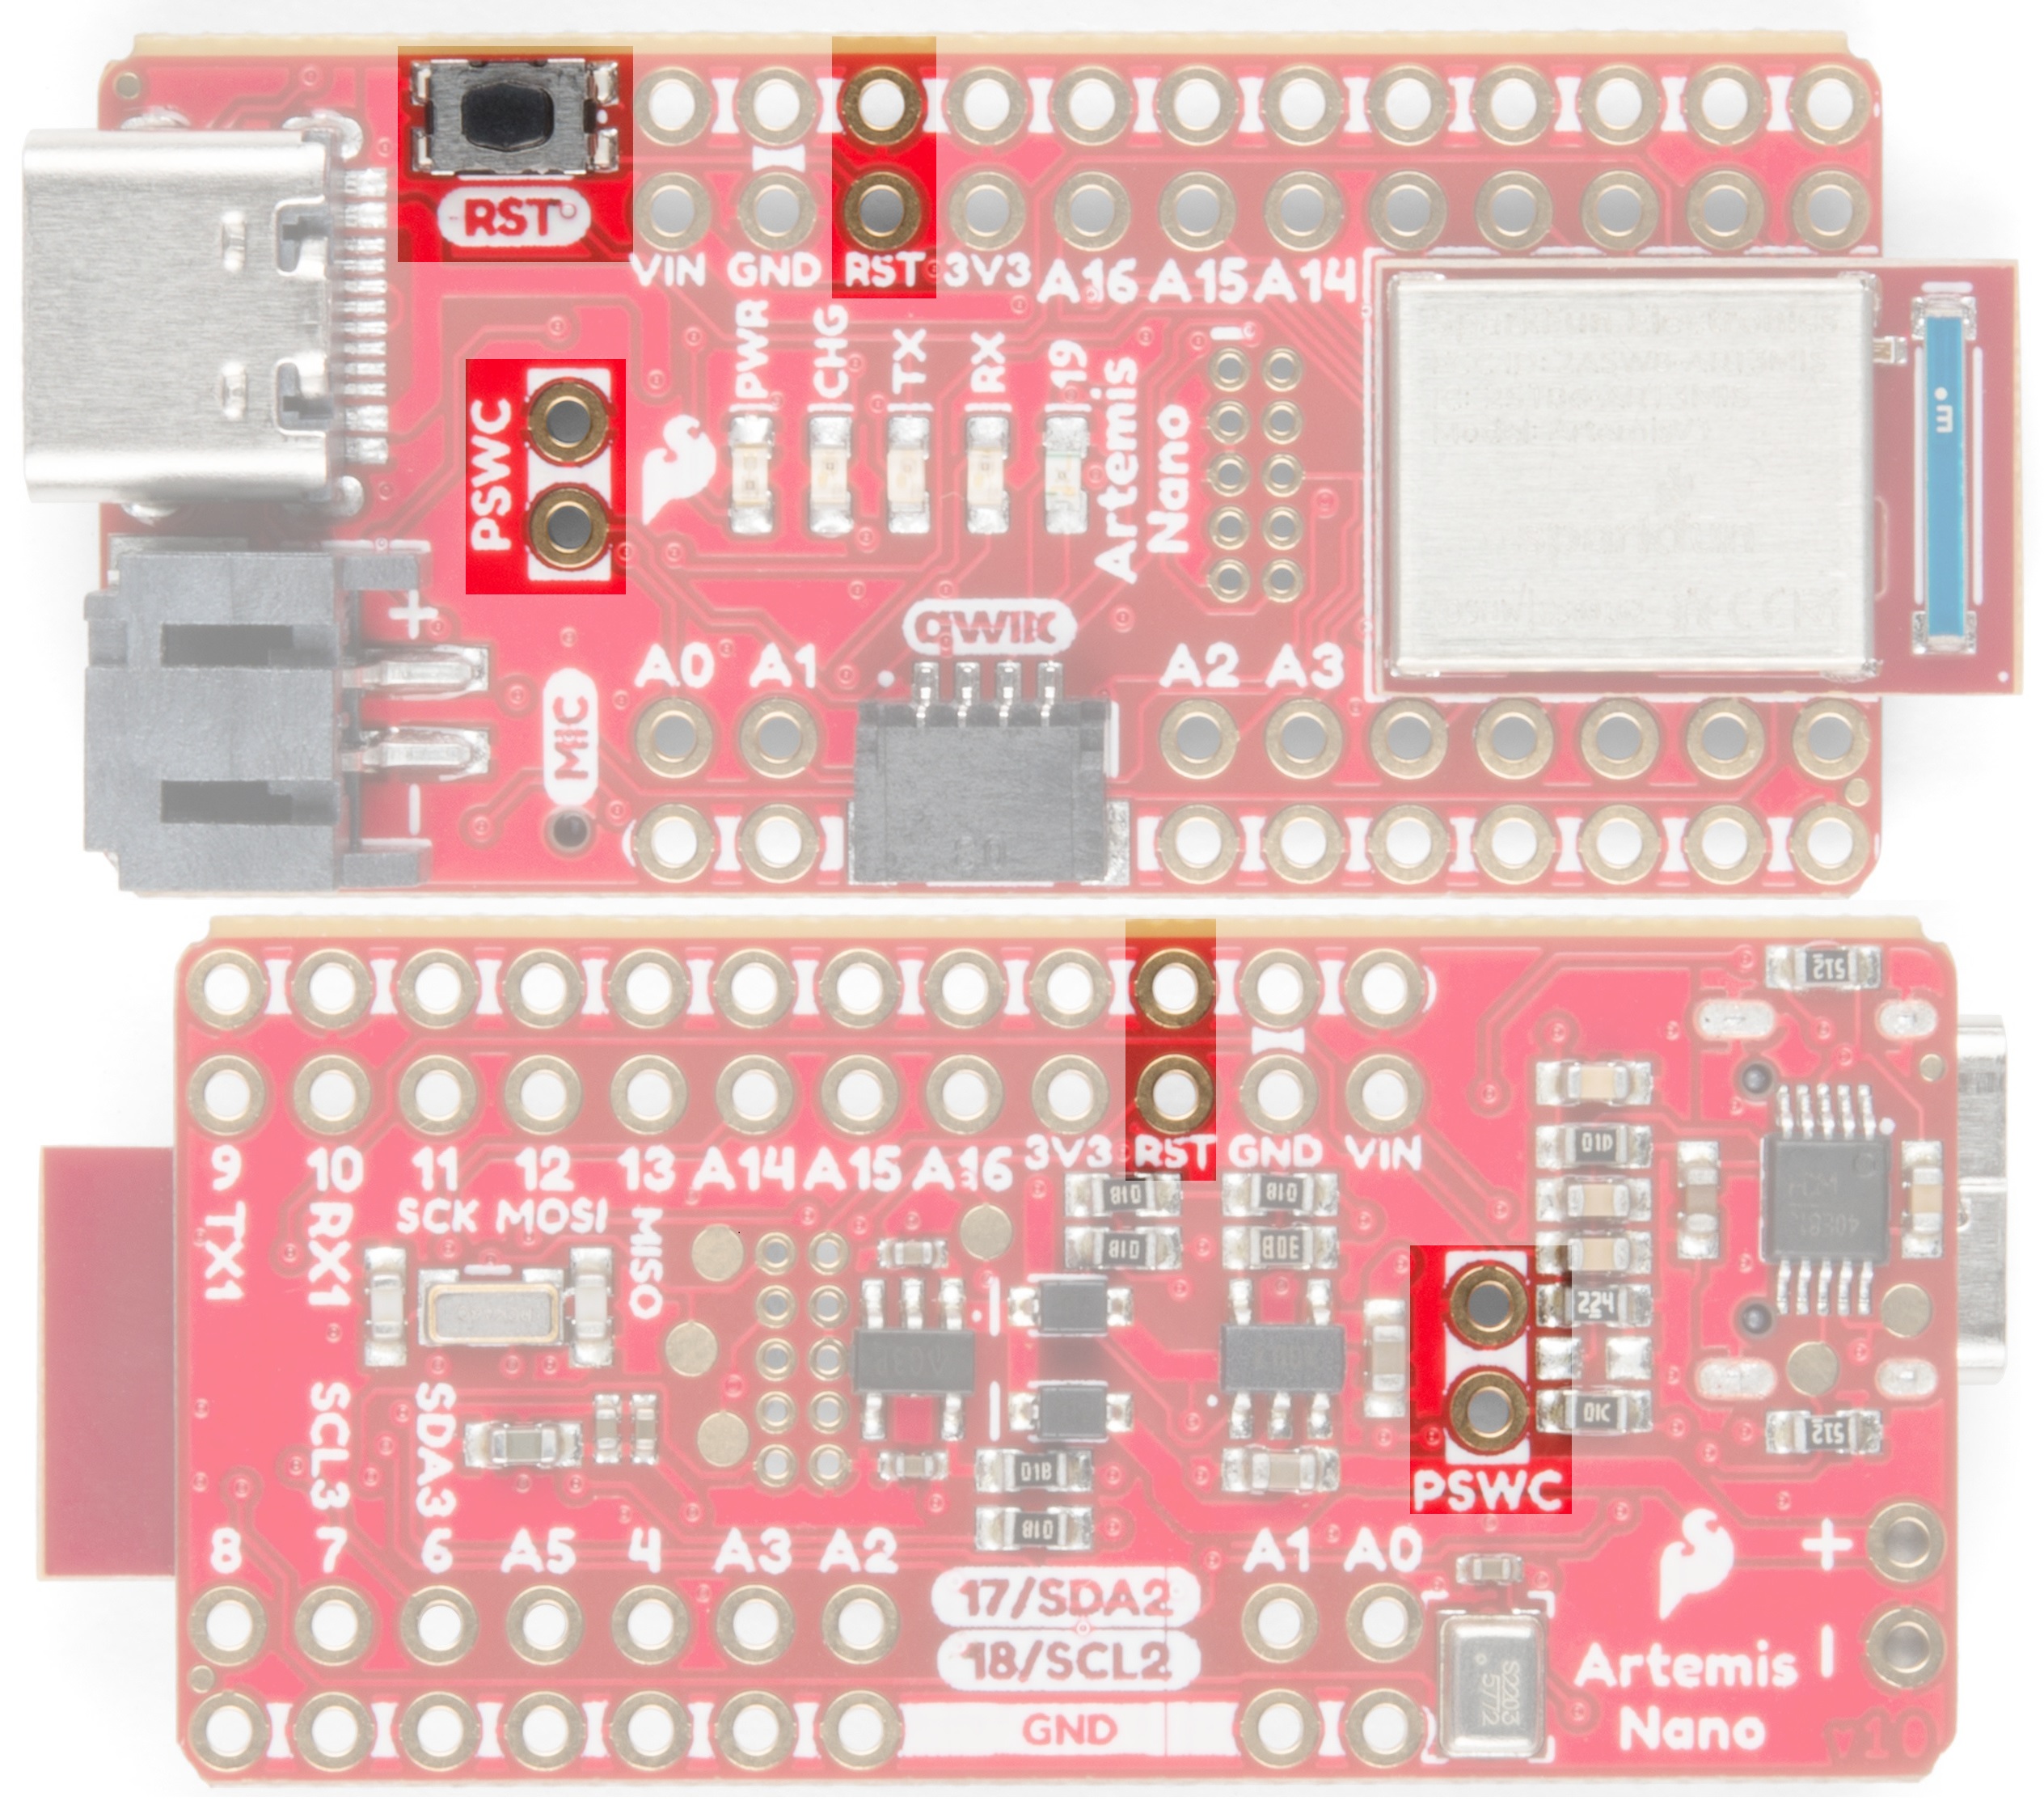
Reset and Power Control
The Nano is a great device to embed in a project. But if it's embedded, it is often impossible to access the reset and power switches on a board. We've exposed the reset pin and a Power Switch pin. This is a perfect place to solder a big external power switch. The PSWC pin controls the enable line on the 3.3V regulator. Pull this line low and the board will turn off. Release the PSWC line and the board will run normally. The enable line is pulled high with a resistor so if you don't hookup anything the board will operate normally.
RTC and PDM Microphone
The Artemis has built in RTC capabilities if it is given a 32kHz source so we've added a 32kHz crystal to the Nano. Additionally, one of the main applications of the Artemis is voice recognition so we've added a MEMS digital PDM microphone to the board so that you can capture and analyze audio.
LiPo Battery and Charging
The Nano has integrated LiPo power and charging. Any one of our LiPo batteries with work great with the Nano. The CHG LED will illuminate while the battery is charging via USB and will turn off when the battery is at peak voltage. Charge rate is set to 500mA. The general rule of thumb is charge no faster than 1C so the minimum recommended battery size is a 500mAh battery, but any of the larger batteries will work just fine.
