Contributors:
 bboyho
 Introduction
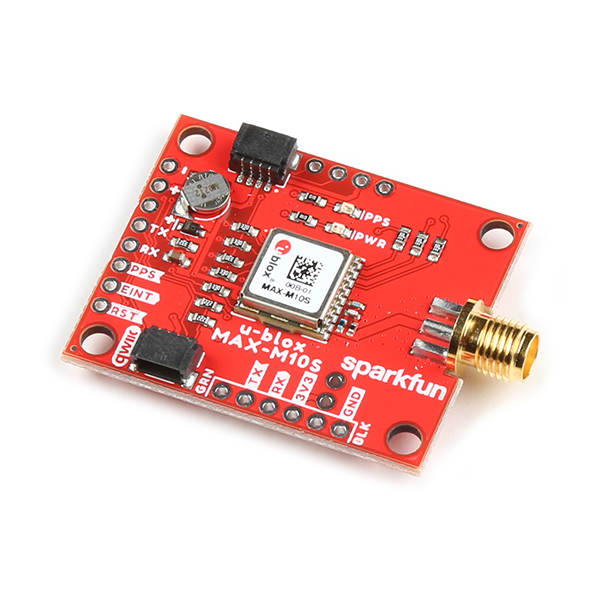
The SparkFun u-blox MAX-M10S breakout is an ultra-low-power, high performance, miniaturized GNSS board that is perfect for battery operated applications that don't possess a lot of space, such as asset trackers and wearable devices. In this tutorial, we will quickly get you set up using the Qwiic ecosystem and Arduino so that you can start reading the output!
GPS-18037
The SparkFun MAX-M10S Breakout is an ultra-low-power, GNSS board that is perfect for battery operated applications that don't…
Required Materials
To follow along with this tutorial, you will need the following materials. You may not need everything though depending on what you have. Add it to your cart, read through the guide, and adjust the cart as necessary.
GPS-18037
The SparkFun MAX-M10S Breakout is an ultra-low-power, GNSS board that is perfect for battery operated applications that don't…
DEV-18158
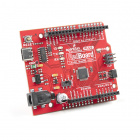
The RedBoard Plus is an Arduino-compatible development board that has everything you need in an Arduino Uno with extra perks …
GPS-14986
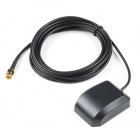
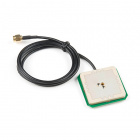
This exceptional GPS/GNSS antenna is designed for both GPS and GLONASS reception.
CAB-15424
These 2m cables have minor modifications that allow them to be be plugged into their ports regardless of orientation on the U…
PRT-14426
This is a 50mm long 4-conductor cable with 1mm JST termination. It’s designed to connect Qwiic enabled components together …
Retired
Additional GPS Antenna Options
Below are some other GPS antenna options.
GPS-00177
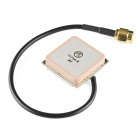
Embedded antenna for small, mobile applications. Basic unpackaged antenna with LNA. 5inch cable terminated with standard male…
GPS-14987
This tri-band GNSS antenna is ideal for GPS L1, GLONASS L1, and Beidou B2 reception.
Suggested Reading
If you aren't familiar with the Qwiic system, we recommend reading here for an overview.
If you aren’t familiar with the following concepts, we also recommend checking out a few of these tutorials before continuing.
GPS Basics
The Global Positioning System (GPS) is an engineering marvel that we all have access to for a relatively low cost and no subscription fee. With the correct hardware and minimal effort, you can determine your position and time almost anywhere on the globe.
I2C
An introduction to I2C, one of the main embedded communications protocols in use today.
RedBoard Plus Hookup Guide
This tutorial covers the basic functionality of the RedBoard Plus. This tutorial also covers how to get started blinking an LED and using the Qwiic system.

